Kate G. - March 31 2024

Flash Firmware for the THR Board on the Kingroon KP3S Pro V2 and KLP1

Flash Firmware for the THR Board on the KINGROON KP3S Pro V2 and KLP1.jpeg__PID:beb6ef18-8156-4702-a1e7-56ba61d3aa1e

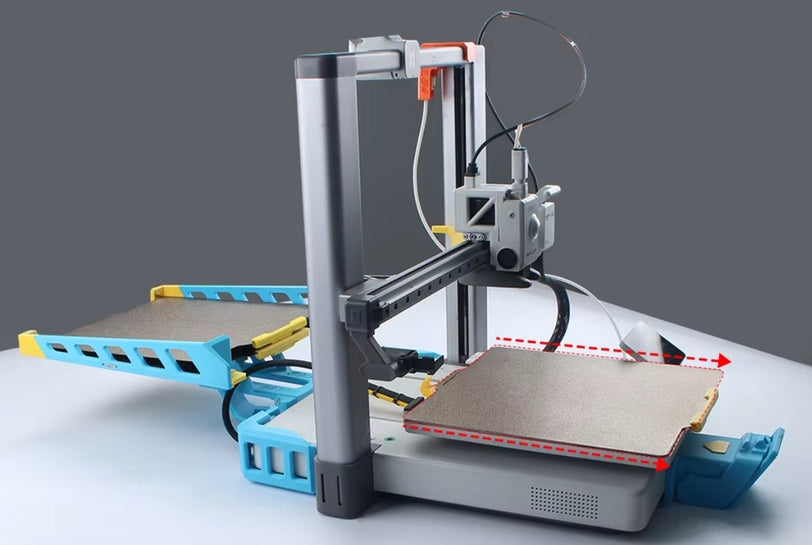
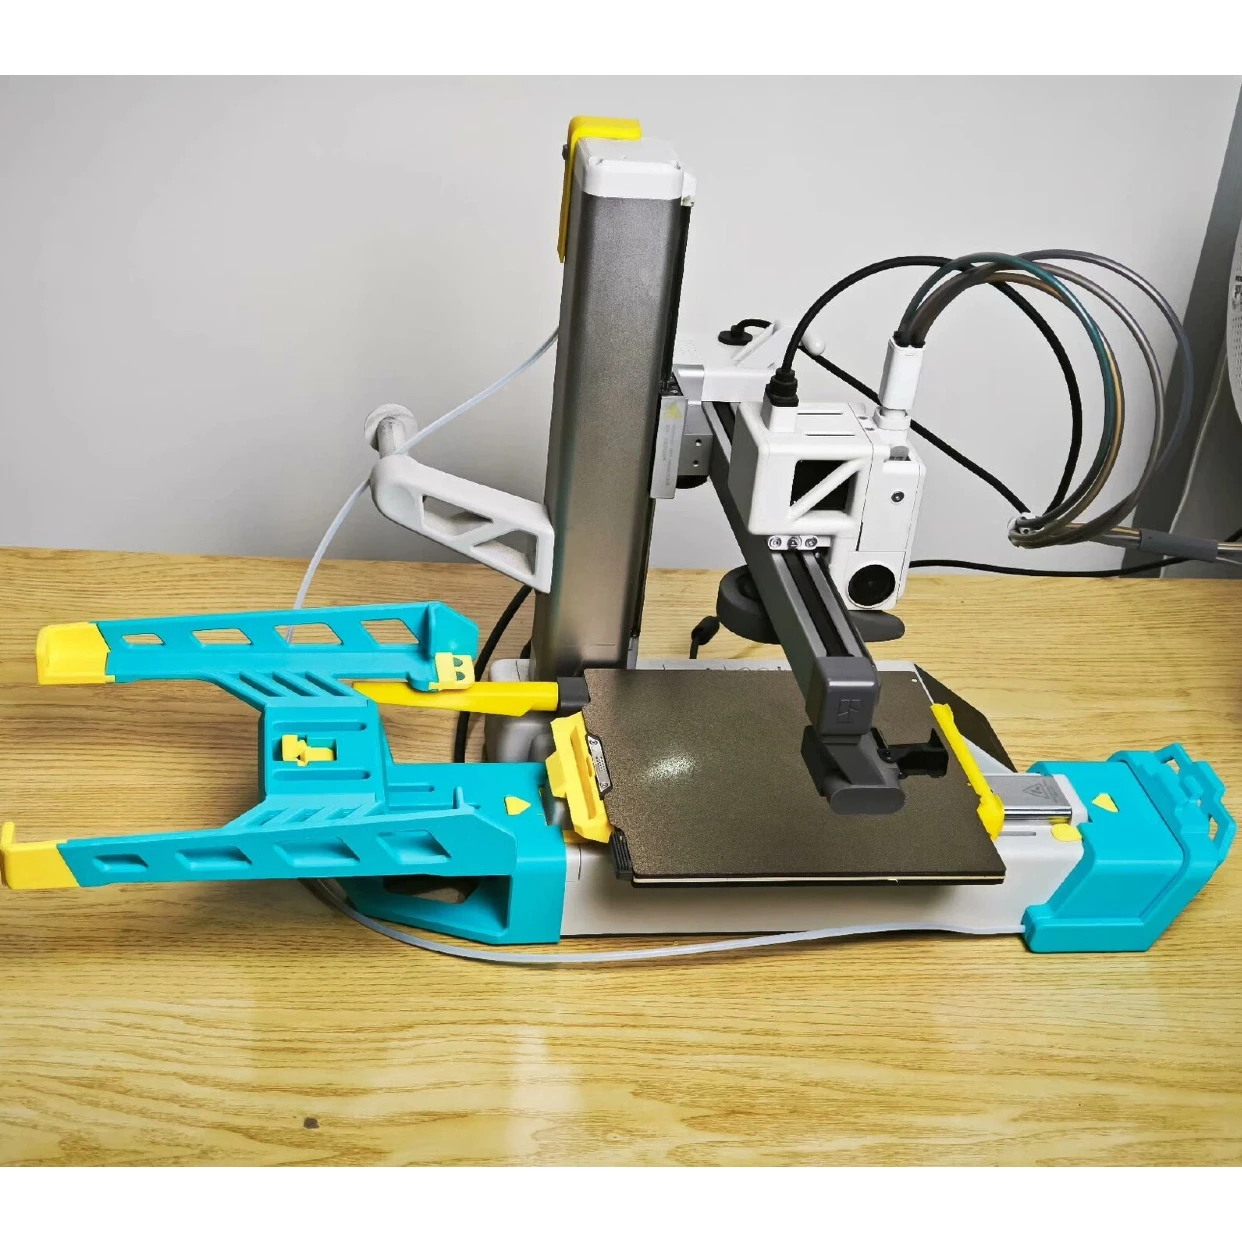
MThe THR board defines a lot of settings of the Klipper printing. It is used in the KINGROON KP3S Pro V2 and KLP1 3D printers, provides powerful features. This tutorial will show you how to flash its firmware and set it up.

Since the operation may damage the board, if you only have 1 THR board or your printer works well, we do not recommend you flash it.

Things You Need:

Before start, please prepare the things as below:

Flash Firmware for the THR Board on the KINGROON KP3S Pro V2 and KLP1

1) a new USB cable
The USB cable should have the function of data transfer, otherwise it may only have 2 cables inside.
2) a new THR cable
If you can manage to build your own, skip it. Just make sure the required pins connected well
3) a THR board
You must be very careful if you have no extra THR board
4) a 3 pin terminal with cables
You need to power up the board with its “PROBE” port, it is “blank”, “negative” and “positive” from the left to right. If you cannot find a same terminal like that or cannot build your own cables, cutting it form the leveling sensor of the KP3S Pro V2 and KLP1 would be an option.

Flash Firmware for the THR Board on the KINGROON KP3S Pro V2 and KLP1.jpeg__PID:beb6ef18-8156-4702-a1e7-56ba61d3aa1e

5) Downloading the THR Board Firmware from this link: https://1drv.ms/f/s!AmGcVrncIH3ZlAKlZKuVNyPkplPI?e=A8qaix

Wiring the Cable:

Step 1, cutting the USB cable, you should be able to get four cables, two of them are red and black, they are positive and negative; The rest two are for data transfer.
Step 2, cutting the sensor, remove the left side cable, then connect them to the USB cable as the above photo.
Step 3, cutting the THR cable and leave the green(D-) and yellow(D+) cable only.

Flash Firmware for the THR Board on the KINGROON KP3S Pro V2 and KLP1.jpeg__PID:beb6ef18-8156-4702-a1e7-56ba61d3aa1e

Connection Checking:

Step 1, connect the USB cable to your PC. If the board becomes hot, then you are in a wrong connection, switch the cables of on the “PROBE” port. If the green light on the board turns on, the connection is correct.

Step 2, hold the “boot” button, connect the USB cable to your PC. If the “RPI-RPI2” USB drive shows up, your connection is correct, or you need to switch the cables connect to the green cable and yellow cable

And you can see the boards information from the device manager.

After that, disconnect the connection, use heat-shrink tubes or electric tape to fix the wiring.

Flashing the Firmware:

Now you are all set. Hold the “boot” button, connect the board to your PC, then drag the “klipper.uf2” file into the “RPI-RPI2” USB drive. The drive should be disconnected immediately, just wait for a few seconds, the flashing is finished.
If you do the connection again, there should be now firmware file in the drive now.

Step 2, enter “ls /dev/serial/by-id/*”, you will get a serial number, mine is “/dev/serial/by-id/usb-Klipper_rp2040_75034E152C886258-if00”

Copy that number.
After that, open the “MKS_THR.cfg” file from the Klipper dashboard, replace the current serial number. Then you are all set.

Actualice el módulo EMMC de 32 GB para KP3S Pro V2 y KLP1

Actualice el módulo EMMC de 32 GB para KP3S Pro V2 y KLP1

$12.00
Módulo EMMC 32GM para tus impresoras 3D KINGROON KP3S Pro V2 y Kingroon KLP1 . También se adapta a la placa MKS con el mismo tipo de módulo EMMC. Es muy recomendable para aquellos que quieran grabar vídeos en intervalos de tiempo con el sistema Klipper o que tengan una gran cantidad de datos para almacenar.

Compatible con:
Adaptador MKS EMMC 1.0 para KINGROON KP3S Pro V2 y KLP1

Para actualizar el módulo EMMC, utilice un adaptador de tarjeta SD de alta velocidad y alta calidad para montarlo.

Consulte el siguiente tutorial para obtener una imagen del sistema y saber cómo proceder:
Cómo falsificar el chip EMMC en Kingroon KP3S Pro V2 y KLP1
View Details
Adaptador MKS EMMC 1.0 para KINGROON KP3S Pro V2 y KLP1

Adaptador MKS EMMC 1.0 para KINGROON KP3S Pro V2 y KLP1

$3.00
Este es el adaptador MKS EMMC para KINGROON KP3S Pro V2 y KLP1 . Con esta herramienta puedes actualizar un chip MKS EMMC y reescribir el sistema en él. Para los usuarios de KINGROON, pueden consultar este enlace para ver su tutorial: https://kingroon.com/blogs/3d-print-101/flash-thr-board-firmware-of-kingroon-kp3s-pro-v2-klp1-3d -impresora


Detalles técnicos:

Potencia: 5V
Puerto: MicroSD
Requisito: Lector de tarjetas SD de alta velocidad
View Details
MKSEMMC-ADAPTERV2forKINGROONKP3SProV2andKLP1P6_480x480_7f69db48-8acc-45d2-a716-b241034b8747
MKSEMMC-ADAPTERV2forKINGROONKP3SProV2andKLP1P1_480x480_de51cb20-b30a-4ec5-b5cd-00928996a169
MKSEMMC-ADAPTERV2forKINGROONKP3SProV2andKLP1P2_480x480_7da36024-9a24-4e5a-89be-9c902600a549
MKS EMMC-ADAPTER V2 para KINGROON KP3S Pro V2 y KLP1

MKS EMMC-ADAPTER V2 para KINGROON KP3S Pro V2 y KLP1

$8.00
Este es el MKS EMMC-ADAPTER V2, puede usarlo para flashear el módulo EMMC o leer la tarjeta SD. Si no tienes ningún adaptador de tarjeta SD de alta velocidad o alta calidad, necesitarás este adaptador.

Compatible con: Actualización del módulo EMMC de 32 GB para KINGROON KP3S Pro V2 y KLP1 .
https://p3d.mx/products/modulo-emmc-32gb-para-kingroon-kp3s-pro-v2-and-klp1


Consulte el siguiente tutorial para obtener una imagen del sistema y saber cómo proceder:
Cómo falsificar el chip EMMC en Kingroon KP3S Pro V2 y KLP1
https://kingroon.com/blogs/3d-print-101/how-to-falsh-the-emmc-chip-on-kingroon-kp3s-pro-v2-klp1-klipper-3d-printers
View Details

Leave a comment

Please note, comments must be approved before they are published