Kate.G - May 11 2024
GratKit Firefly Smart Dryer Box Manual
Contact us via Email:
Customer Support: support@gratkit.com
Office Address:
1007,Huaide International Building,Fuyong Subdistrict, Baoan District, Shenzhen, Guangdong, China
Factory Address:
1-2 Floor, Workhouse 4D3-1, Yangchun Industry-Transfer Industrial Park, Yangchun, Guangdong, China
Safety Notes
- Keep GratKit Firefly filament dryer away from children.
- Pay attention to electrical safety during operation. Do not use this productnear water, such as in the bathroom, bathtub, wash basin, and other placeswhere water is easily accessible.
- Please use the Firefly filament dryer only with the original power adapter.Using other power adapters may cause damage to the filament dryer.
- Please turn off the power when you're not using it.
- The processing temperature may be very high during the drying process.Please avoid direct contact with the inner box.
- If you encounter any abnormal situations during use, including but not limitedto: abnormal fan noise, fan not spinning, heating plate not working, screennot displaying, etc., please make sure to turn off the power first and contactour technical support team. We will assist you in resolving the issue.
Refer to this link to get the latest version of the usermanual & translationversion:www.gratkit.com
Technical Specifications
| Dimensions | 254x261x102mm |
|---|---|
| Filament Weight | ≤1000g[Net] |
| Spool Width | ≤72mm |
| Dryer box Net Weight | ~760g |
| Filament Diameter | 1.75mm/2.85mm/3mm |
| Filament Types | PLA/PLA+/PETG/ABS/Nylon/PC/HIPS/TPU,... etc |
| Desiccant Tank | #N/A |
| Filament feedthrough holes | 2 |
| Drying Methods | Bottom heating + fan for heating circulation |
| Built-in fan | 5015, DC24V |
| Operation Type | Touch Control / WIFI App Control / Bluetooth App Control |
| Compatible APPs | Tuya / Smartlife |
| Ambient Light | Controllable RGB light |
| Settable temperature range | 40-70°C |
| Power Adapter | AC100-240V to DC24V-2A (48W) |
| Standby Power Consumption | ~3W |
| Display Screen | 3.5-inch LCD Screen |
| Operating Environment | 0-45°C |
| Noise Parameter | <50dB |
Product Overview
Inside


Showing making procedure is a good way to guarantee product quality
Button Instructions
| Button | Temperature set range:40℃~70℃ | |
|---|---|---|
| Set Temperature”+” | Short press: Increase 1℃; Long press: Quickly increase temperature value. | |
| Set Temperature”-” | Short press: Decrease 1℃; Long Press: Quickly decrease temperature value. | |
| Drying Time Setting:0~24hours. Attention: Set to 00:00 will work infinitely until user turns off the heating. | ||
| Set time “+” | Short press:Increase 1 Min; Long press: Quickly increase time value. | |
| Set time”-” | Short press:Decrease 1 Min; Long press: Quickly decrease time value. | |
| ON/OFF Button | Short press | 1.OFF status: Turn on heating, start drying filament; 2.ON status: Turn off heating, stop drying filament. |
| Long press | OFF status long press 3s: Enter filament selection mode. The selected filament type will flash quickly, a short press will switch to the next filament type, if there is no operation for 3 seconds, the filament select mode will be automatically exited and saved. |
|
| Double press | Set LED colors, 8 static
colors (off/red/green/blue/white/yellow/cyan/purple/orange/pink) and 3 dynamic colors (Rainbow blink/Rainbow smooth/Rainbow fade). |
|
参考界面

Operation Guide
1. Turn on the power
Plug the power adapter into the DC socket of the drying box. After the power isturned on, the drying box will beep, and the drying box will default to a nonheated standby state.
No pics yet, will place pic later
2. Place filament
Open the drying box, place the filament on the hanging spool holder, then pullthe filament out from any of the two feed-through holes, and then close the lid.(Note: Please make sure that the filament is tight, if it is loose, the filament maytangle itself).
No pics yet, will place pic later
3. Select filament type
1) Click the "ON/OFF" button on the LCD for about 3 seconds, then you willhear a beep sound, and the currently selected filament type will flash quickly. Atthis point, you have entered the selection mode, and then you can short-pressthe “ON/OFF" button to select your filament type.After the selection is completed, wait for 2 seconds, and you will hear a beepsound, the filament switch is successful. The filament type option will changefrom the fast flashing status to the slow flashing status on the LCD. Please referto point 4 for the next step.
2) This product additionally reserves two custom modes "DIY1" and "DIY2“[Doit yourself]. If your filament type is not among these preset 8 types, you canswitch to this mode to set the temperature and drying time(maximumtemperature 70°C). If you want it to always be under the heating state, you canset the time to 0 and it will dry filament until you change the setting. Aftersetup, the drying box will save the last changed setup data.Note: If you are not familiar with filament, acquaint yourself with itscharacteristics or ask us to prevent your filament from melting or causing otherproblems
| PLA | PLA+ | PETG | ABS | Nylon |
|---|---|---|---|---|
| PC | HIPS | TPU | DIY1 | DIY2 |
4. Start drying filament
After selecting the type of filament, briefly press the “ON/OFF" button, theheating status will be displayed in the lower right corner of the LCD screen, andthe drying box will start working.
No pics yet, will placepic later
5. Select LED Mode
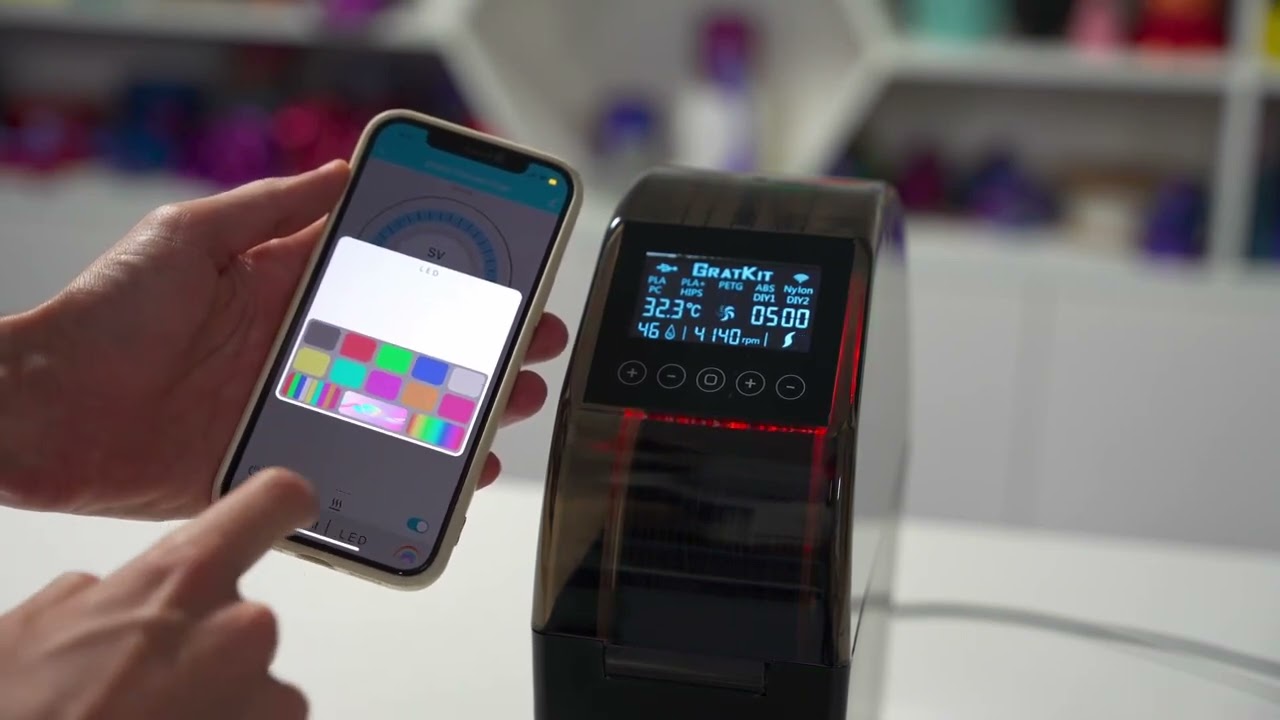
GratKit Firefly has built-in RGB LED, it can make your printing more fun. You candouble press “ON/OFF” button to switch LED mode. LED mode list:
| Mode | Static | Static | Static | Static | Static | Static | Static |
|---|---|---|---|---|---|---|---|
| Color | Black | Red | Green | Blue | White | Yellow | Cyan |
| Mode | Static | Static | Static | Rainbow | Rainbow | Rainbow |
|---|---|---|---|---|---|---|
| Color | Purple | Orange | Pink | Blink | Smooth | Fade |
6. Turning off the dryer box
Click the “ON/OFF" button to enter the standby state. At this time, the heatingfunction is turned off, and other functions are normal. When the power supply isreconnected, the drying temperature, filament type and drying time will returnto the state before shutdown.
APP Instructions
Remote control steps
- The cell phone or tablet must have a WIFI connection to the router and theInternet must be available;
- Search Tuya Technology's "Smart Life" or "Tuya Smart" APP software in the appstore, download it and install it;

- Power on the product and observe the display screen immediately. When thescreen displays the GRATKIT LOGO (LOGO display time is about 3 seconds), brieflypress the “ON/OFF” button. At the same time, the built-in LED light of the dryerwill illuminate in white and pulsate, indicating that it has entered pairing mode,ready to connect to the App via Bluetooth and Wi-Fi.

- Open the APP software installed in step 2 and grant the system permissions forWIFI and Bluetooth. The APP will automatically pop up a window to confirm that thedevice has been found. If the pop-up window does not appear automatically, clickthe "+" button in the upper right corner of the APP interface, and then click "AddDevice".Adding devices supports two modes, WIFI connection and Bluetooth connection

WIFI configuration. Configuration complete

Bluetooth Configuration Configuration complete
After the configuration is completed, the product can be controlled by APP operation,remote control from all over the world, status information query, etc. (Bluetooth mode isnot supported).
The application supports the control of multiple dryer boxes, to make drying thefilament easier.
Beep Code Reference
| Beeping time | Meaning | Note |
|---|---|---|
| Beeping 0.1s | Dryer box feedback | Audio feedback for button or APP operation |
| Beeping 0.3s | Temperature/time, adjusted to max/min | The value has been adjusted to the limit value |
| Beeping 1.0s | Product error detected | The product malfunctions with an error code |
| Beeping 3.0s | Drying completed | Drying finished feedback |
Error Code Reference
| Error code | Meaning | Note |
|---|---|---|
| E-00 | Normal State | This code will not display |
| E-01 | Tilted/dumped state | Turn off heating |
| E-02 | Heat plate overheating | Heating plate over than 99℃ |
| E-03 | Dryer box upper area overheating |
The upper area temperature of the dryer box is higher than the set temperature by 10℃ |
| E-04 | Fan RPM too low | Fan RPM less than 500RPM |
APP Insturction

Warranty and Contact Information
- Firefly Dryer box warranty period is 1 year.Warranty List:
- Electric: Motherboard, Heating Plate, Temperature sensor, LCD[Include RGB LED], Poweradapter, 5015 DC fan, and cables.
- Others: Lid and Bottom caseWarranty does not apply in these: Man-made damage, a malfunction caused by misuse,and damage, rust, or breakdown caused by wear and tear instead of the product itself. - Phone:+86 133 16496181
- GratKit Official Website:www.gratkit.com
- Facebook Group: www.facebook.com/groups/GratKit/
- E-Mail:support@gratkit.com


