


X-Axis Assembly for Bambu-A1 Mini
No se pudo cargar la disponibilidad para recoger
Utilice este texto para fomentar la comunicación o promover el intercambio en las redes sociales.
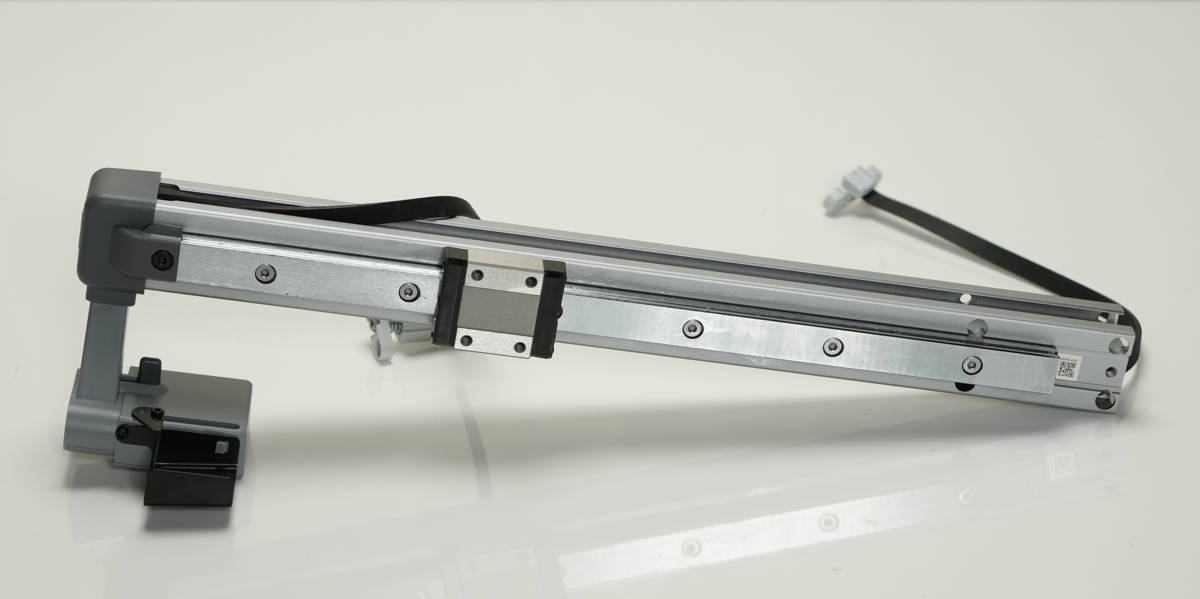
A1 Mini X-Axis Assembly: This is the complete X-axis assembly for A1 Mini 3D printers. It includes all components for X-axis motion.
Fit for A1 Mini: Compatible with A1 Mini 3D printers. This assembly replaces the original X-axis assembly on this model.
X-Axis Motion Components: The assembly includes the X-axis rail, belt, and carriage. It enables horizontal movement of the tool head.
Direct Replacement Part: This X-axis assembly serves as a direct replacement. No modification is needed for installation.
3D Printer Accessory: This X-axis assembly is a standard replacement part for A1 Mini printers. It is used when the original assembly is damaged or worn.
The X-Axis Assembly ensures that the X-axis movement of the toolhead remains consistently fixed on the horizontal plane. The X-axis utilizes linear rail guidance, which provides stability, smooth motion, improved guiding precision, and longevity.
In the Box
1. X-Axis Assembly * 1
2. M3-8 Screws * 4
Compatibility
A1 mini
IMPORTANT!
It's crucial to power off the printer before performing any maintenance work on the printer and its electronics, including tool head wires, because leaving the printer on while conducting such tasks can cause a short circuit, which can lead to additional electronic damage and safety hazards.
When you perform maintenane or troubleshooting on the printer, you may be required to disassemble some parts, including the hotend. This process can expose wires and electrical components that could potentially short circuit if they come into contact with each other or with other metal or electronic components while the printer is still on. This can damage the electronics of the printer and cause further damage.
Therefore, it's essential to switch off the printer and disconnect it from the power source before doing any maintenance work. This will prevent any short circuits or damage to the printer's electronics. By doing so, you can avoid potential damage to the printer's electronic components and ensure that the maintenance work is performed safely and effectively.
Remove X-axis Assembly
Step 1: Remove the baseplate
Tilt the printer backward and remove 2 screws. Remove the cable buckle.
Remove 14 screws, then pull and stretch the nylon ties to loosen the baseplate and then remove it.

Step 2:Disconnect the X motor cable
Remove the 2 screws of the mainrboard fan, take out the mainboard fan, and then disconnect the X-motor cable from the mainboard.

Step 3:Remove the X motor cable
1. Apply force from below the motor cover front lid to remove it. Remove the wire clamp by inserting an Allen key through the wire clamp and prying it out.

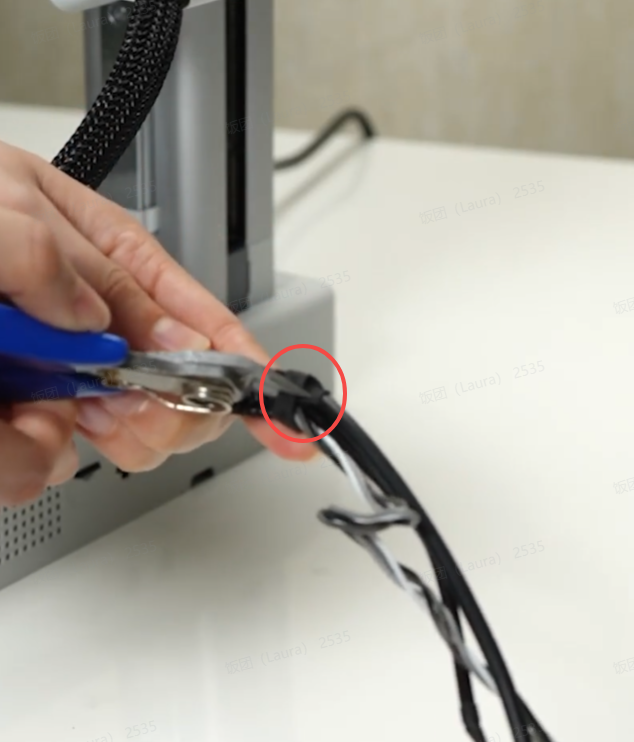
2. Tear off the tape at one end of the nylon mesh, and pull out the X motor cable.
Step 4:Remove X-axis motor cover
Remove 3 screws, and take off the X motor cover assembly.

Step 5:Remove X motor
1.Remove 2 screws and remove the motor rear cover. Remove 4 screws and take down the X motor.

2. Remove 4 screws, take down the X-axis module.

Disassemble the X-axis Assembly
Step 1: Remove the Purge Wiper
Unscrew 1 screw A with the H2.0 Allen key, and then slide the Purge Wiper back and remove it.

Step 2: Remove the X Belt
1. Remove 1 screw with the H2.0 hex key; remove the X-axis cover;
Note: The cover screw is shorter than the purge wiper screw. Please distinguish the two screws to avoid errors during subsequent installation.
2. Remove the right side of the belt lock; release the belt; hold the belt tensioner and pull the belt out.

Step 3: Remove the Pulley
Unscrew pulley shaft, and remove the pulley and 2PCS washers.

Assemble the X-axis Assembly
Step 1: Install the Pulley
Place one 1PCS washer on the X-axis.
Place another 1PCS washer on the pulley and place it on the X-axis.
Attach the pulley shaft to the pulley and then place it onto the X-axis.
Install the pulley shaft and tighten it.

Step 2: Install the X-belt
1. Verify the direction of the belt; thread it through the X-axis from the side of the idler pulley.

2. Pass the belt through the end cover of the right belt tensioner, align the belt tensioner with the belt, and press them together into the end cover of the tensioner.

3. Install the end cover of the X-axis; tighten 1 screw to secure it in place.
Note: The cover screw is shorter than the purge wiper screw. If used incorrectly, the purge wiper screw will hit the X-axis idler pulley, causing abnormal X-axis resistance and continuous step loss when homing.

Step 3: Install the Purge Wiper
Install purge wiper and secure with 1 screw.

Install the X-asix Assembly
Step 1:Install the X-axis assembly
Install the X-axis module, taking care to prevent the X slider from falling off, and then lock the 4 screws. Be careful not to press the X-axis timing belt when tightening the lower 2 screws.

Step 2: Install the X motor
Install the X motor with the motor cable facing downwards and lock in the 4 screws.\

Step 3:Install X motor cover
Pass the X-axis belt around the motor driving wheel, and then install the motor cover to the adapter bracket in the direction of the arrow. Note that the motor cable must pass through the motor cover. Tighten 1 screw on the X-axis and 2 screws inside the motor cover to fix the motor cover;

Step 4:Arrange X motor cable
1.Pass the X motor cable through the nylon mesh and wrap the other end of the nylon mesh with tape.

2. Confirm the direction of the wire clamp, install the wire clamp on the motor cover, then confirm the installation direction, and cover the front cover of the motor cover;

3. Install the rear cover of the X motor cover , lock in 2 screws, and align the installation position.

Step 5:Connect X motor cover
Connect the X motor cable to the mainboard. Place the mainboard fan and secure it with 2 screws.

Step 6: Install the baseplate
Install the baseplate, align the position, and lock in 14 screws to fix it; then install the cable clamp, lock in 2 screws to fix it; place the printer upright.

Verify the functionality
Confirm that the X-axis slider moves smoothly without any abnormal noise, and prevent the slider from falling off.