


Replacement Filament Cutter - H2D / H2C for Bambu Lab
No se pudo cargar la disponibilidad para recoger
Utilice este texto para fomentar la comunicación o promover el intercambio en las redes sociales.
The Filament Cutter is a blade that is used to cut the filament during a filament change.
The tool head cutter scraper is suitable for Bambu Lab H2D, H2D Combo 3D Printer.
This filament cutter is made of high quality steel, which is harder and very durable. With sharp edges, please don't to scratch your fingers during installation.
The tool head cutter is a tool of cutting filament. You can use this cutter cut the printing filament and the cutter scraper can prevent nozzle clogging.
The filament cutter spare part is a tool of cutting printing filament. You can use this cutter blade cut the filament and it can reduce nozzle clogging risk.
Before replace the filament cutter, please turn off 3D printer and unplug the power supply to prevent short circuits.
Installation
Learn more about Replacement Filament Cutter on Bambu Lab Wiki.
In the Box
Replacement Filament Cutter*3
Compatibility
H2D and H2D Laser
H2C and H2C Laser
Replace H2D/H2C Filament Cutter Lever and Blade
This article introduces how to replace the H2D/H2C filament cutter lever and blade.
Filament Cutter Lever and Blade
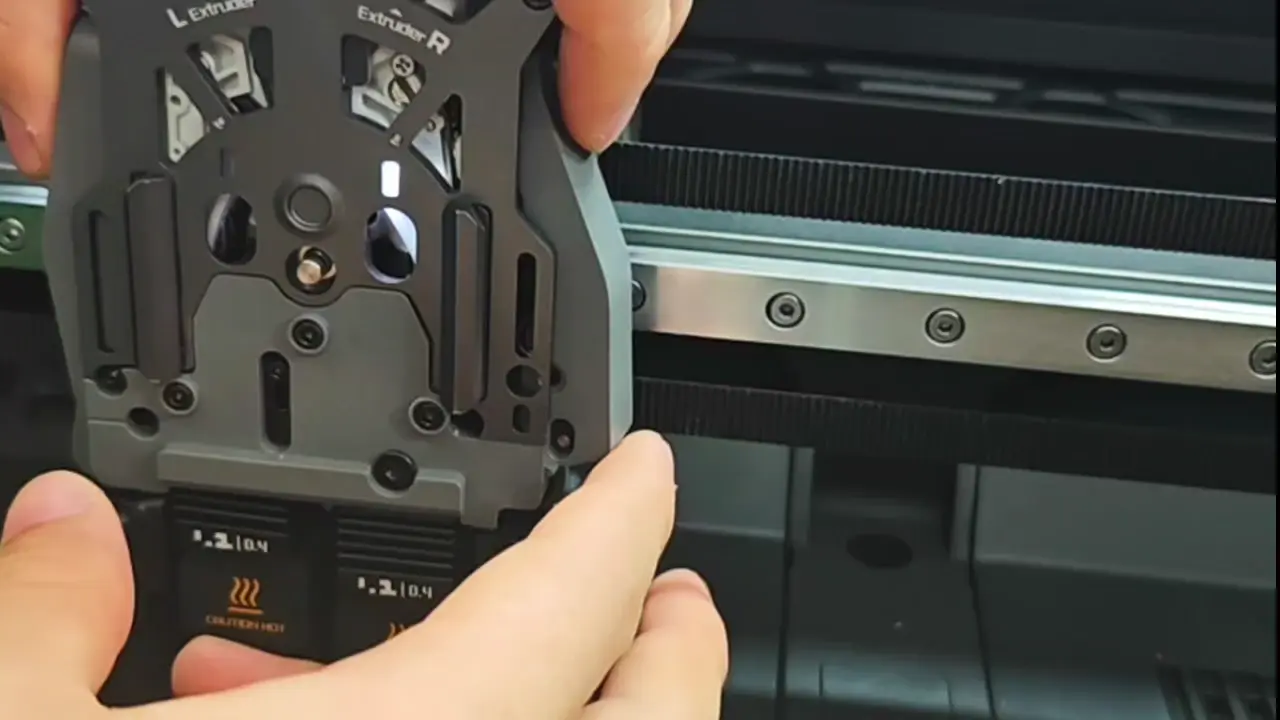
The H2D toolhead is equipped with a cutter on each side (left and right). Note that the cutter handles and torsion springs for the left and right cutters are different. Please pay attention to the distinction during disassembly or replacement.
The spare parts for the left cutter include:
1.left cutter lever * 1
2.Torsion spring * 1
3.Screw * 1
The spare parts for the Right cutter include:
1.Right cutter lever * 1
2.Torsion spring * 1
3.Screw * 1
The spare parts for the cutter blade include:
Cutter blade (universal for left and right) * 3
When to Use
The cutter blade is worn out.
The cutter lever is damaged.
Tools and materials needed
1.New cutter lever or blade (replace as needed).
2.H2.0 Allen key.
Safety Warning
IMPORTANT!
It's crucial to power off the printer before conducting any maintenance work, including work on the printer's electronics and tool head wires. Performing tasks with the printer on can result in a short circuit, leading to electronic damage and safety hazards.
During maintenance or troubleshooting, you may need to disassemble parts, including the hotend. This exposes wires and electrical components that could short circuit if they contact each other, other metal, or electronic components while the printer is still on. This can result in damage to the printer's electronics and additional issues.
Therefore, it's crucial to turn off the printer and disconnect it from the power source before conducting any maintenance. This prevents short circuits or damage to the printer's electronics, ensuring safe and effective maintenance. For any concerns or questions about following this guide, we recommend submitting a technical ticket regarding your issue and we will do our best to respond promptly and provide the assistance you need.
Replace the Right Cutter Lever and Blade
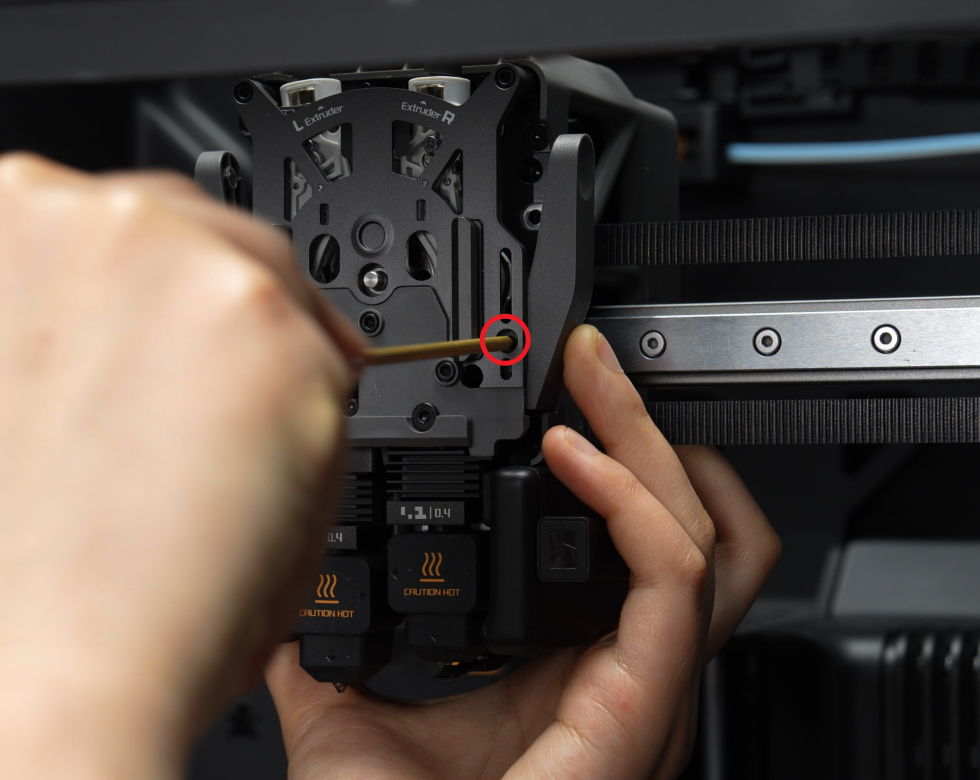
1.Use an H2.0 Allen key to remove the fixing screw of the right cutter. Take out the cutter and torsion spring together from the extruder, then pull the cutter blade out of the cutter lever.

Remove the cutter lever and replace the worn-out blade. When installing the cutter blade, ensure the notched side of the blade is facing upwards, then insert it into the cutter slot in the lever.

Place the torsion spring over the cylinder, ensuring one end of the spring is inserted into the small hole. Then, insert the right cutter lever and blade together into the extruder. Hold the cutter lever to prevent it from loosening, and tighten the screw using the H2.0 Allen key.

Insert the cutter along with the cutter lever into the slot, slowly press it in from the bottom of the cutter lever, and then install the screws to ensure that the cutter lever won't spring open.
Replace the Left Cutter Lever and Blade
Before replacing the left cutter, ensure the hotend is switched to the left hotend.
Use an H2.0 Allen key to remove the fixing screw. Pull the left cutter handle out of the extruder, then remove the cutter blade from the cutter lever.

Insert the cutter blade into the cutter lever. Place the torsion spring over the cylinder, ensuring one end of the spring is inserted into the small hole. Then, insert the left cutter lever and blade together into the extruder. Hold the cutter lever to prevent it from loosening, and tighten the screw using the H2.0 Allen key.

Verify the Functionality
Ensure the cutter is not loose, rebounds smoothly, and can cut the filament properly.