

Heatbed Sensor for Bambu-A1
No se pudo cargar la disponibilidad para recoger
Utilice este texto para fomentar la comunicación o promover el intercambio en las redes sociales.
A1 Heatbed Sensor Installation Tutorial
This article will provide guidelines and precautions for removing and installing the Heatbed Sensor Unit (functions as an accelerometer) at the bottom of the Heatbed.

Parts List
The spare parts involved in this guide are as follows.

Safety Warning
IMPORTANT!
It's crucial to power off the printer before conducting any maintenance work, including work on the printer's electronics and tool head wires. Performing tasks with the printer on can result in a short circuit, leading to electronic damage and safety hazards.
During maintenance or troubleshooting, you may need to disassemble parts, including the hotend. This exposes wires and electrical components that could short circuit if they contact each other, other metal, or electronic components while the printer is still on. This can result in damage to the printer's electronics and additional issues.
Therefore, it's crucial to turn off the printer and disconnect it from the power source before conducting any maintenance. This prevents short circuits or damage to the printer's electronics, ensuring safe and effective maintenance.
Remove the Heatbed Unit
Step 1 - Remove the Heatbed Unit
Turn the bottom base over so that the heatbed is facing up, and remove the 4 soft rubber plugs.
Using an H2.0 hex key, unscrew the 4 screws and then remove the Heatbed Unit.

Step 2 - Remove the Heatbed Sensor Unit
Using tweezers, carefully remove part of the silicone and pry up the connector.
Disconnect the cable, then remove 1 screw with a cross screwdriver to detach the Heatbed Sensor Unit.


Install the Heatbed Sensor Unit
Step 1 - Install the Heatbed Sensor Unit
Install the Heatbed Sensor Unit to the bracket under the Heatbed Unit and secure it with 1 screw.
Connect the sensor cable and insert the connector into the buckle.
Apply white glue to reinforce the connector and let it sit for 30 minutes.

Step 2 - Install the Heatbed Unit
Confirm the installation position and place the Heatbed Unit on the bracket. Viewing from the left or right will make it easier for you to align the screw holes, and then tighten the 4 screws to secure it in place. Finally, place back the 4 soft rubber plugs.


Verify the Functionality
None
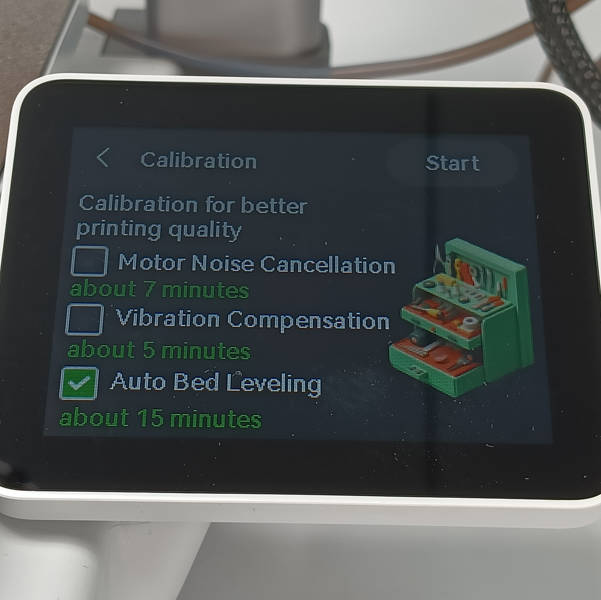
Calibration
Perform equipment calibration, primarily focusing on Auto Bed Leveling.