


for Bambu Lab Chamber Temperature Sensor - P2S
No se pudo cargar la disponibilidad para recoger
Utilice este texto para fomentar la comunicación o promover el intercambio en las redes sociales.
The chamber temperature sensor is an NTC with a fixed bracket, installed on the inside of the printer's front beam, and is used to detect the temperature inside the printer chamber.
In the Box
- Cavity temperature sensor*1
- BT3x6 screws*2
Compatibility
P2 Series
Chamber Temperature Sensor Replacement Guide for the P2S
This wiki shows how to replace the chamber temperature sensor of P2S
Chamber Temperature Sensor
The chamber temperature sensor is an NTC with a fixed bracket, installed on the inside of the printer’s front beam, and is used to detect the temperature inside the printer chamber.
Accessory package includes:
Chamber temperature sensor* 1
BT3x6 screw* 2
When to Use This Guide
1.The chamber temperature sensor connection cable is damaged.
2.Chamber temperature error.
Required Tools and Materials
1. New chamber temperature sensor
2. H2.0 Hex wrench
Safety Warning
IMPORTANT!
Always power off and disconnect power on the printer before performing maintenance work. Not doing so means there is a risk of electric shock, short circuit, and damage to the printer or surrounding area.
When a maintenance task necessitates the printer being powered on, use insulated gloves for safety and pay special care not to pinch, damage, or put pressure on any exposed wires, connectors, or circuit boards. Additionally, the nozzle can be extremely hot so never touch it with exposed skin.
Remove the Chamber Temperature Sensor
Step 1: Disconnect the Cables
Open the access end of the AP board cover, then disconnect the chamber temperature sensor cable from the AP board.

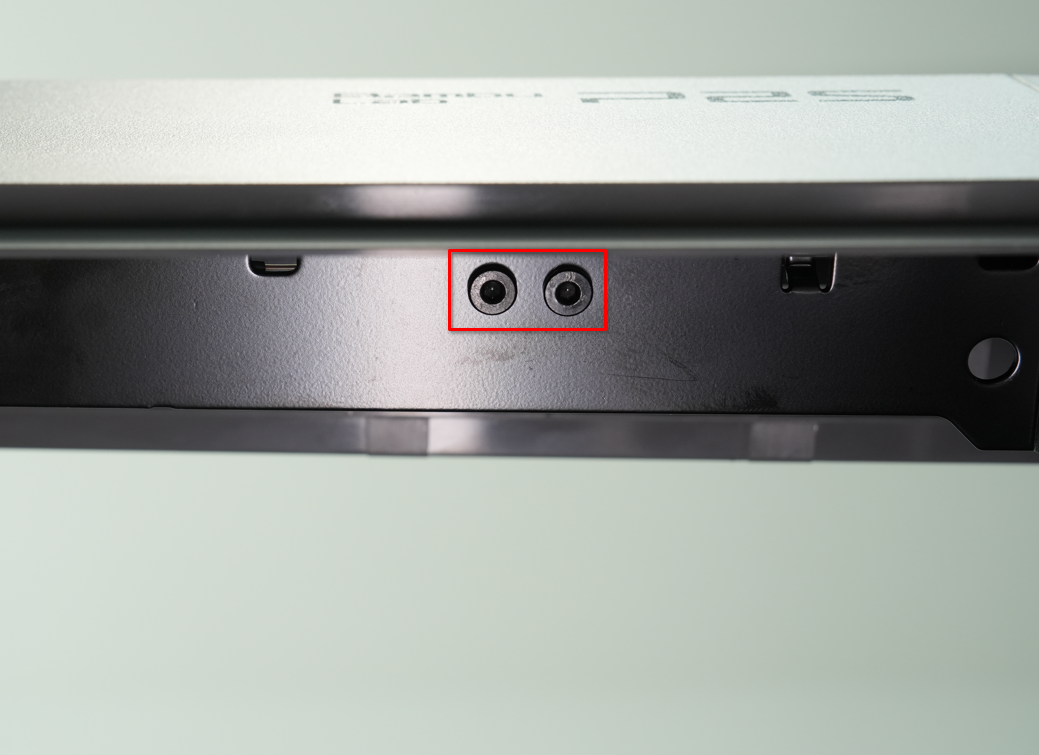
Step 2: Remove the Chamber Temperature Sensor
Locate the chamber temperature sensor inside the front cross beam. Remove the two screws (BT3x6) with an H2.0 Allen key, then remove the sensor.

Install the Chamber Temperature Sensor
Step 1: Install the Chamber Temperature Sensor
Align the new chamber temperature sensor with the screw holes on the printer beam, and tighten the two fixing screws (BT3x6) using an H2.0 Allen key.
Please hold the chamber temperature sensor in place while tightening the first screw, then tighten both screws together.

Step 2: Connect the Cables
Route the chamber temperature sensor cable along the cross beam to the side of the AP board, connect it to the AP board, and refasten the inspection end of the AP board cover.


Verifying Functionality
Connect the power supply and turn on the printer, then check whether the chamber temperature is normal.