


Floating Damper Feet for Bambu Lab
No se pudo cargar la disponibilidad para recoger
Utilice este texto para fomentar la comunicación o promover el intercambio en las redes sociales.
Isolate Unwanted Vibration for Better Print Quality
The floating damper feet are tuned with precise resonance frequency to effectively decouple the machine from desktop vibrations. This vibration isolation system ensures consistent print quality even in the presence of external vibration sources.

*Two machines share a desk, both printing square pillar outer walls at 20,000mm/s² acceleration.
The floating damper feet have been tested and optimized. Results clearly show that the specially tuned floating damper feet deliver superior vibration isolation.

The vibration sensor is mounted on the heatbed of Printer A to measure vibrations transmitted through the table from Printer B, whose simulated printing activity represents vibrations across the full frequency range.
*The vertical axis represents vibration acceleration: the larger the value, the stronger the machine heatbed receives vibration from the printer on the same table, which is more detrimental to printing stability.
*The horizontal axis represents time: showing how vibration changes over the course of the printing process.
Tool-Free, Non-Invasive Upgrade
Installation requires no tools or structural modifications. Simply place the Floating Damper Feet beneath the printer for immediate stability improvements. This non-invasive upgrade preserves the printer's original configuration and can be reversed at any time.
What's in the box
Floating Damper Feet *4
Compatibility
X1 Series/P1 Series/P2 Series
X Series & P Series - Floating Damper Feet Installation Guide
This article explains how to replace the Floating Damper Feet.
Floating Damper Feet
The floating damper feet are silicone feet installed on the bottom of the printer to reduce the vibration of the printer during the printing process.

When to Use This Guide
When the anti-vibration feet of the printer are missing or damaged.
Required Tools and Materials
New Floating Damper Feet
Safety Warning
IMPORTANT!
Always power off and disconnect power on the printer before performing maintenance work. Not doing so means there is a risk of electric shock, short circuit, and damage to the printer or surrounding area.
When a maintenance task necessitates the printer being powered on, use insulated gloves for safety and pay special care not to pinch, damage, or put pressure on any exposed wires, connectors, or circuit boards. Additionally, the nozzle can be extremely hot so never touch it with exposed skin.
If you have any questions or concerns related to the above or the steps in this guide, please open a new ticket in our Support Page for assistance.
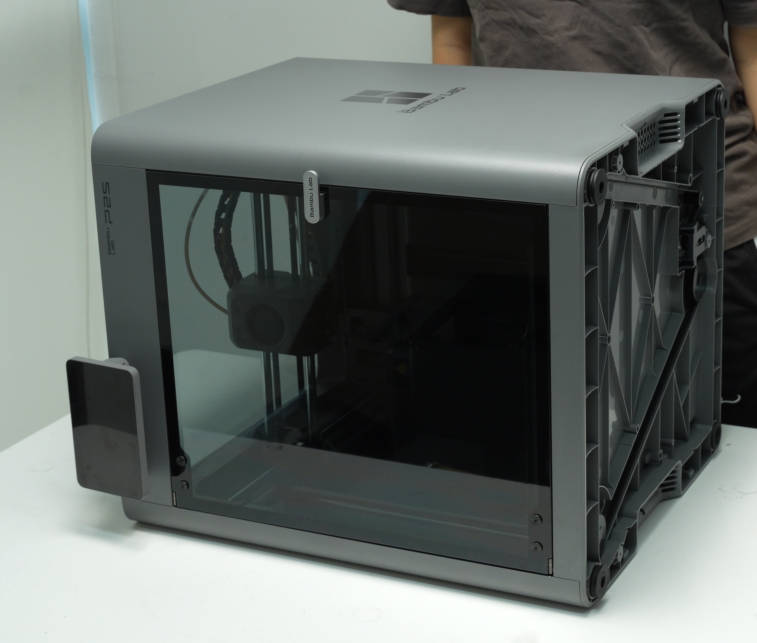
P2S Printer
Step 1: Place the Printer on Its Side
Place the printer on its side to allow easier removal of the anti-vibration feet.
Step 2: Remove the Floating Damper Feet
Pinch the anti-vibration foot with your hand and pull it out to remove it.
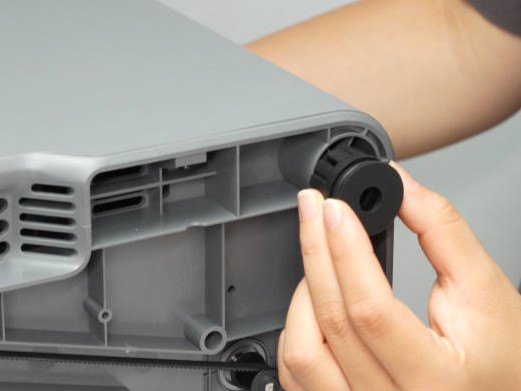
Step 3: Install the Floating Damper Feet
Align the raised part of the anti-vibration foot with the printer's base, then press it firmly into place.

Install the remaining three floating damper feet in the same way, pressing all four firmly into place to ensure their bottom surfaces are level.
Step 4: Position the Printer Upright
Place the printer upright on a table, and make sure it is stable and level.

X1/P1 Printer
Step 1: Remove the Glass Lid.
Carefully remove the glass lid and place it slowly in a safe position.

Step 2: Place the printer on its side.
Grasp the internal frame of the printer and place it on its side. Note whether the desk is clean and whether there are any foreign objects when placing it sideways.

Step 3: Pry out the Old Feet.
Insert the tweezers into the gap on the side of the feet and pry it out.

Step 4: Install the Floating Damper Feet
Align the raised part of the floating damper feet with the printer base and place it in, pressing it firmly into place.

The remaining three feet can be installed using the same method, noting that all four floor mats must be pressed into place.

Step 5: Align the printer
Place the printer upright on the desk, ensuring it is placed stably.

Verifying Functionality
Ensure the printer is upright, stable, and level, with no shaking.