

Buffer External AMS for Bambu - H3C
No se pudo cargar la disponibilidad para recoger
Utilice este texto para fomentar la comunicación o promover el intercambio en las redes sociales.
The Buffer for External AMS is an optional filament buffer that is not included as standard. It is used when you need to connect an external AMS, providing filament buffering and tension management for a stable filament feed.
In the Box
- External AMS buffer *1
- Buffer cable *1
- ST3x24 screw *1
Compatibility
H3C
Filament Buffer 6pin Connector Board Replacement Guide for the H3C
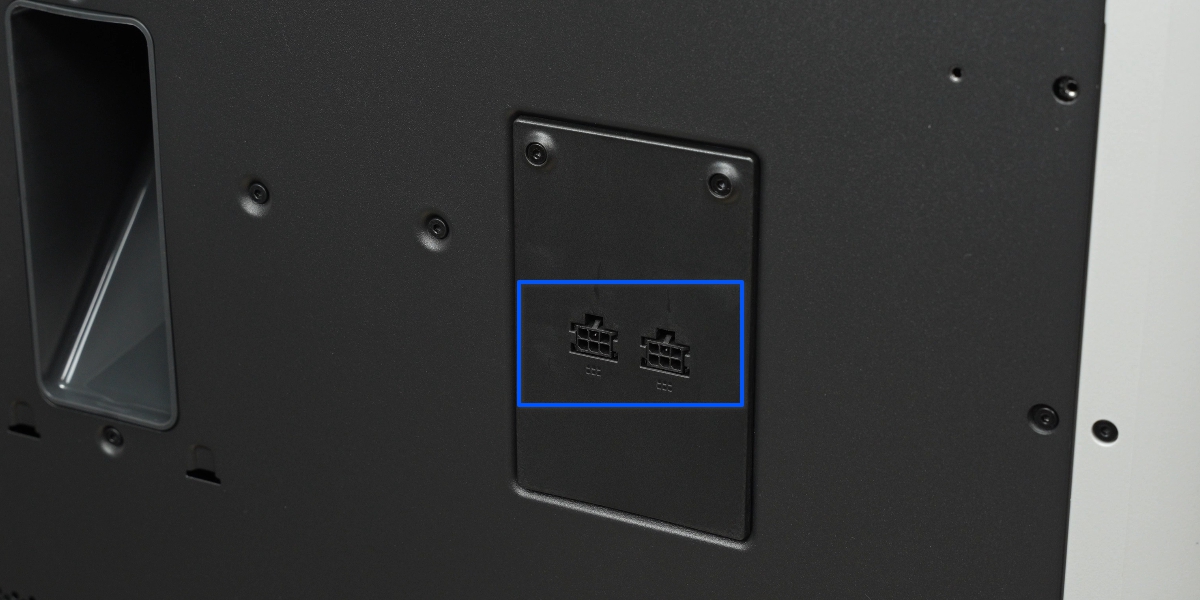
AMS 3H 6pin Connector Board
The interface board that connects to the AMS 3H and provides low-voltage power to the AMS 3H.
Applicable Printer Model
Bambu Lab H3C
Safety Tips
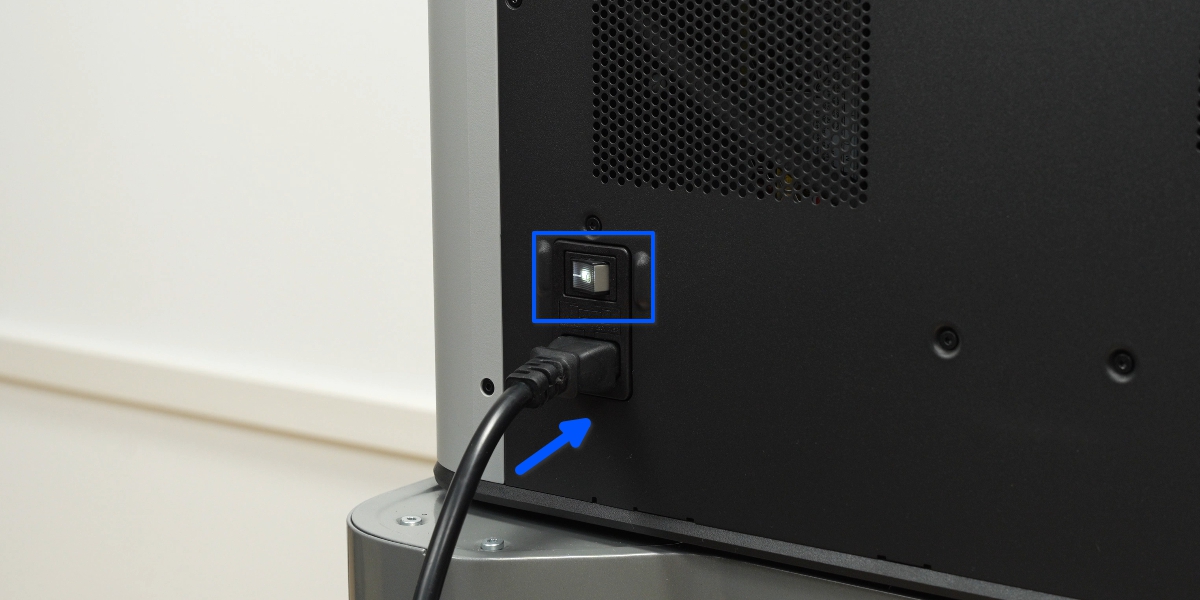
Before performing any maintenance on the printer and its electronic components (including the Toolhead Cable), turn off the printer and disconnect the power supply to prevent accidental Screen touches or short circuits, which could cause additional electronic damage and safety hazards.
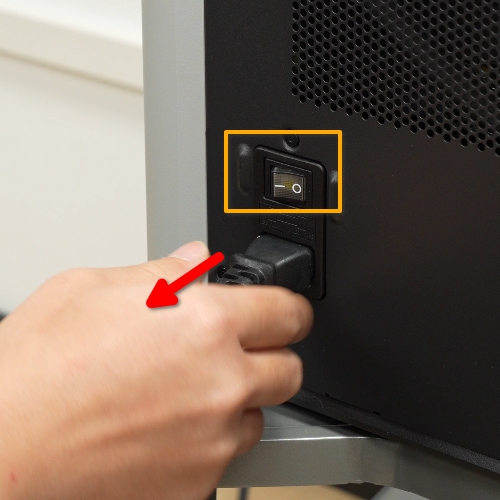
When performing maintenance or troubleshooting on your printer, please first check the temperature of the hotend and heatbed. Avoid operating at high temperatures. If operating at high temperatures is unavoidable, wear insulated gloves to ensure safe and effective maintenance.
Filament Buffer
The filament buffer is not standard equipment. If you need to connect an external AMS, you can purchase a compatible filament buffer for H3C.
Tools and Materials
H2.0 allen key
H1.5 Allen Key
Remove the 6pin Connector Board
Step 1. Remove Screws
Use the H2.0 Allen key to remove the 2 screws.
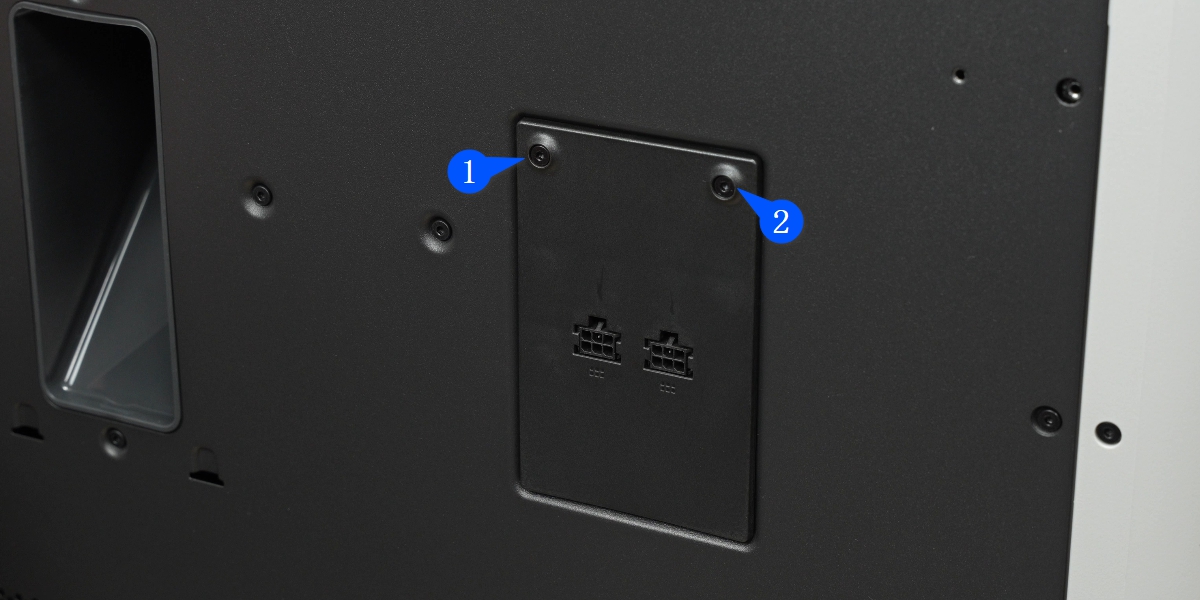
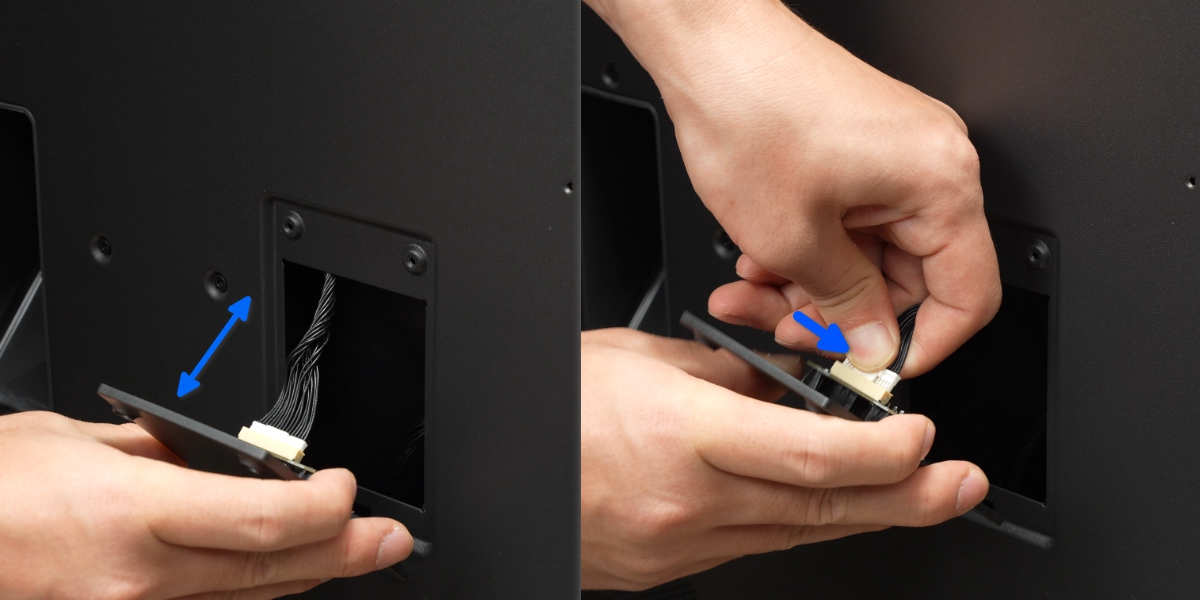
Step 2. Remove the 6 PIN Connector Board
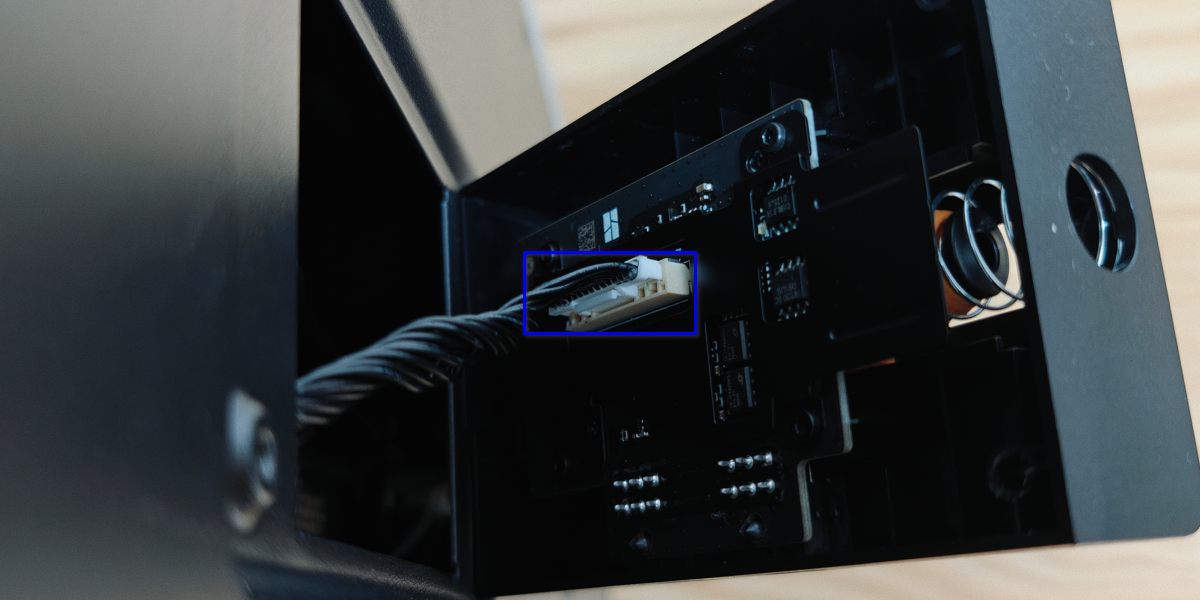
Loosen the metal plate to expose the connector. Press the locking tab to unlock, disconnect the connector, and remove the 6 PIN connector board.
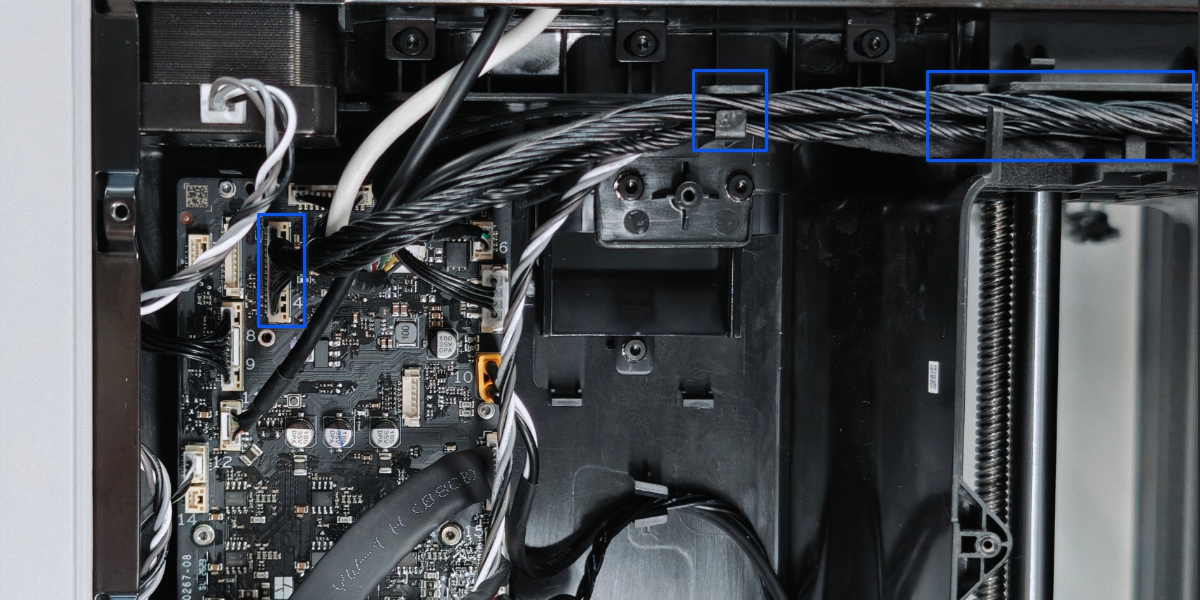
If the replacement includes the 6pin connector board's cable, you will need to remove the printer's Rear Panel first. Disconnect the cable from the connector labeled '4' on the MC board and loosen it from the locking tab.
Install the 6pin Connector Board
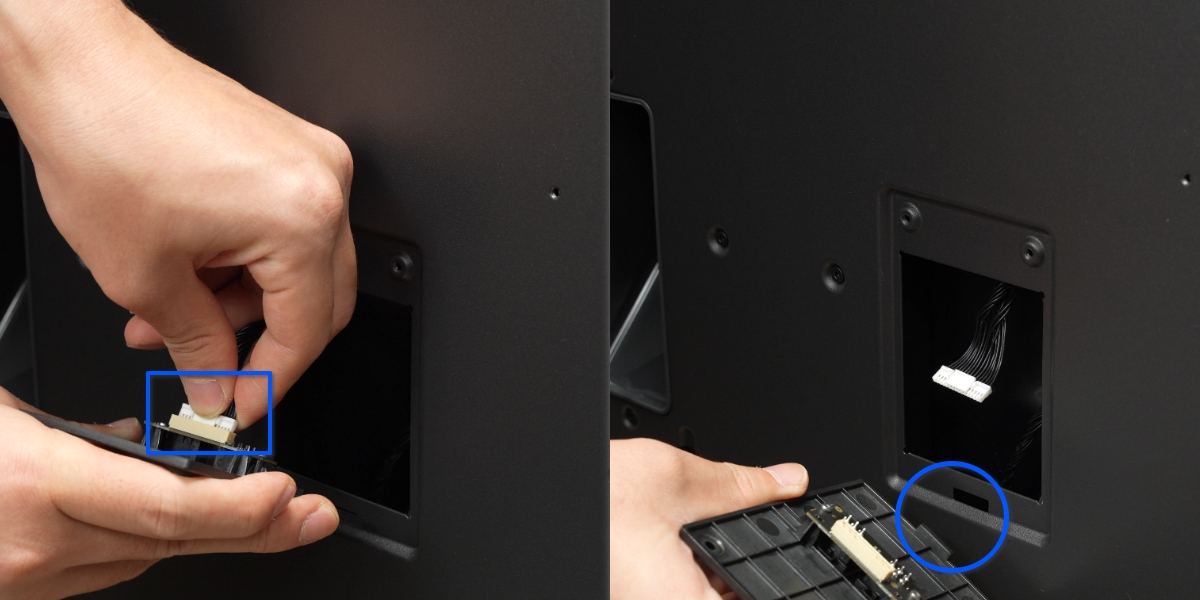
Step 1. Install the Connector Board
Connect the cable to the 6pin connector board, align the mounting notch, and attach the metal plate to the Rear Panel.
Step 2. Secure with Screws
Use the H2.0 Allen key to insert and tighten the 2 screws.
Remove the Filament Buffer
Step 1. Disconnect the Cables and PTFE Tubes
If your goal is not to replace the filament buffer, but only to remove the Rear Panel, you can skip this step.
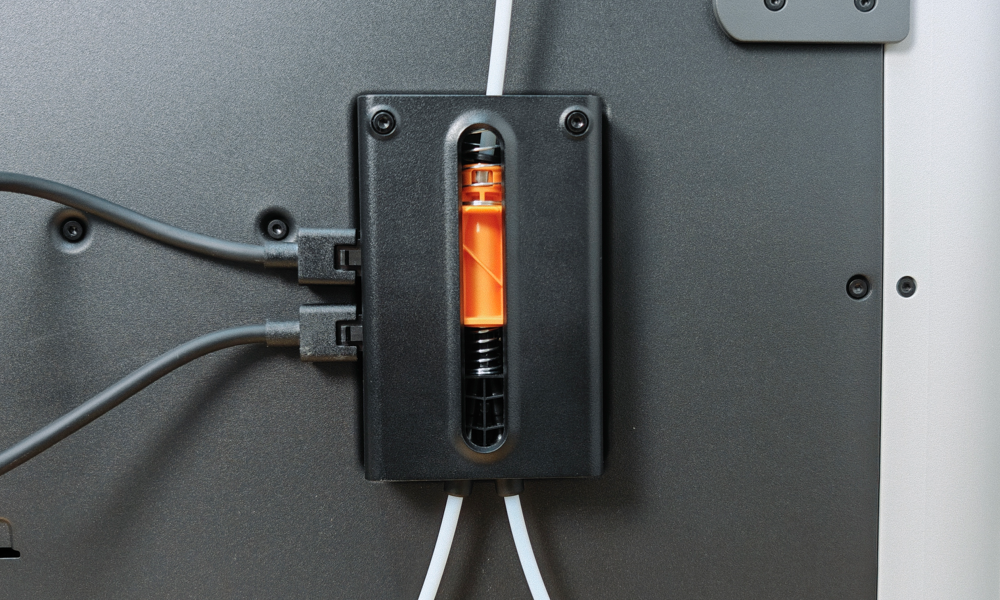
Press the locking tab on the 6PIN cable to disconnect it. Press the Pneumatic Connector to remove all tubing connected to the filament buffer. For the upper tubing, you need to push the slider upwards first to expose the Pneumatic Connector.

Step 2. Remove the Filament Buffer
Use the H2.0 Allen key to remove the 2 screws.
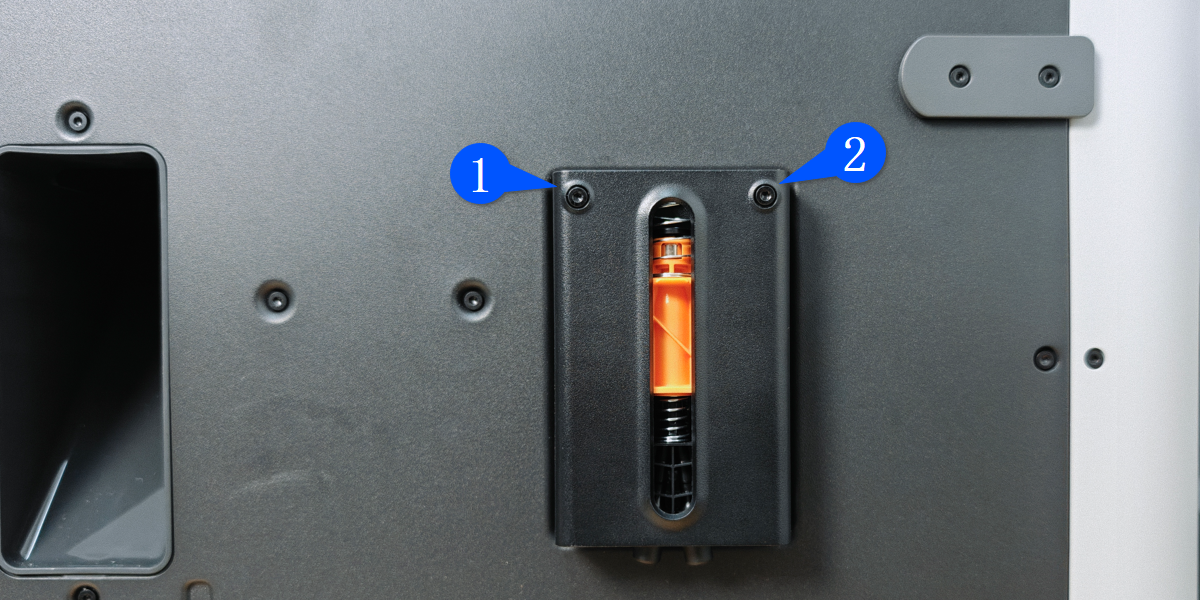
Press the locking tab to unlock, disconnect the connector, and remove the filament buffer.
Install the Filament Buffer
Step 1. Install the Filament Buffer
Connect the cable to the filament buffer connector, align the mounting notch, and install the filament buffer onto the Rear Panel.

Secure the filament buffer with 2 screws.
Step 2. Connect the Cables and PTFE Tubes
Connect the AMS 6 Pin cable and reconnect the upper and lower tubing.
Verify Functionality
Connect to the AMS 3H via the 6 Pin cable, plug in the printer power, and start the printer. Confirm that the AMS 3H is responding to power correctly.