

Automatic Filament Feeder Module for Snapmaker U1
No se pudo cargar la disponibilidad para recoger
Utilice este texto para fomentar la comunicación o promover el intercambio en las redes sociales.
• Automatic filament loading, no need to feed the filaments manually.
• Designed specifically for multi-head printers, supporting automatic feeding of multiple filaments.
Compatibility
Snapmaker U1
U1 filament feeder replacement guide
Location
The filament feeders are located at the rear of both sides of the machine. Filament from the spools is delivered to the toolheads via the filament feeder, so filament unloading must be completed before replacement.
Terminology
Different from our official term, some people may use the following terms to describe this component:
Autofeeder
Filament advancer
Feeder unit
Power feeder
Difficulty and Time Estimate
Difficulty:★☆☆☆☆ (Easy)
Estimated Time:5 minutes
Tools and Parts Required
New filament feeder
Procedure
Step 1. Unload filament
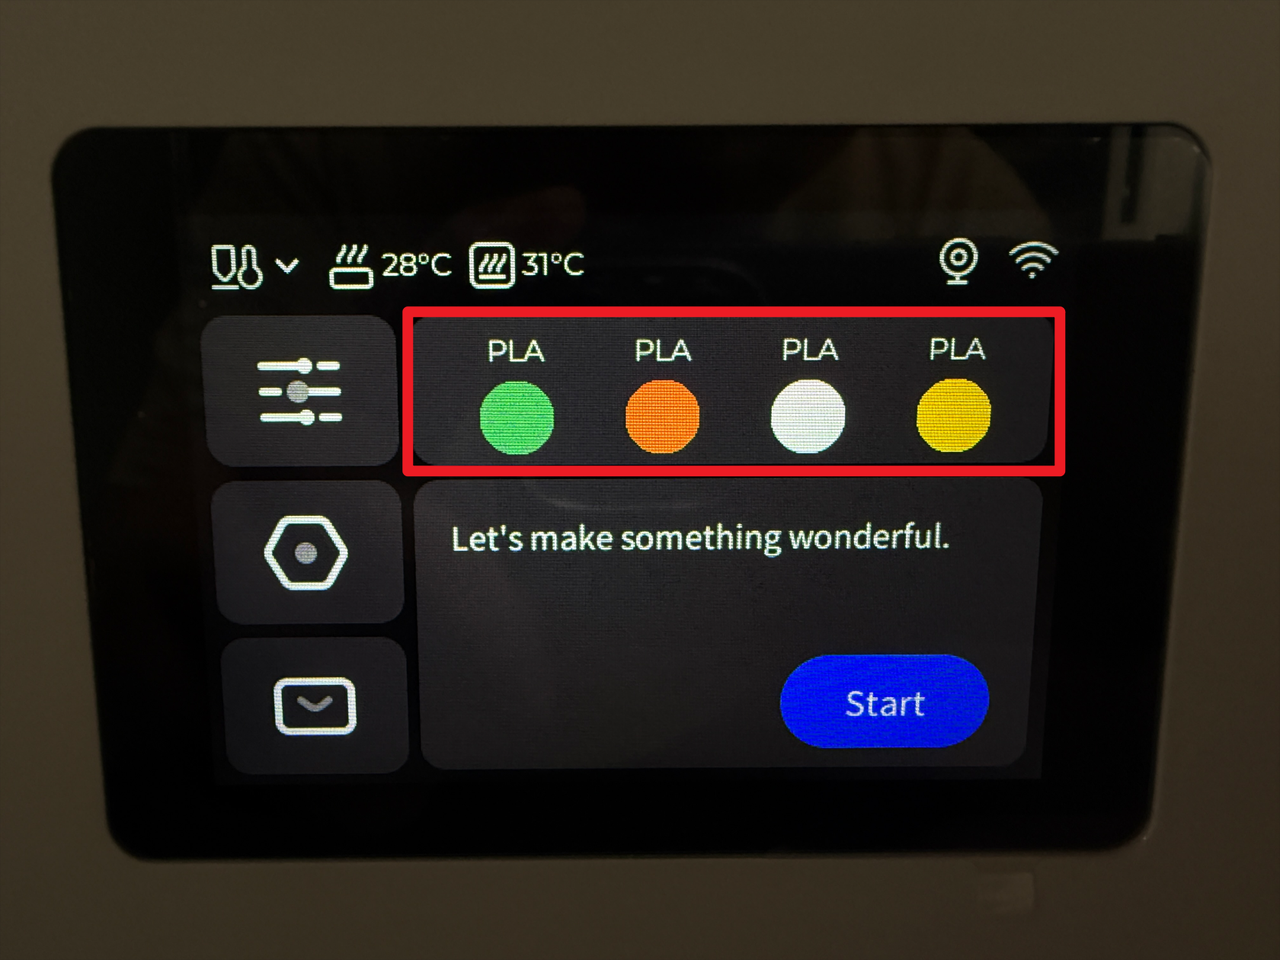
Tap the specified area on the touchscreen (Highlighted in red in the image below).
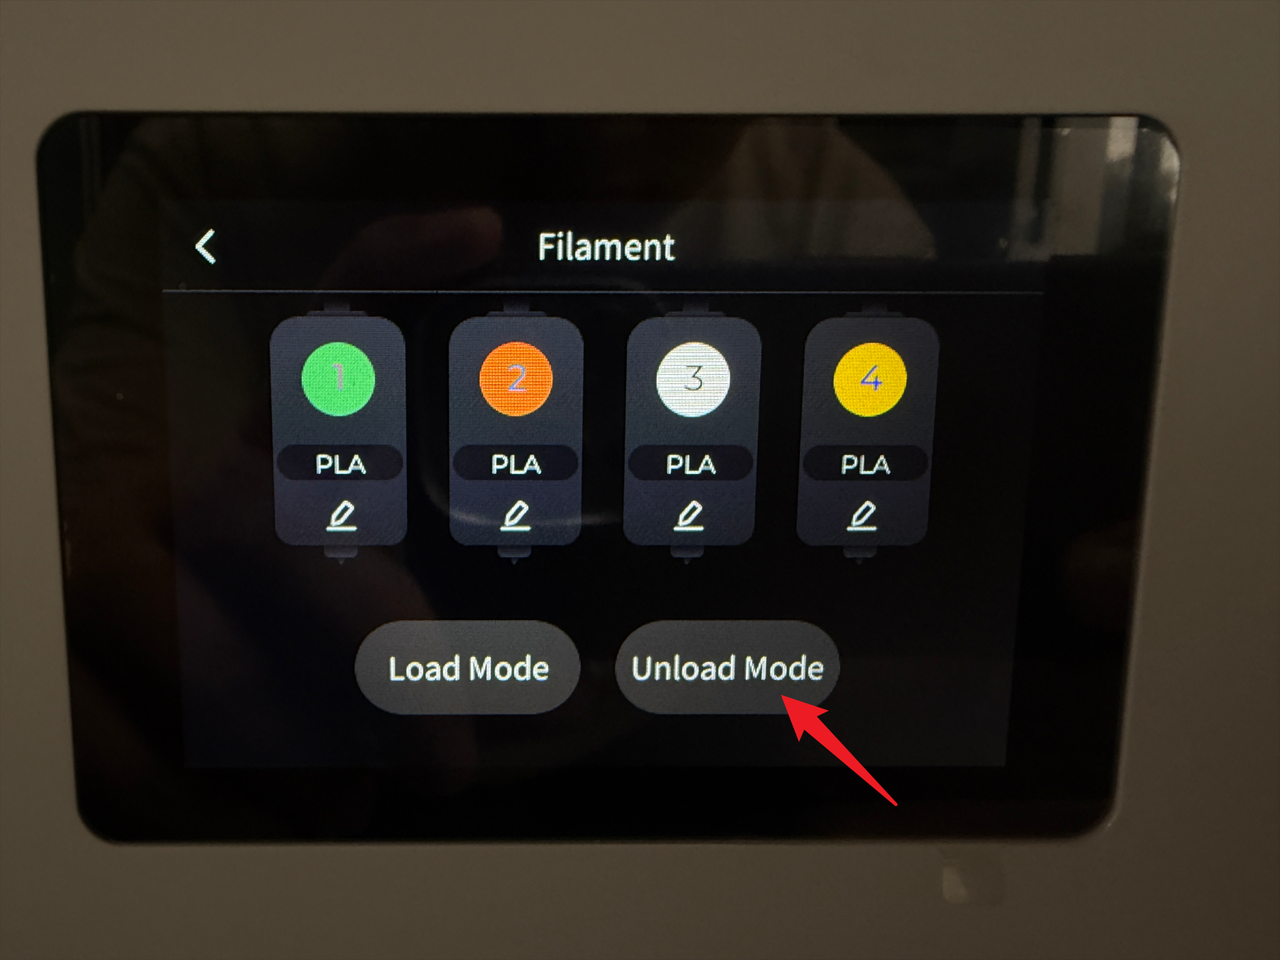
Tap "Unload Mode".
Select the toolheads.
For replacing the left filament feeder: Select Toolheads 1 and 2, then tap "Unload".
For replacing the right filament feeder: Select Toolheads 3 and 4, then tap "Unload".
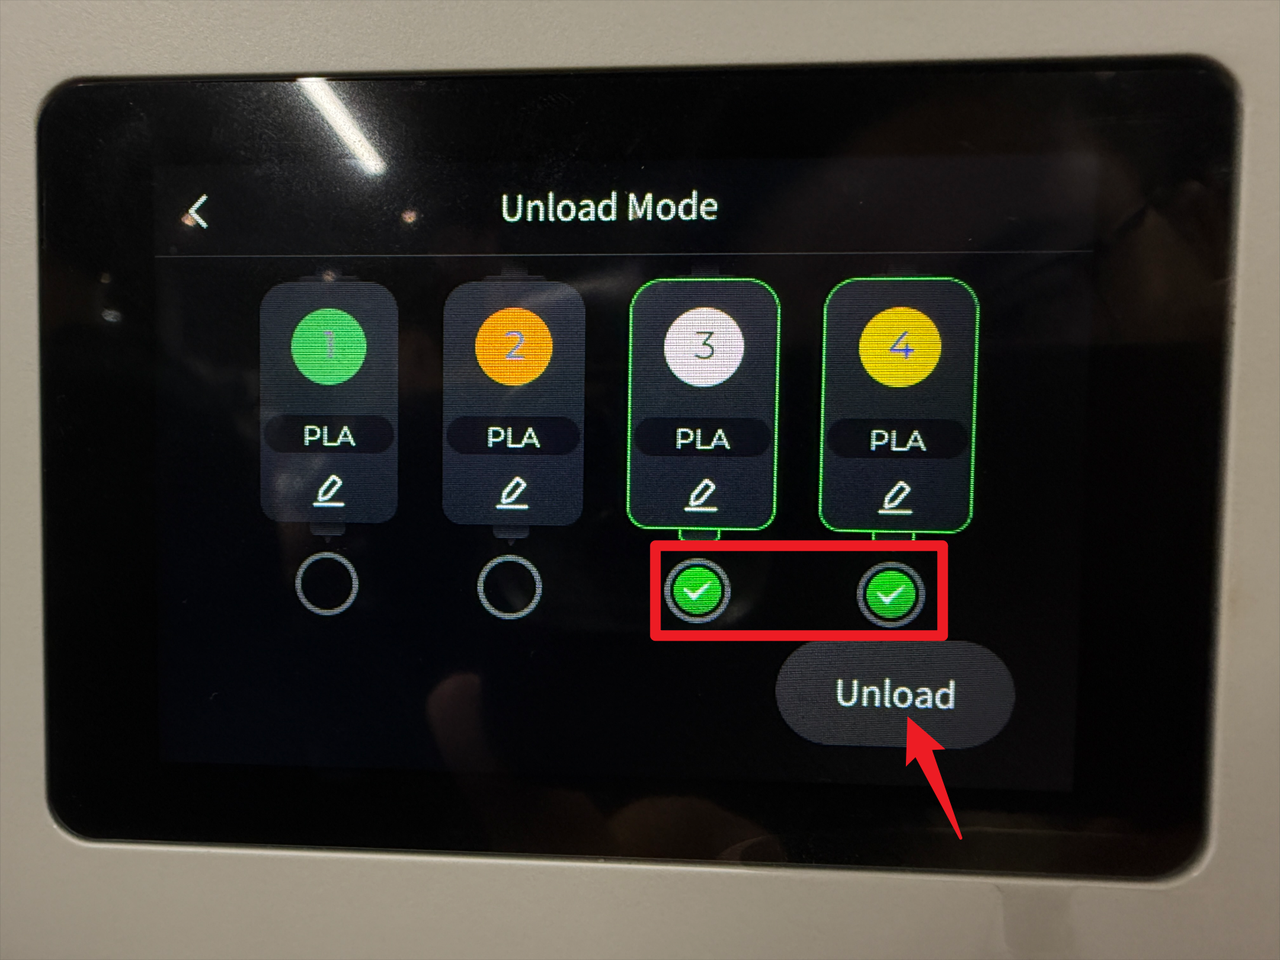
Wait for the system to automatically complete the filament unloading.
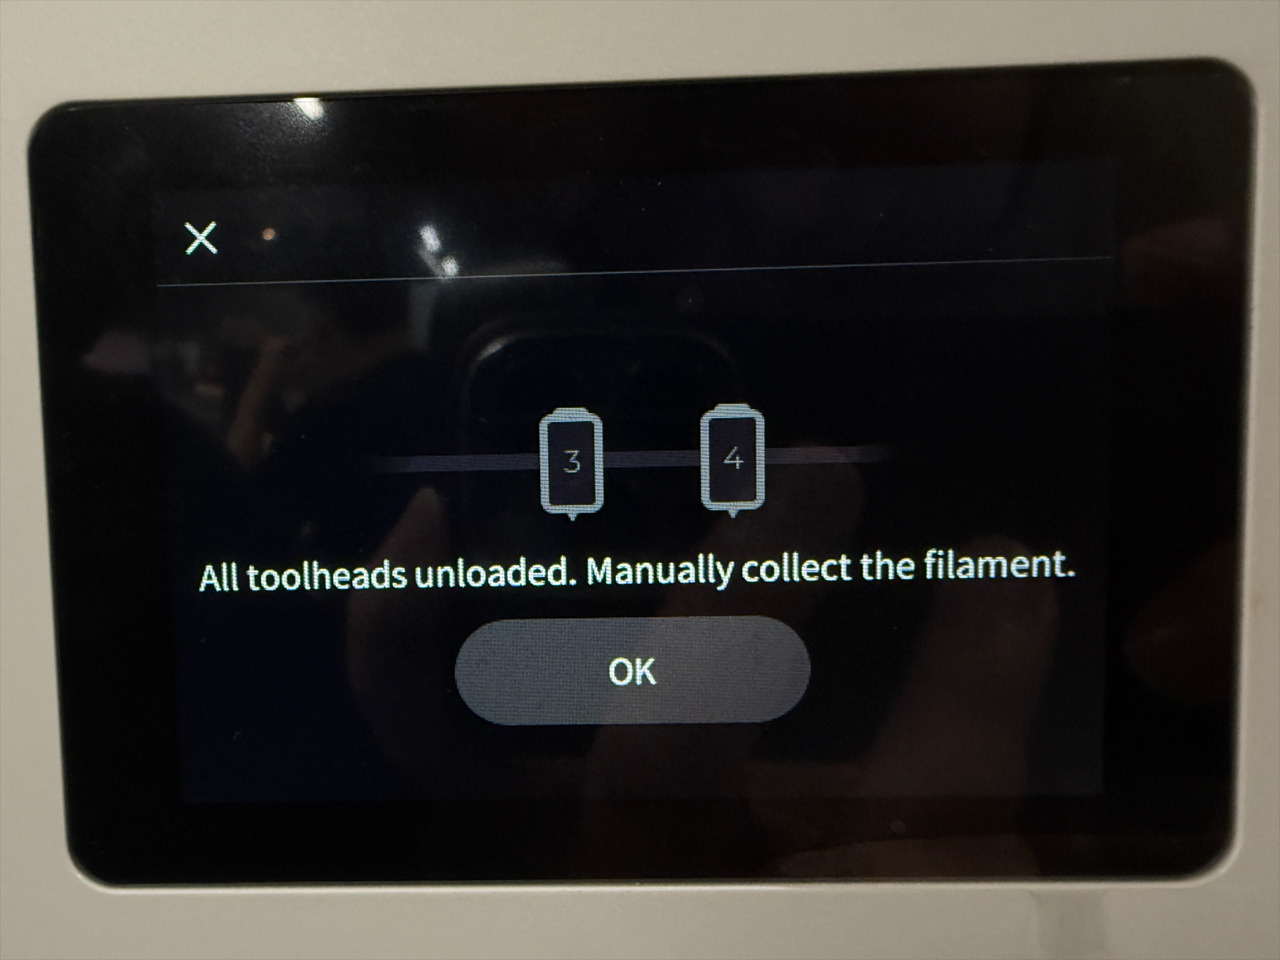
Turn the spool to retract the filament.
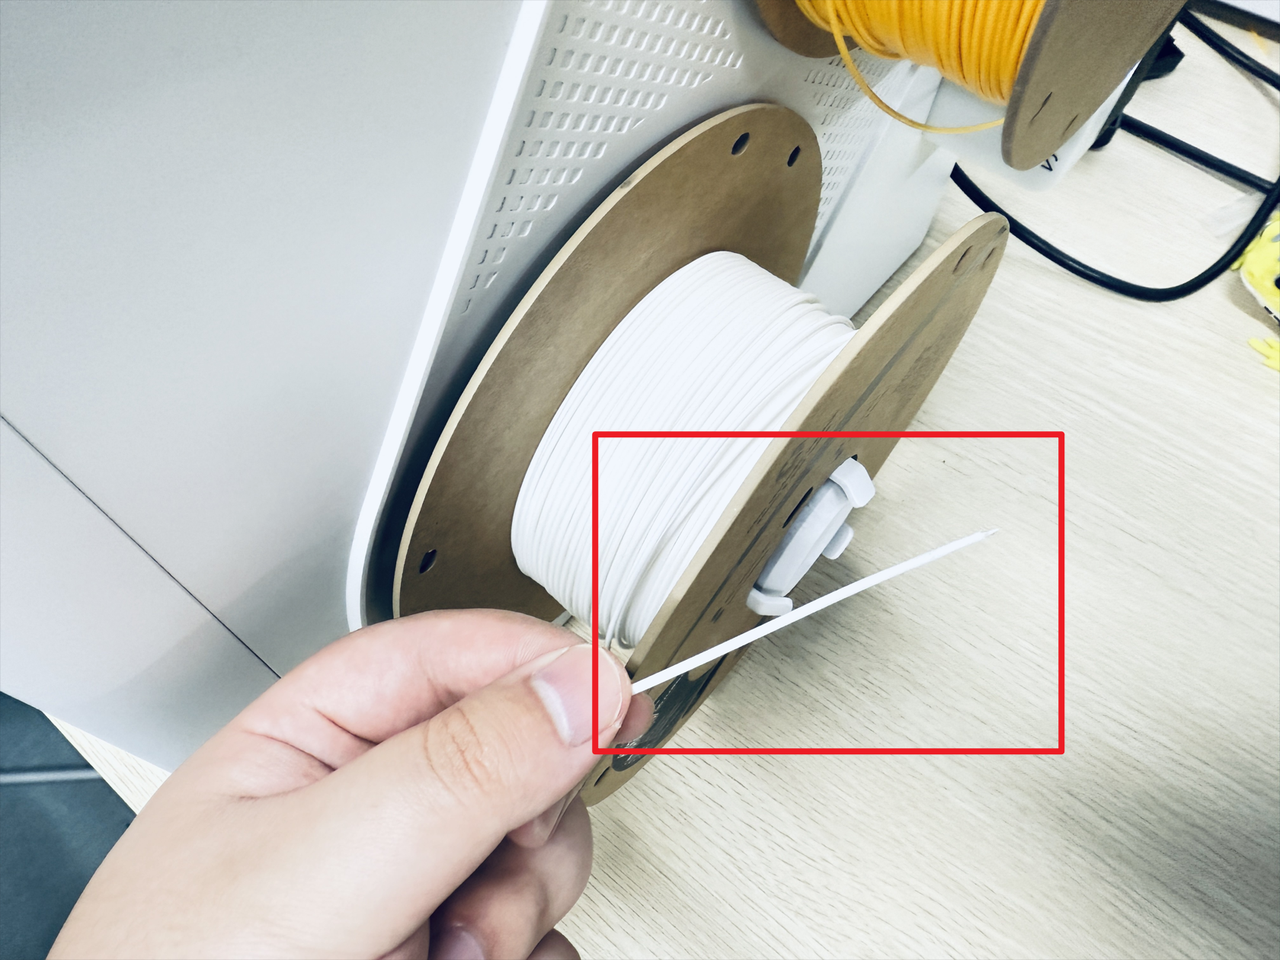
Step 2. Remove the old filament feeder
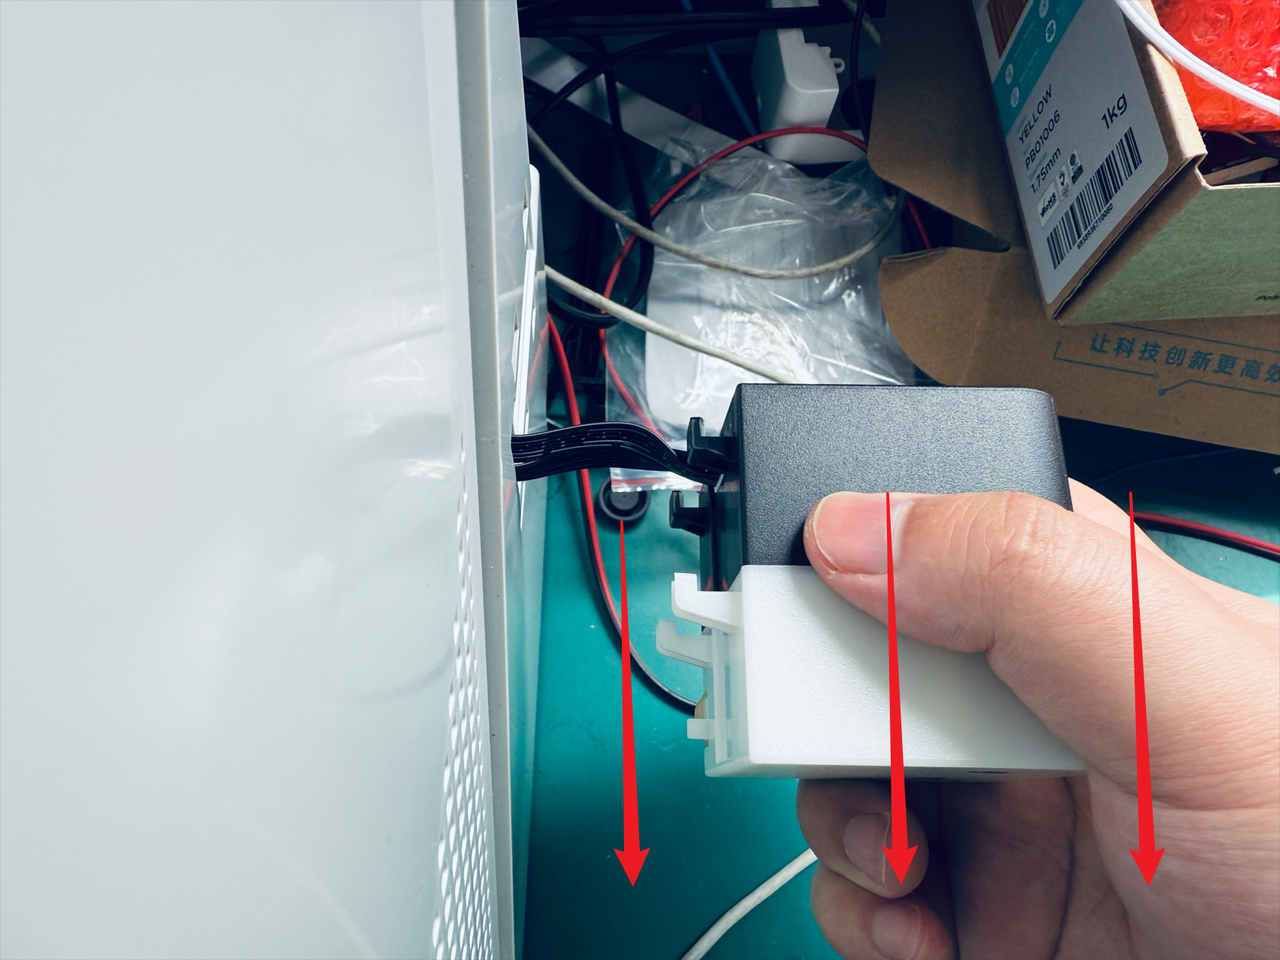
Press the clip at the marked location.
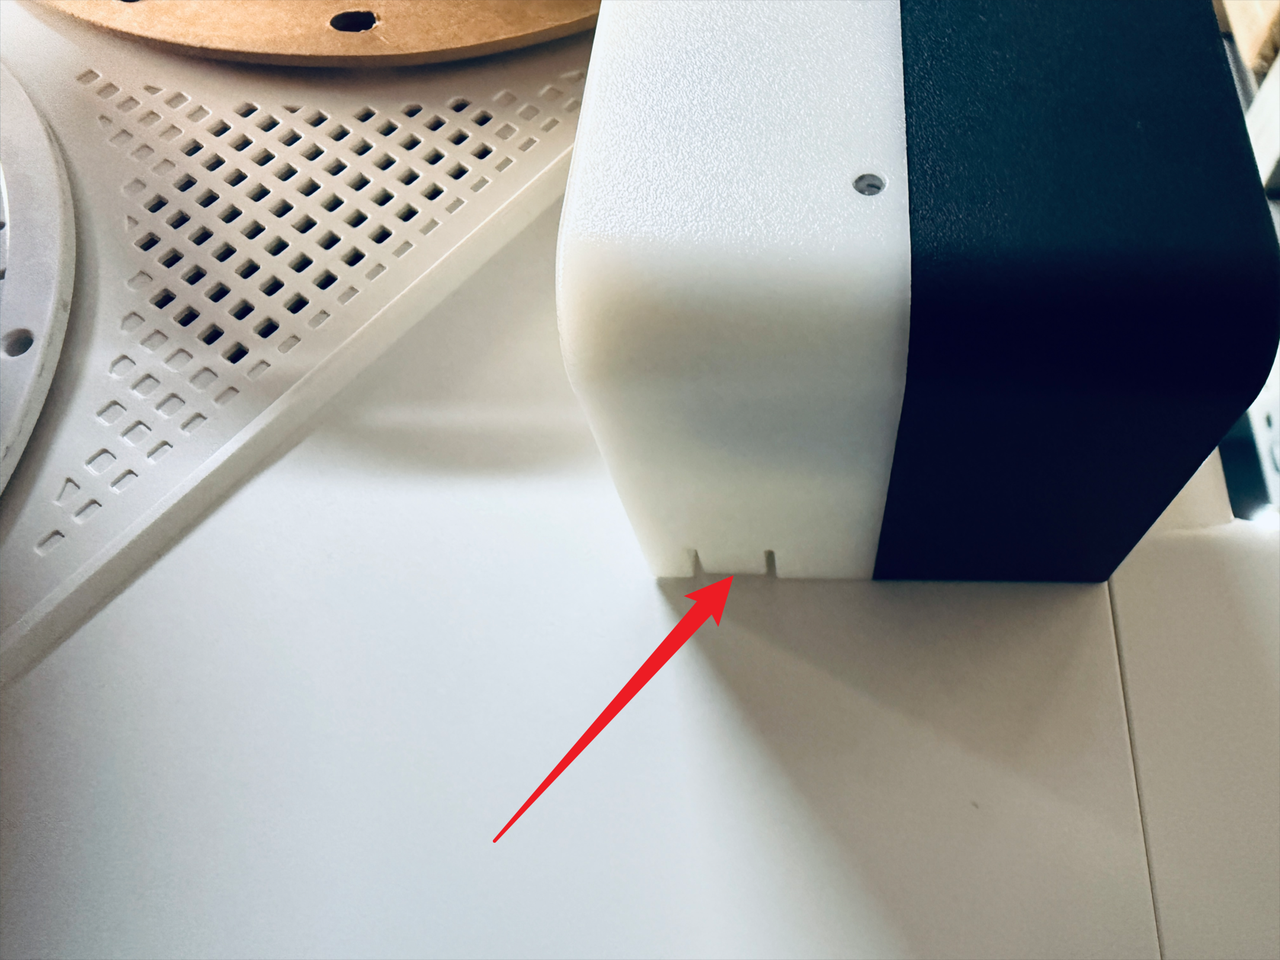
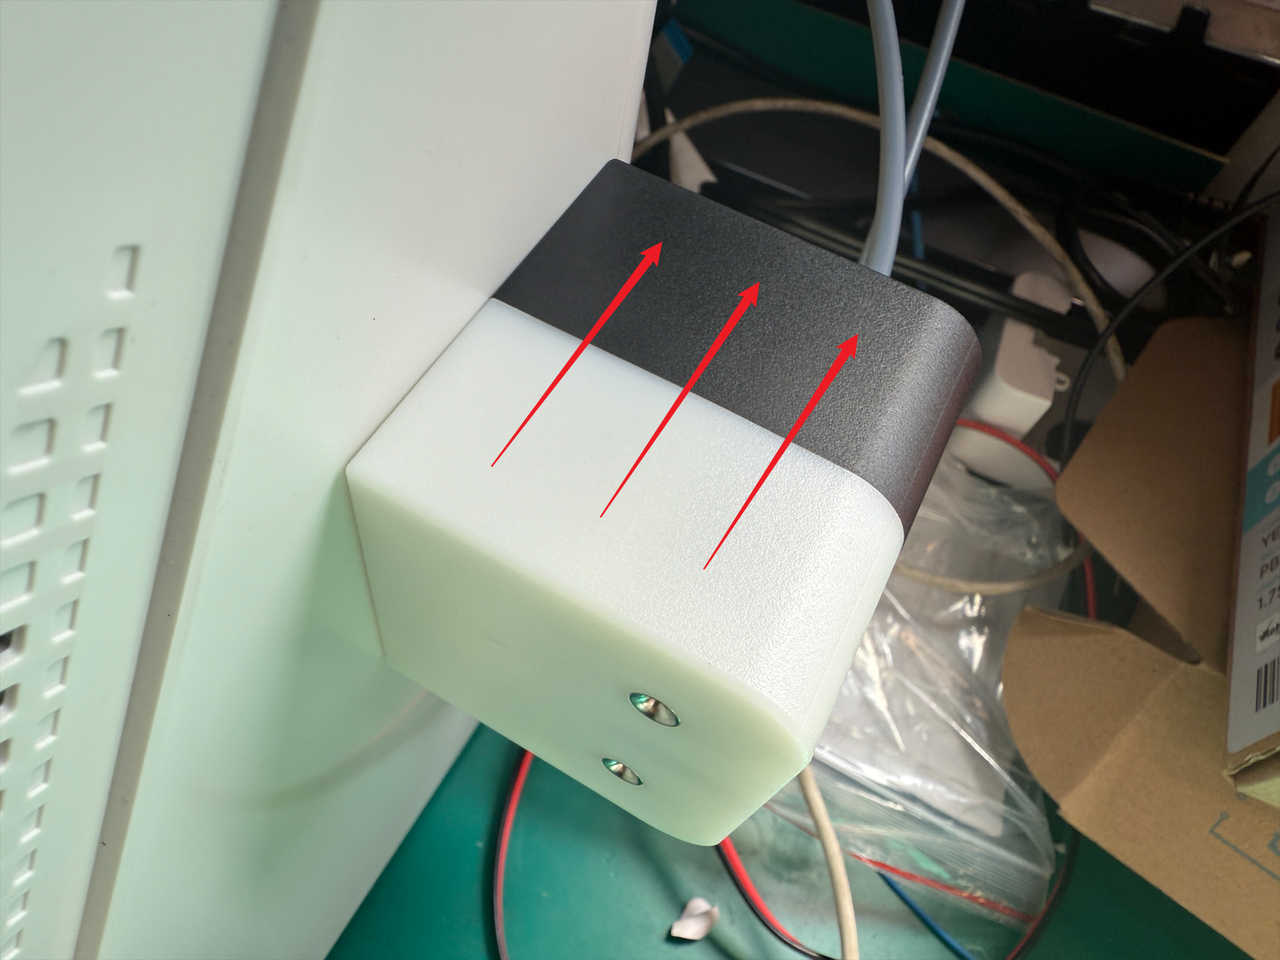
While pressing the clip, slide the filament feeder in the indicated direction to remove it.
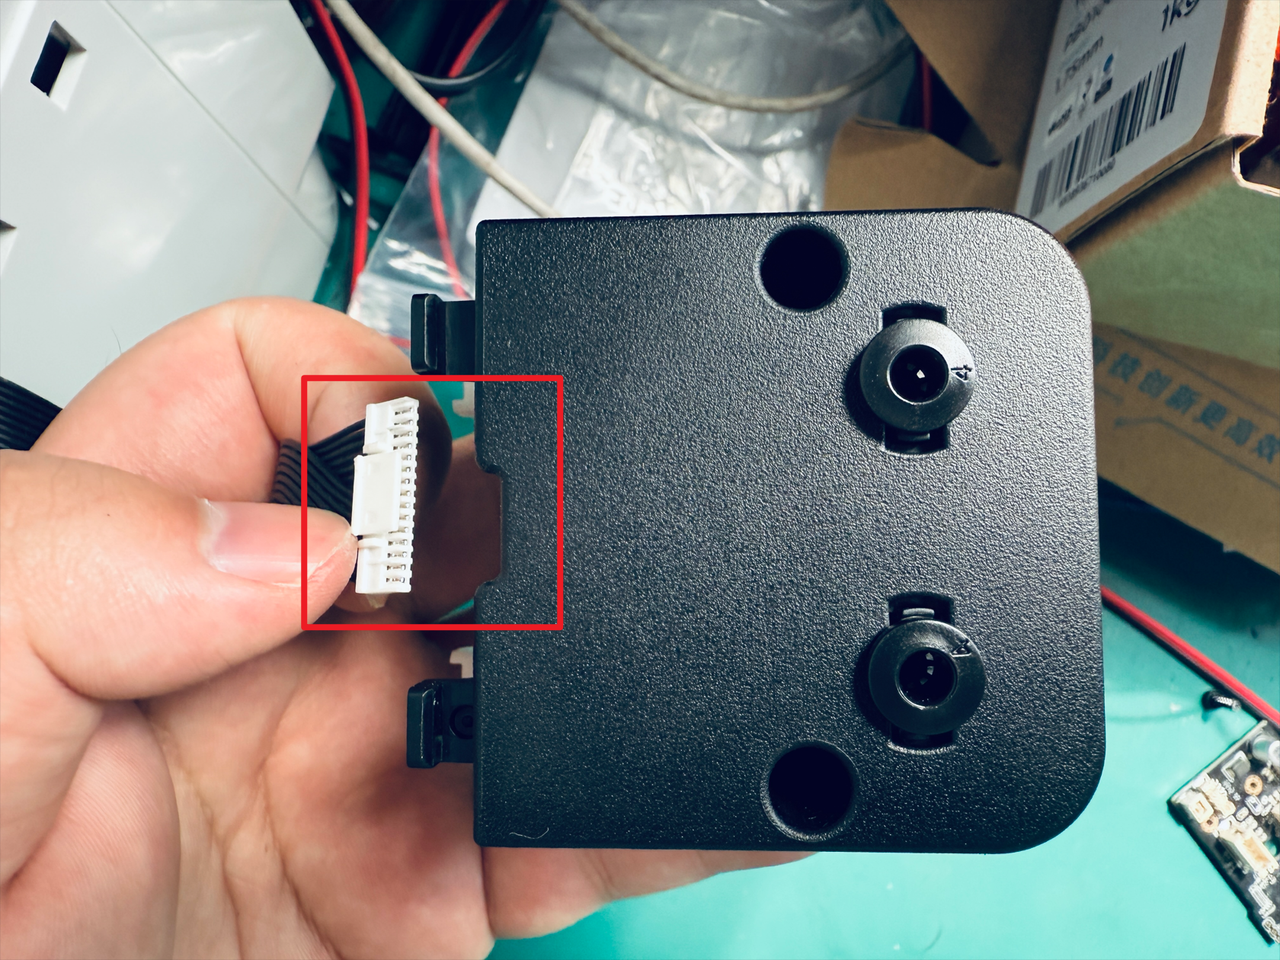
Disconnect the filament feeder cable.
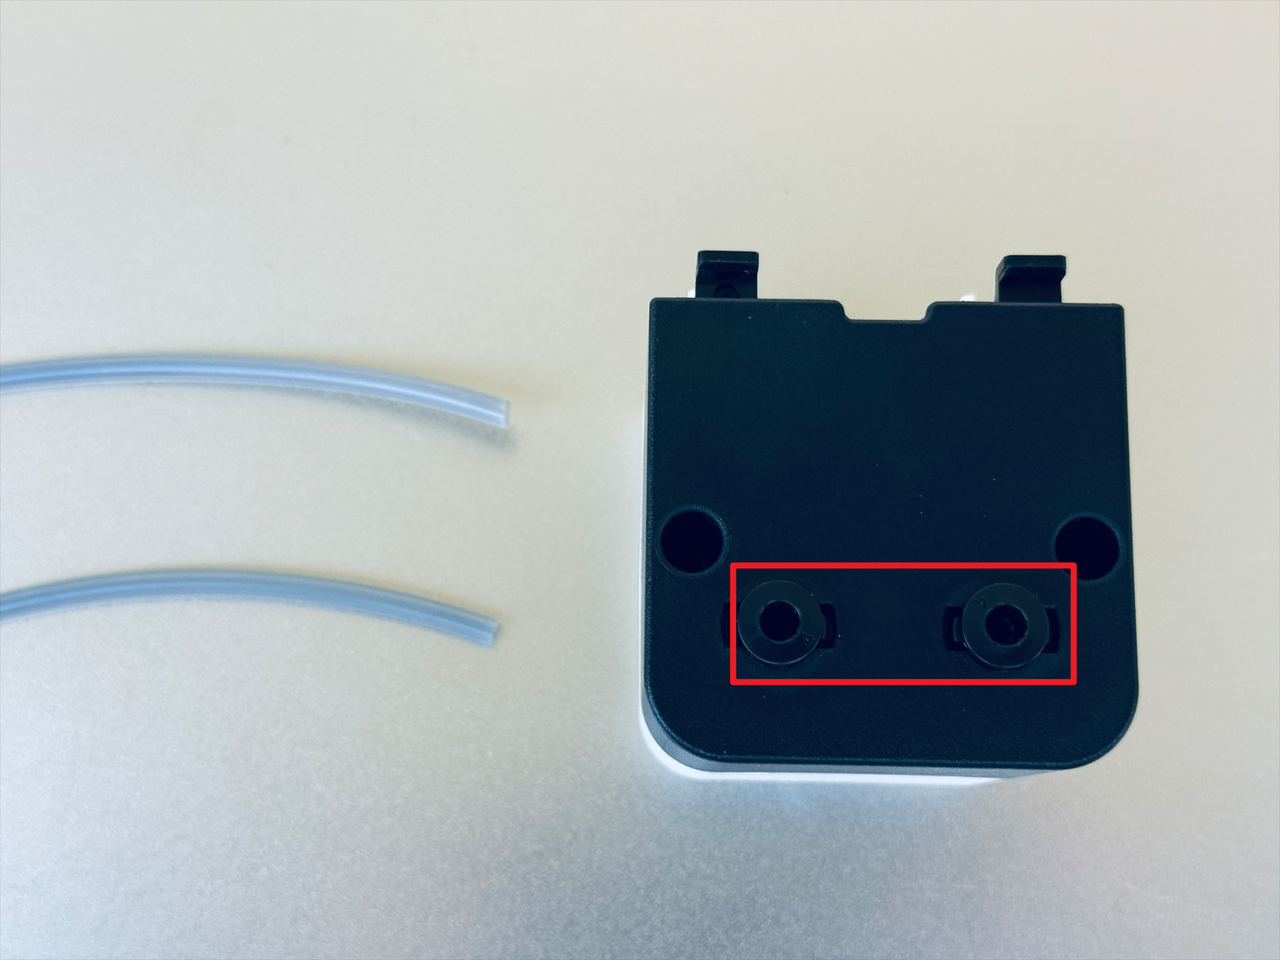
Press the quick connectors to remove the filament tubes.
Step 3. Install the new filament feeder
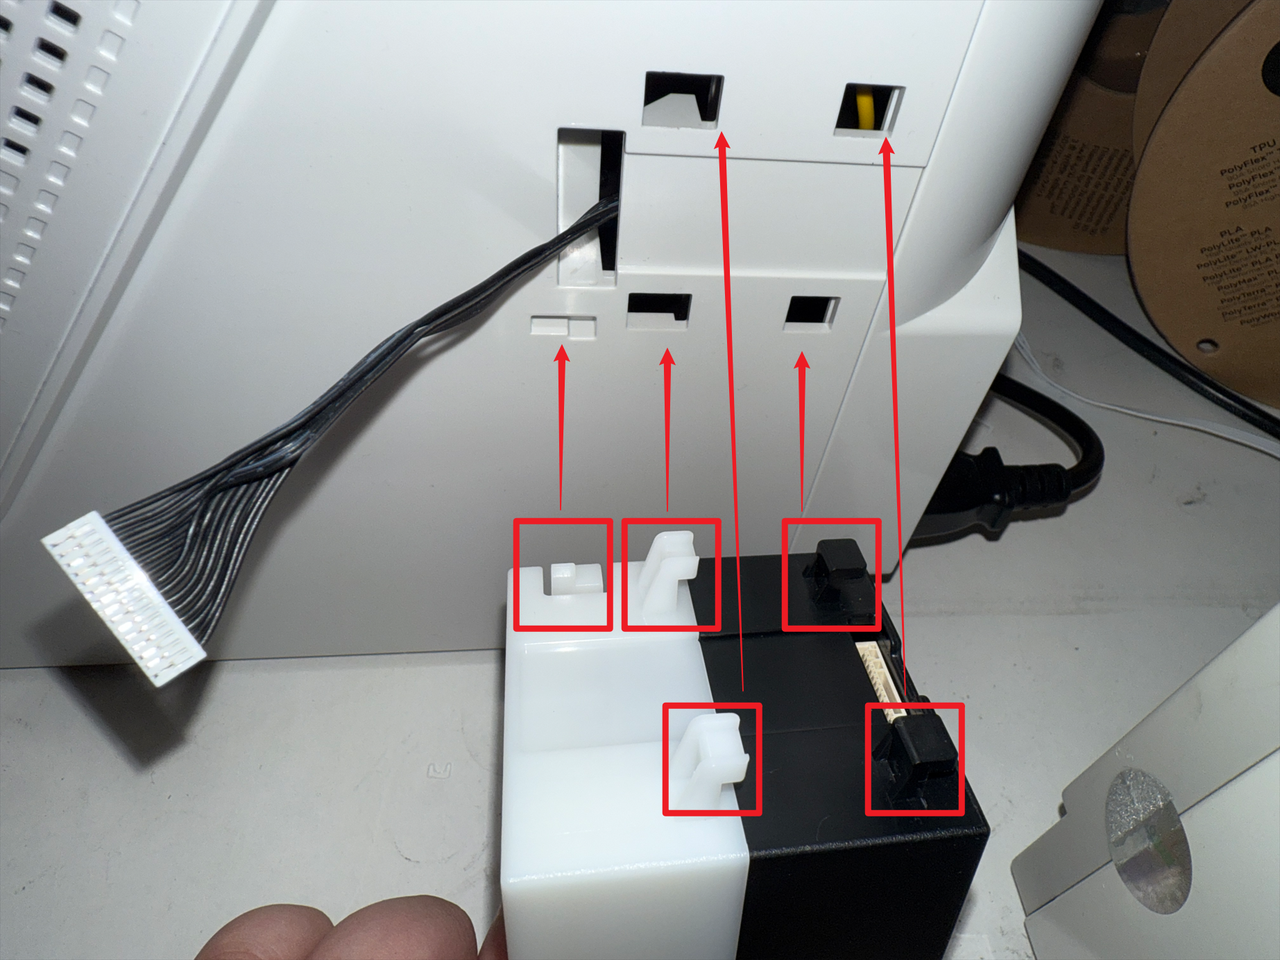
Reconnect the filament feeder cable and organize it as shown.
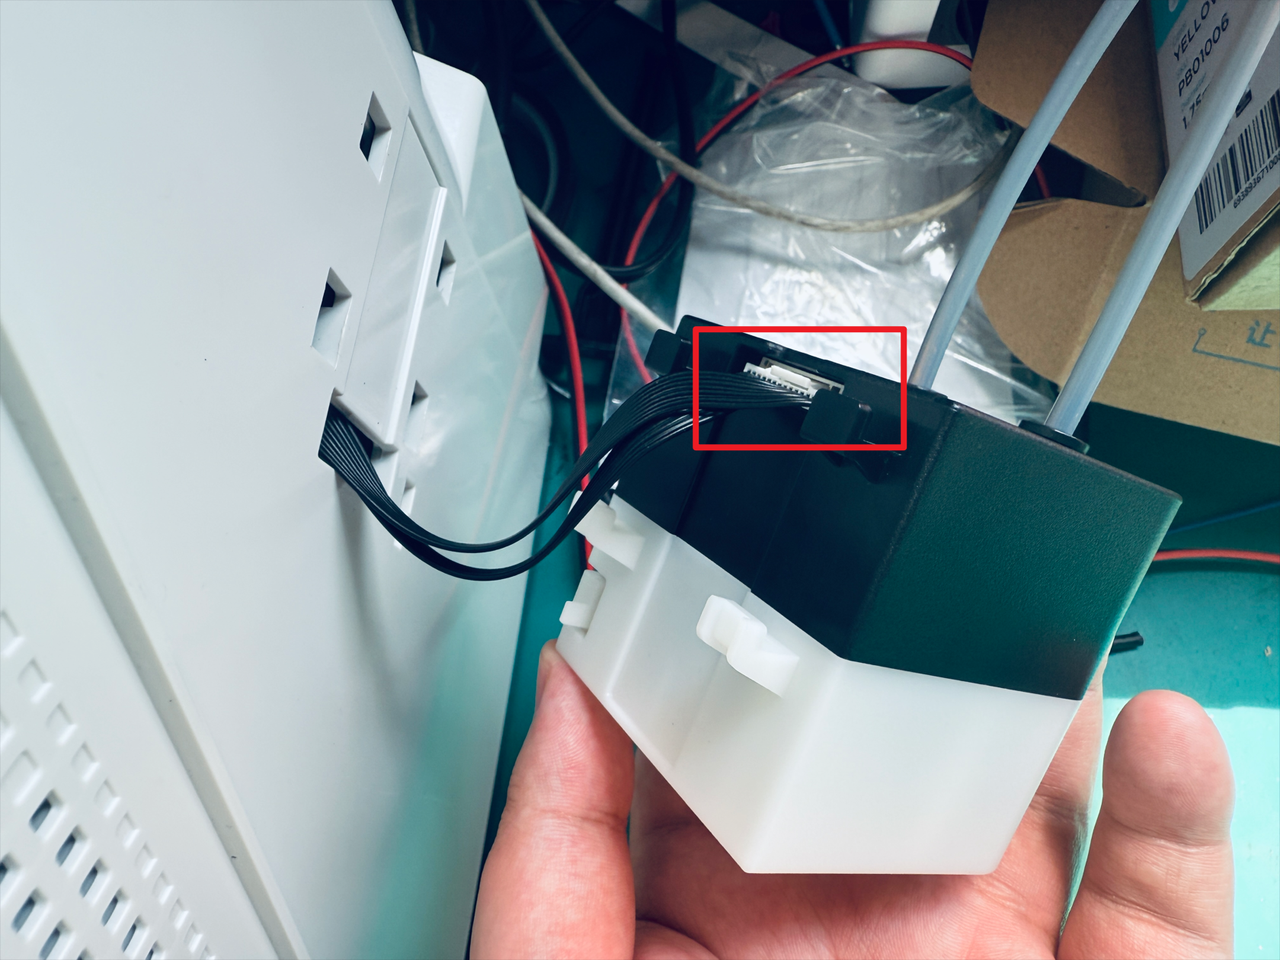
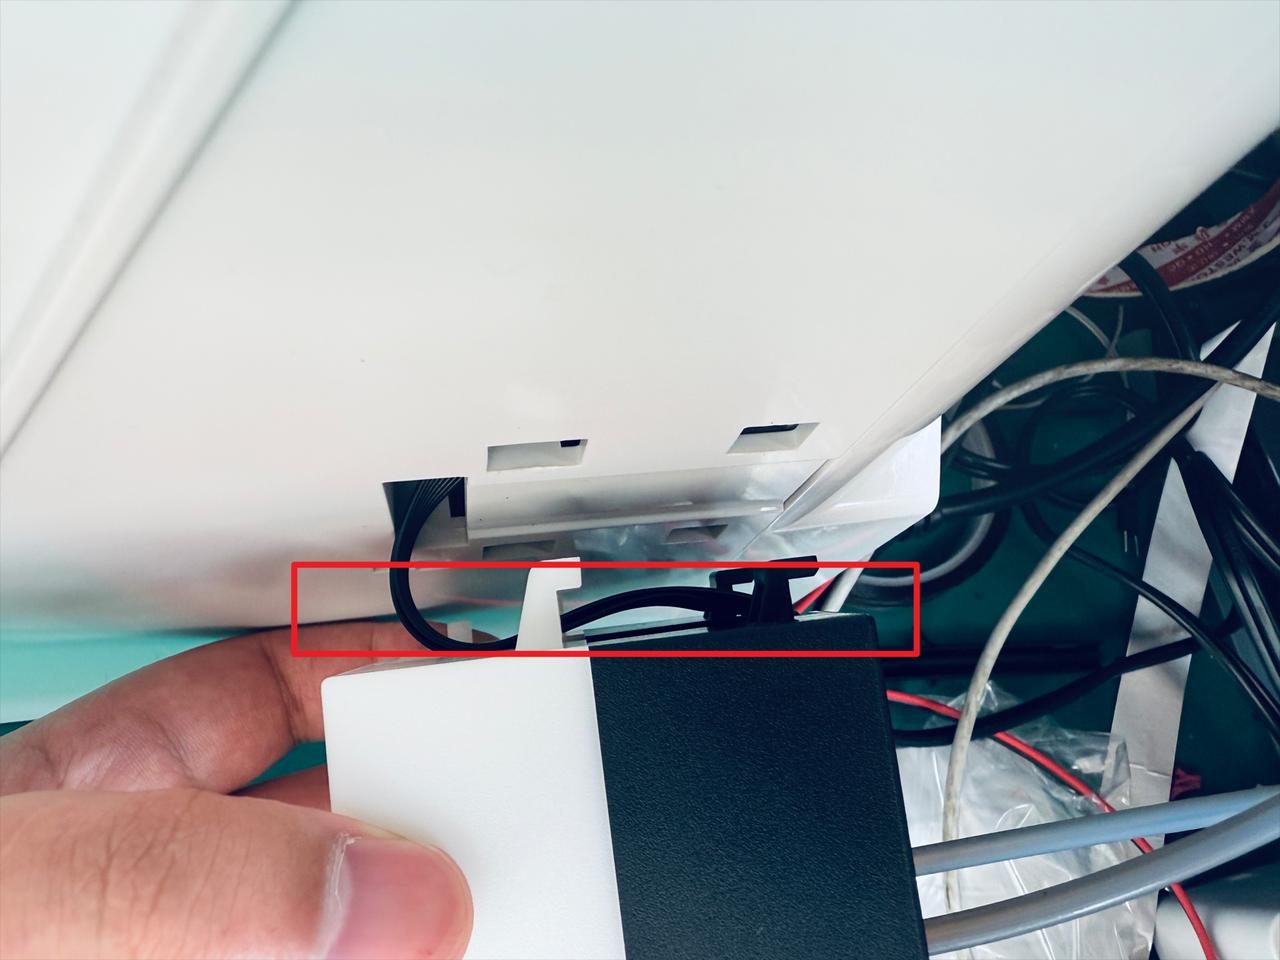
Align the feeder clips with the corresponding positions, then push the feeder into place in the direction shown to complete installment.