


Neptune 3/4 Pro 4 Plus 4 Max Extruder Adapter Board
Couldn't load pickup availability
Use this text to encourage communication or promote sharing on social networks.
Elegoo Neptune 3/4 Pro, Neptune 4 Plus, 4 Max extruder adapter plate board.
Pin info of Neptune 4 Max, and Neptune 4 Plus as follows:
- two cooling fans - two "FAN 2" ports
- nozzle light - "LED" port
- proximity switch - "PS" port
- extrusion motor - "E0" port
- thermistor - "TH" port
- ceramic heating - "HE" port
- throat pipe cooling fan - "FAN 1" port
Neptune 4 Plus/4 Max Extrusion Adapter Board Replacement Tutorial
Are you looking to upgrade or replace the extrusion adapter board on your Neptune 4 Plus or 4 Max 3D printer? In this detailed tutorial, we will guide you through the step-by-step process of replacing the extrusion adapter board to ensure optimal performance and functionality of your printer. Let's dive into the instructions:
1. Remove Rear Fan Assembly:
Use a 2.5mm Allen wrench to loosen the four fixing screws of the rear fan assembly and remove it.

2.Loosen Print Head Assembly:
Press the horn terminal on both sides to release the print head cable. Then take out the print head cable.

3.Remove Print Head Assembly:
Use a 2.0mm hex wrench to loosen the two fixing screws of the print head front cover and remove the entire print head assembly.

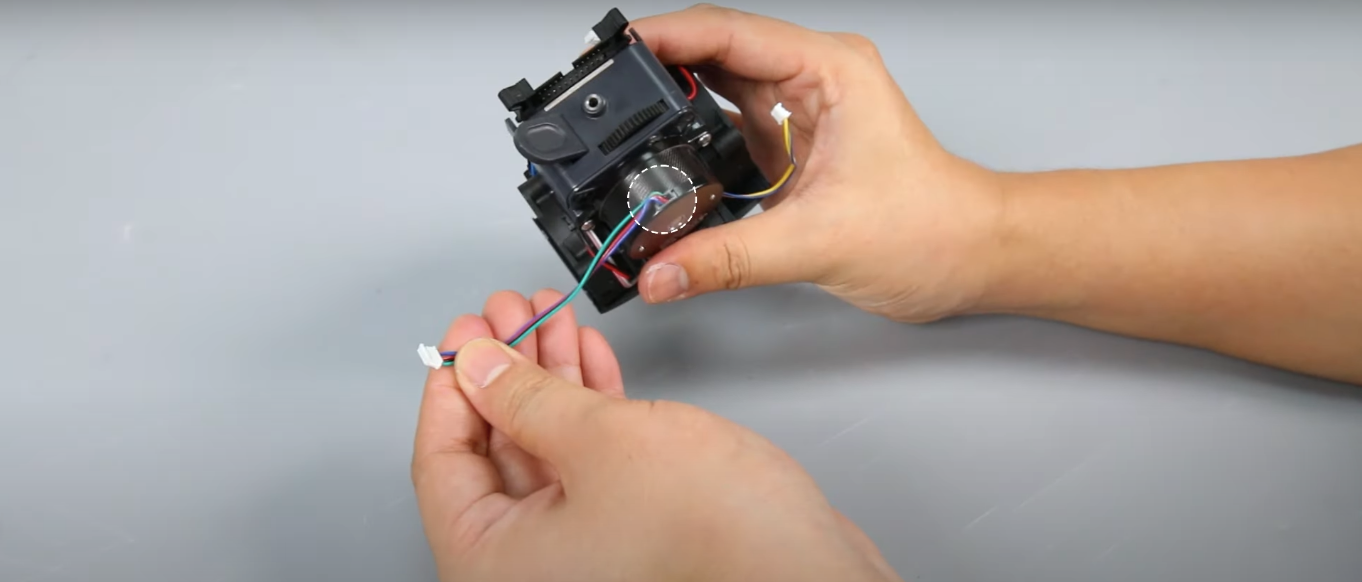
4. Disconnect Cables:
Remove all cables from the extrusion adapter board.

5. Replace Extrusion Adapter Board:
Use a Phillips screwdriver to loosen a fixing screw on the extrusion adapter board and remove it. Then install the new extrusion adapter board and secure it with a set screw.

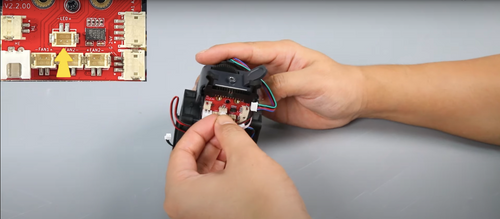
6. Connect Cables to the New Board:
Insert cables into the corresponding ports on the extrusion adapter board, including the fan cables, nozzle light, proximity switch, extrusion motor, thermistor, heating element, and throat pipe cooling fan.
Insert the wire port of the nozzle light into the “LED ” port of the extrusion adapter board.
Insert wire port of the proximity switch into the “PS” port of the extrusion adapter board.


Insert the wire port of the extrusion motor into the “E0”port of the extrusion adapter board.

Insert another model cooling fan cable into the “FAN2”port of the extrusion adapter board.


Insert the wire port of the thermistor into the “TH” port of the extrusion adapter board.


Insert the cable of the ceramic heating element into the “HE” port of the extrusion adapter board.


Insert the wire port of the throat pipe cooling fan into the “FAN1”port of the extrusion adapter board.


7.Reassemble Print Head Assembly:
Install the front cover of the overall print head assembly and secure it. Reconnect the print head cable and secure it with the cable fastener.

Tighten the fixing screw of the overall print head assembly.

8.Reinstall Rear Fan Assembly:
Reinstall the rear fan assembly and tighten the fixing screws.
Insert the fan assembly port cable.

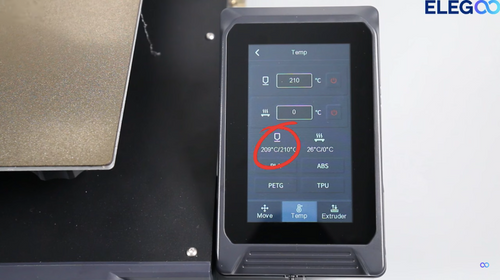
9.Final Checks:
Set the nozzle temperature to 210°C and load the filament into the extruder.


10. Completion:
After re-leveling the printer, it should be ready for normal use. By following these detailed steps, you can successfully replace the extrusion adapter board on your Neptune 4 Plus / 4 Max 3D printers, ensuring smooth printing operations and optimal performance. Happy printing!