Kate G. - May 15 2024
What Is Klipper Firmware? and Why?

Congratulations on getting a new printer! However, it seems like you're a bit unsure about how to use it, especially since it runs Klipper. Nowadays, it seems like everything new is Klipper-based. Don't worry, I'm here to help with a non-technical guide on using your Klipper 3D printer!
In 2023, the adoption of the Klipper operating system has been rapidly increasing. A recent poll showed that a significant percentage of users have already transitioned to Klipper. While Marlin remains relevant, Klipper has become the hot trend, putting pressure even on manufacturers to adapt. So, why has Klipper suddenly become the sought-after operating system? Well, you could ask five different people and get their perspectives.
Why Klipper Firmware?
Klipper is preferred by many for several reasons. Some common reasons are the web interface and wifi integration, the availability of non-compiled configuration files, fast printing speed, and a rich set of features. Learning Klipper may have its challenges, but it has its benefits too.
- Improved print speed and quality.
- Advanced features such as pressure advance, input shaping, and auto bed leveling.
- Widely compatible with 3D printers.
- An active and supportive community.
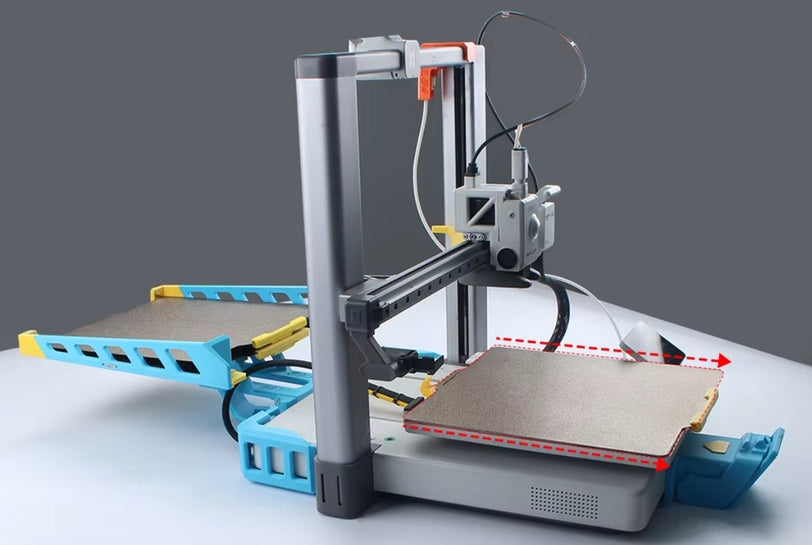
Overall, the difficulty level of using a 3D printer depends on the specific model and your requirements. If you purchase a ready-to-use printers like the Creality K1C, K1, K1 Max, Kingroon KP3S Pro V2, KLP1, SV07, Flsun v400, or QIDI X-smart, and you're satisfied with the default configuration, it's not too challenging. However, if you're building a voron zero or modifying an old ender printer with a bigtreetech manta board, you will need more extensive knowledge. Specifically, having Linux knowledge is crucial. But don't worry too much if you bought a pre-assembled printer. Let's take a moment to understand and demystify the components of Klipper, including the hardware and software involved.
Klipper MCU
The hardware diagram mentioned includes a printer consisting of stepper motors and a hotend. The control board, powered by the MCU, converts instructions into movements, allowing the goo to come out of the nozzle. In a basic Marlin firmware setup, this would be sufficient. However, for Klipper, an SBC (single board computer) is required to handle the complex tasks. Popular SBC options are the Raspberry Pi, MKS boards, or Bigtreetech boards. There are also devices with screens like Creality Pad, BTT Pad, Flsun Pad, and possibly Fysetc. These screens serve as interfaces for the SBC and can communicate with multiple Klipper printers simultaneously. Sometimes the MCU and SBC are combined, as seen in the Bigtreetech Manta and Qidi printer setups.
Software Setup for Klipper
The software setup for Klipper involves firmware on the MCU board, which is highly optimized and requires minimal interaction. Unlike Marlin, Klipper's firmware doesn't store leveling data. Once you flash Klipper onto a printer, you usually don't need to touch it again. The user interaction happens on the single-board computer (SBC), commonly a Raspberry Pi, running Klipper, mostly written in Python. However, most users interact with web interfaces like Mainsail or Fluidd, which are both accessible over Wi-Fi through a web browser. Mainsail and Fluidd are equivalent and powerful interfaces that handle day-to-day print operations. Klipperscreen is another interface that you might use if your printer has a screen. Overall, the combination of Klipper firmware on the MCU board and web interfaces like Mainsail and Fluidd on the SBC provides a robust and user-friendly software experience.
Fluidd
To access the web interface for Klipper, which is either Mainsail or Fluidd, you need to know the IP address of your printer. This information is usually available on the printer's screen or can be obtained through other means. Typically, you can enter "http://" followed by the printer's IP address in a web browser to access Mainsail. This interface serves as your portal to Klipper and allows you to perform various tasks, such as adjusting the z offset, homing, preheating, and running code. It bears similarity to OctoPrint if you've used that before.
As a recommendation, setting a static IP address for your printer will prevent it from changing IP every time you reboot the machine. This can be done through your router using MAC address reservation.
Printing and Slicing on Klipper
When it comes to printing and slicing, there are different methods you can use. The traditional way involves printing on most printers by slicing the model in your preferred slicer software, saving it onto a memory stick or card, inserting it into the printer, and initiating the print through the printer's menus.
However, there are more convenient options available. You can upload the sliced model directly to the printer using web-based interfaces like Mainsail or Fluidd for a more streamlined process. For slicers like Orcaslicer, you may not need any additional plugins. However, if you are using Cura, you will require a plugin called "Moonraker API plugin" to enable direct uploading from Cura to the printer. Moonraker is the name given to the part of Klipper (a firmware) that facilitates communication. To set up the plugin, you need to provide the IP address of your printer, which is the same as the one used for Mainsail. Once configured, you can simply click a button in Cura to upload the model directly to the printer. So, in summary, that's how you use the printing and slicing process. As for configuring it, setting up the "Moonraker API plugin" with the appropriate IP address is necessary.
Configuring Klipper
Configuring Klipper can involve looking at and editing your "printer config", which is typically referred to as the printer.cfg file. You can access and edit this file easily through Mainsail or Fluidd. It's recommended to back up this file before making any changes.
The printer.cfg file contains various customizations for your printer. If you are unfamiliar with config files, the structure might be unfamiliar, but most stock printers already have the necessary configurations in place. The printer.cfg file is divided into sections, and your specific file may have optional sections depending on your printer. Generally, it starts with definitions for the board pinouts, drivers, and steppers. It's important to understand macros, even if you are not specifically interested in them, as they can be relevant for your slicer. Macros are also defined in the printer.cfg file, and they come pre-configured with some printers. While you can add your own macros, it may not always be necessary. Start_print and end_print macros are commonly used and they contain essential commands that need to be executed. Your slicer may not have the correct start and end code for Klipper, so you may need to remove the existing code intended for Marlin printers and replace it with these macros. This is considered the proper way of utilizing macros in Klipper. However, you have the option to ignore macros if you prefer, but using them is recommended.
Frequently asked questions
Related Posts
PEBA Filament: The Ultimate Guide to High-Performance Elastic Materials
3D Printed Shoes of Your Own?
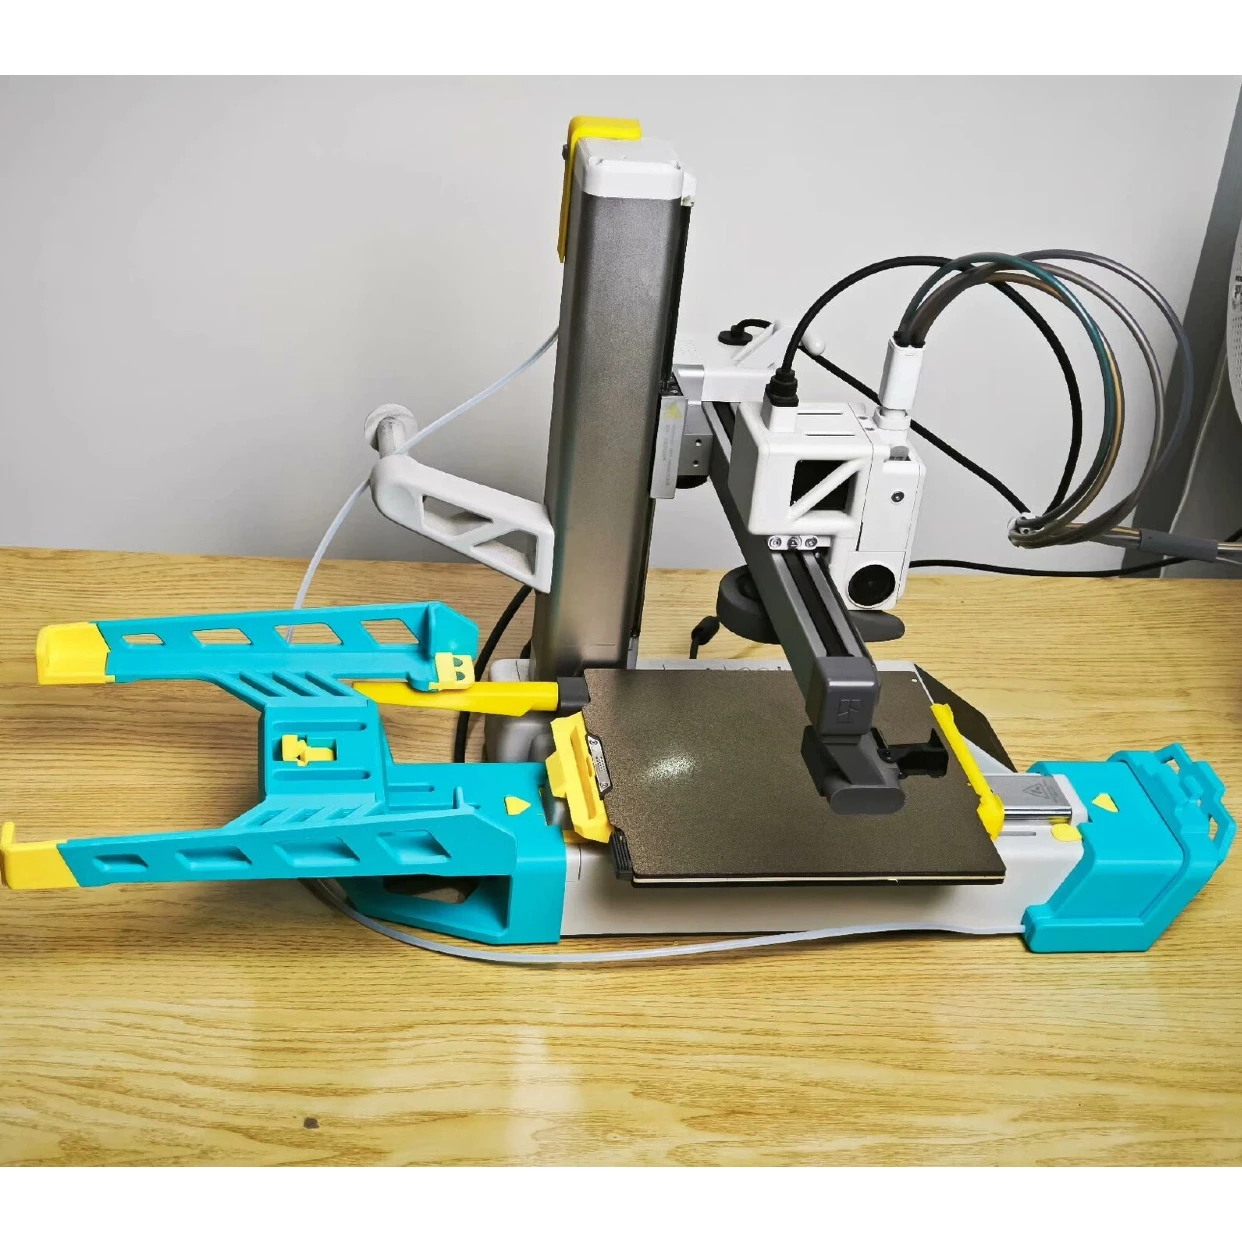
Swapmod A1mini kit tutorial