Kate.G - May 10 2024
Adding BL Touch on Anet A8

image credit to @Crosslink
Upgrade your 3D printing game with the addition of BL Touch auto bed leveling to your Anet A8 printer. In this comprehensive guide, we'll walk you through the process of installing and configuring the BL Touch sensor on your Anet A8, ensuring precise and hassle-free bed leveling for your prints. Whether you're a novice tinkerer or a seasoned maker, this guide will help you take your printing experience to the next level. Let's dive into the world of auto bed leveling with BL Touch on Anet A8!
What is BL Touch?
BL Touch is an auto bed leveling sensor commonly used in 3D printing. It's a precision sensor that attaches to the printer's hotend and is designed to measure the distance between the bed and the nozzle at multiple points across the print surface. This information is then used to compensate for any unevenness or tilt in the bed, ensuring that the first layer of the print adheres properly and is of uniform thickness.
The BLTouch sensor for 3D printers was designed and manufactured by a company called Antclabs, based in South Korea. There is a similar but less expensive probe on the market called the 3D Touch sensor which has the same functionality and wiring.
BLTouch Sensor VS Capacitive Leveling Sensor
What makes the 3D Touch or BLTouch senser different than a capacitive or inductive leveling sensor is that it is a combination of a whole sensor and the server. The server pushes out a little pin. and if the pin hits the bed while the set access is being lowered, the whole sensor detects that and delivers a signal to the printer so it can calculate the distance.
Benefits of BL Touch
BLTouch or 3D Touch is a valuable tool for 3D printing enthusiasts, helping to streamline the printing process and improve print quality.
1. Improved Print Quality
Auto bed leveling helps to ensure that the first layer of your print is uniformly laid down, which is crucial for a successful print. It reduces the likelihood of print failures caused by poor bed adhesion or uneven first layers.
2. More Efficient Bed Leveling
Manual bed leveling can be a tedious and time-consuming process, requiring you to adjust multiple screws on the bed to get it perfectly level. With BLTouch, the leveling process is automated, saving you time and effort.
3. Supports Various Print Surfaces
Auto bed leveling with BLTouch allows you to use a variety of print surfaces, including glass, PEI sheets, and BuildTak, without the need for manual adjustments each time you switch surfaces.
4. Widely Compatible for FDM 3D Printers
BLTouch is compatible with a wide range of 3D printers, including many popular models. Whether you have a DIY printer or a commercial one, there's likely a BLTouch kit available for your machine.
3D Touch Probe Wiring
3D touch sensor has five wires. The brown and the black wires are ground cables so we can put them together. Ground to red and the white cable will be connected to the Z axis connector on your Anet A8 motherboard.

The orange cable needs to be connected to the third wire off the display cable or to the seventh wire. If you use an A6 or display of an a6 on the Anet A8. This means we would have to cut that wire and pull it aside of the other nine cameras of the flatbed cable so you can connect the probes control signal to it.

However I like to avoid having to cut the original disciplic cable and also want a solution that's plug-and-play.We'll build an adpater that will allow us to install the sensor to the board very easily. Let's check out the list of parts that we will need to build the adapter to do Poe or several extension cables.
Hardware List (Besides the 3DTouch Probe)
· 2 x Dupont (Servo) extension cables

· 1 x 3-pin JST connector and pins

· 3 x wires for JST connector
· 1 x display extension cable

· 5 x header pins: a 3 pin header and one male of two pin header

· Piece of stripboard with 4 rows

. a piece of strip board with four rows. assembling all this gives us
3d touch / bltouch adapter schema image:

Once having assembled the adapter, we can just plug in the adapter cable inbetween the display cable and the mainboard and connect our sensor extension cables to it.
Mounting the BL Touch Sensor
The next step is to mount the sensor to the print head. You can design one yourself, or you can find pre-designed mounts online through platforms like Thingiverse. We had the following design which is done by @jeanmicheld59.
Free model do download on Thingiverse.
It's going to be mounted between the filament cooler fan and the extruder cooling block. Don't forget to remove the old set and the limit switch.

After mounting and wiring the BLTouch sensor, you'll need to calibrate it. This involves adjusting the sensor's position relative to the print bed and configuring its probe offsets in the firmware. Follow the calibration procedures outlined in the BLTouch documentation or online guides.
Once calibrated, perform test prints to ensure the BLTouch sensor is working correctly. Pay attention to the first layer adhesion and overall print quality to verify the sensor's accuracy.
Related Products
Related Posts
PEBA Filament: The Ultimate Guide to High-Performance Elastic Materials
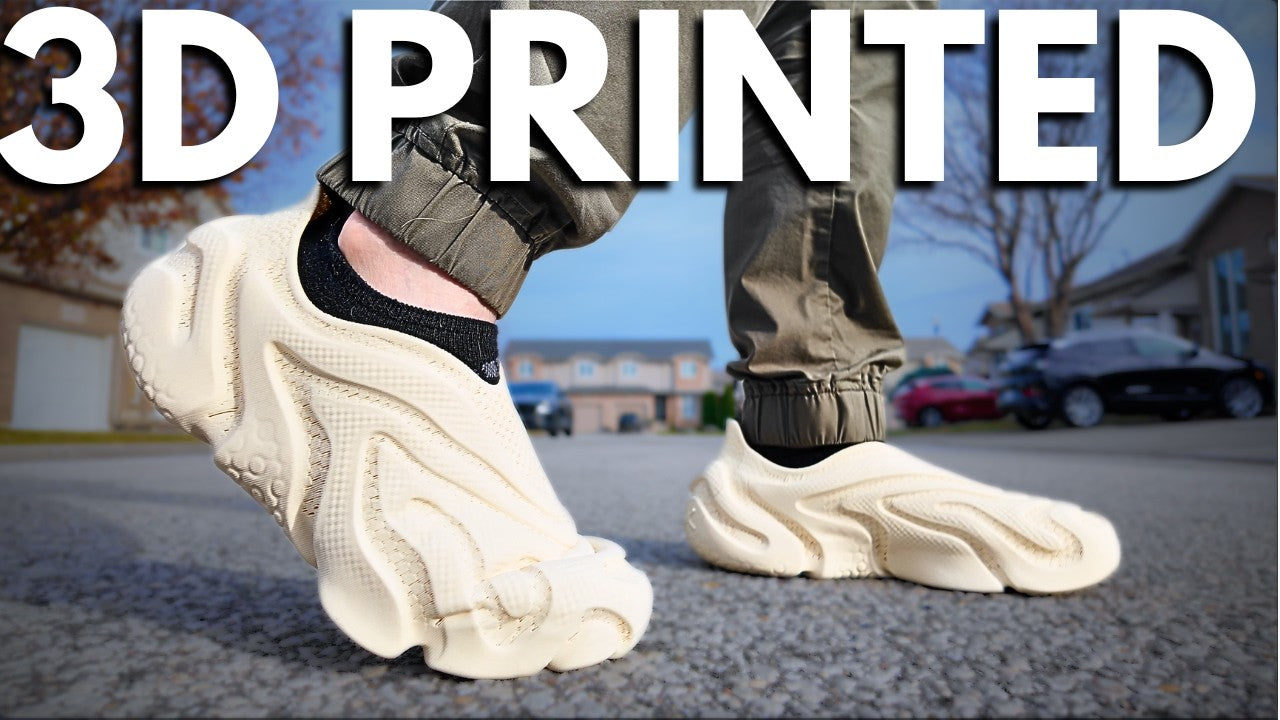
3D Printed Shoes of Your Own?
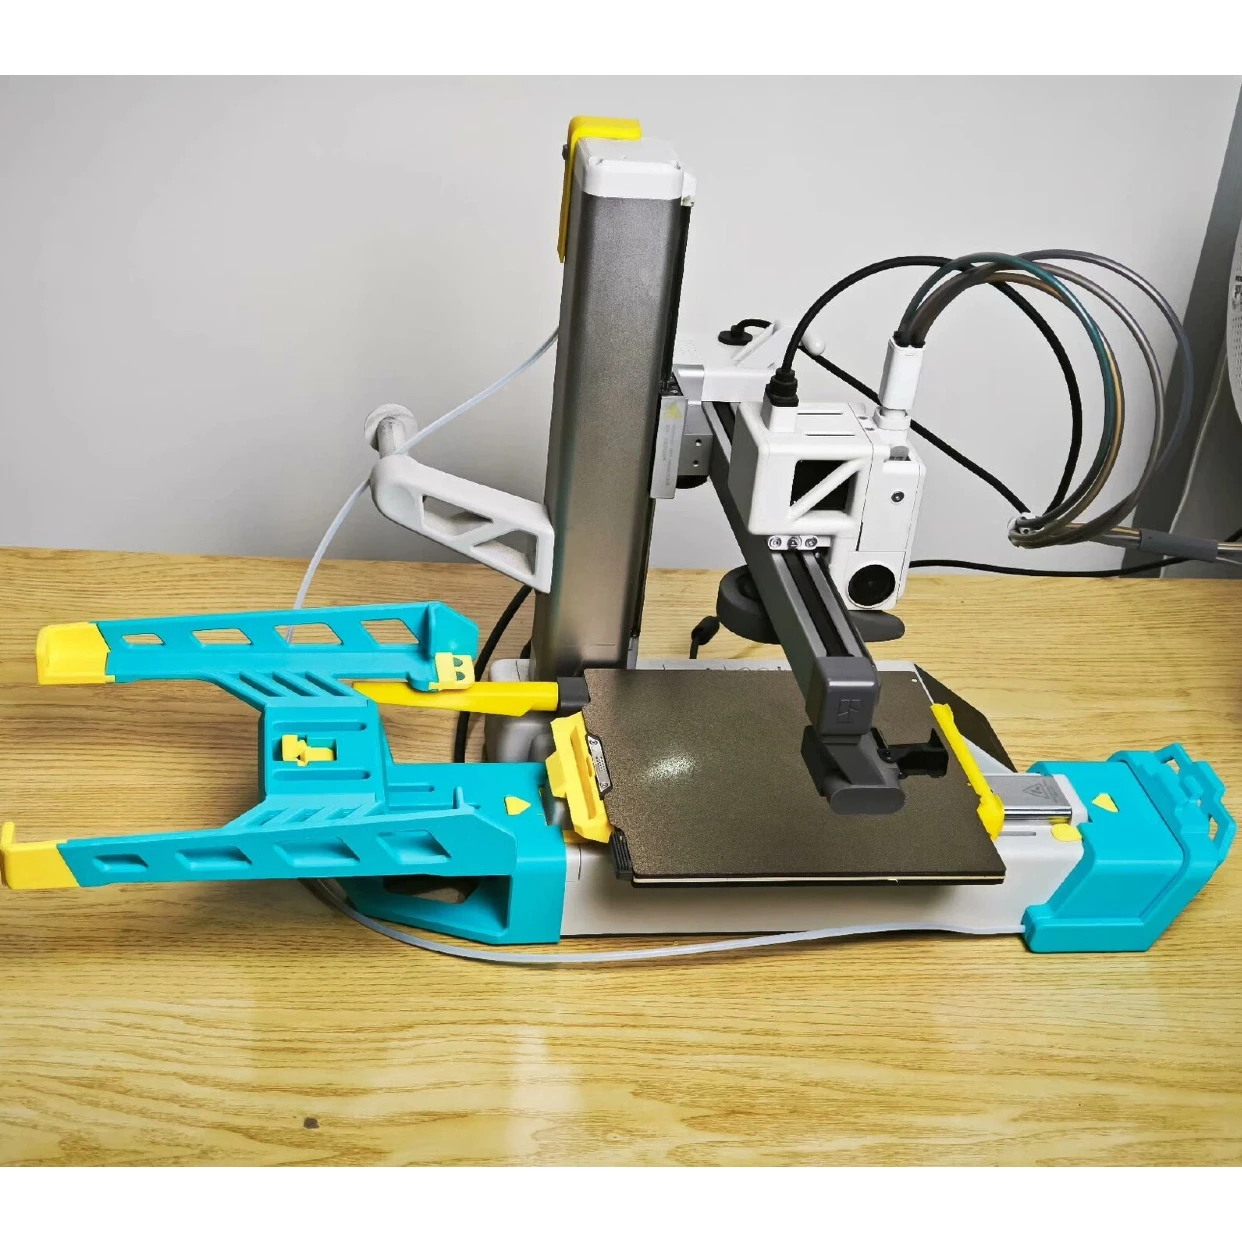
Swapmod A1mini kit tutorial