


Toolhead Filament Hub for Bambu A2L
Couldn't load pickup availability
Use this text to encourage communication or promote sharing on social networks.
【Original Replacement Part for Bambu Lab A2L】This genuine Bambu Lab toolhead filament hub is an original replacement part designed specifically for the A2L 3D printer. As a critical component of the multi-color printing system, it replaces a worn or damaged five-way hub to restore full functionality. Not compatible with other printer models.
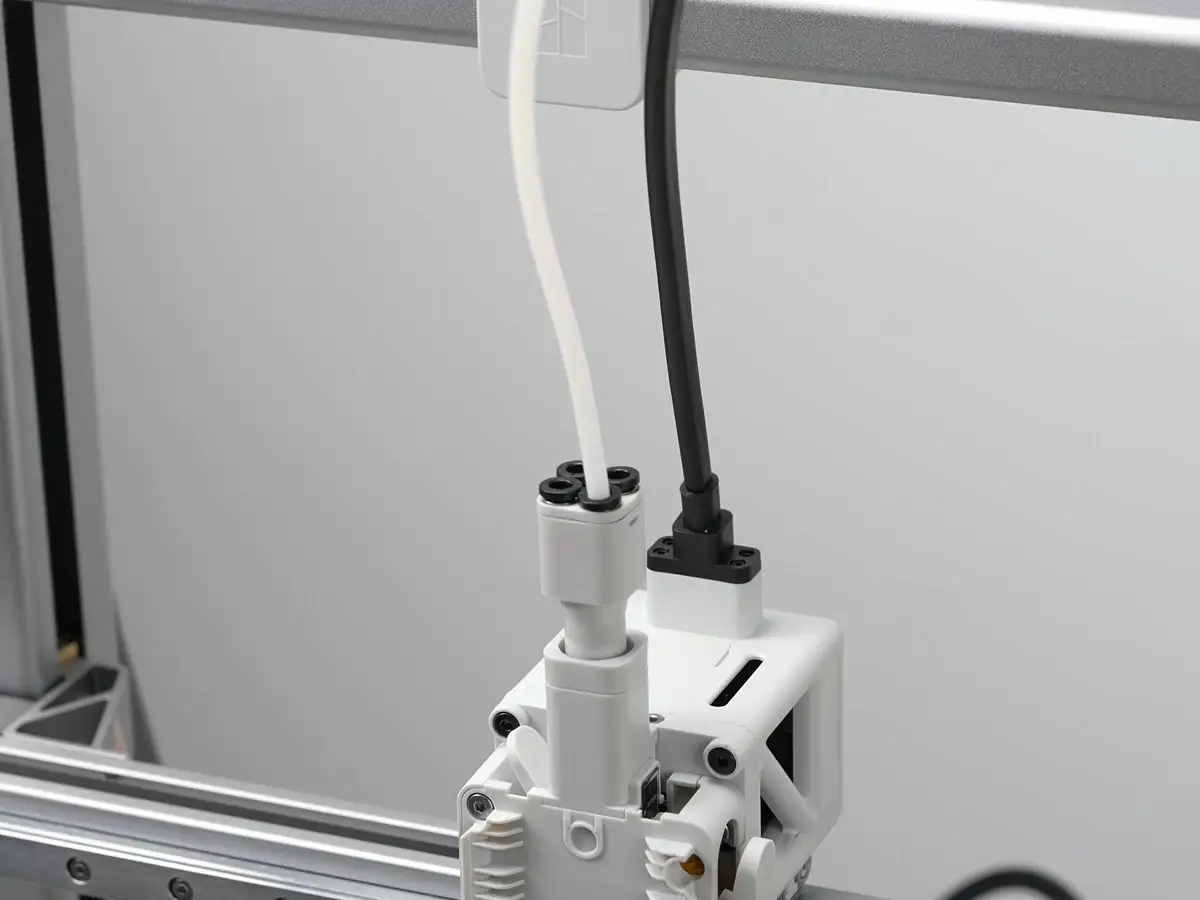
【5-Way 4-in-1 PTFE Adapter for Seamless Multi-Color Printing】The toolhead filament hub features a 4-in-1 PTFE adapter design that connects up to four filament paths into a single output to the extruder. This enables fully automatic filament switching during multi-material prints without manual intervention, making complex color prints effortless.
【Integrated Buffer Module with Filament Tangle Detection】Unlike standard hubs, the A2L filament hub integrates a built-in buffer module with filament tangle detection. When feeding resistance increases abnormally, the internal spring compresses and triggers an alarm, pausing the print to prevent failures. This smart detection system ensures reliable printing with external spools and AMS lite.
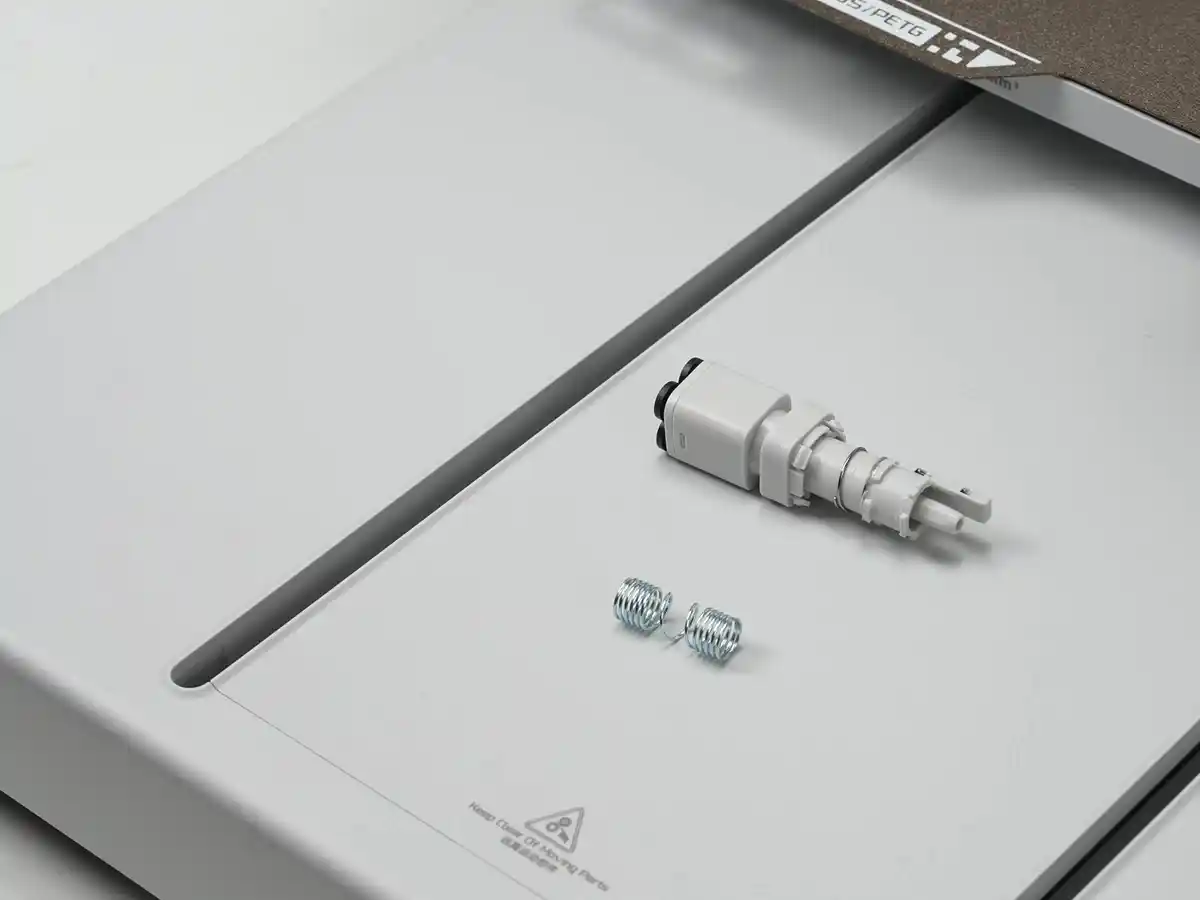
【Complete Kit with Installation Essentials】This replacement kit includes the toolhead filament hub, one spring, and 3g of lubricant – everything you need for installation. The lubricant ensures smooth operation of the buffer mechanism, while the spring maintains proper tension for accurate filament tangle detection.
【Quality for Long-Term Durability】Manufactured to Bambu Lab's original specifications, this genuine hub offers superior durability and feeding stability compared to aftermarket alternatives. Replace immediately if the filament tube connector cannot secure tubes or if there is visible damage to the assembly.
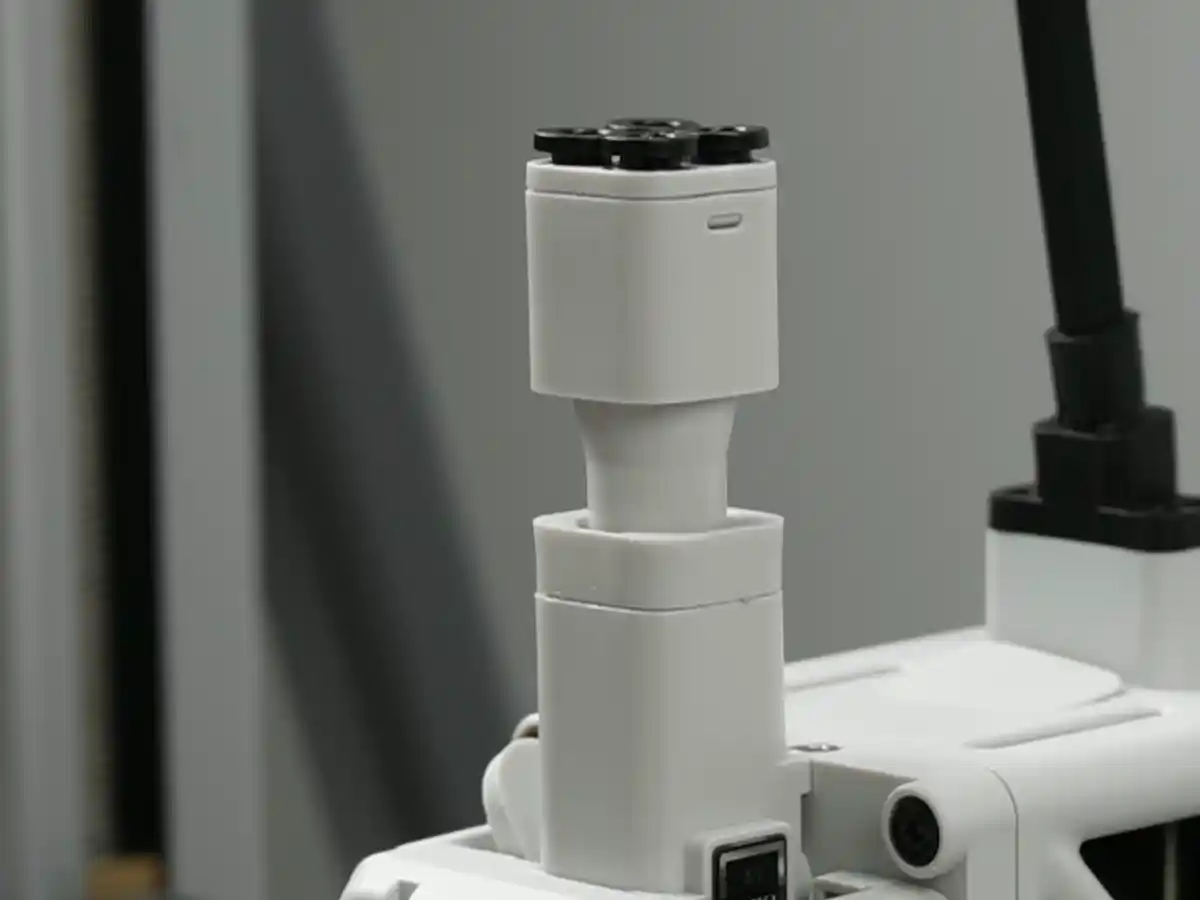
The Toolhead Filament Hub is a key part of reliable filament switching during multi-color or multi-filament printing.
In the Box
- Toolhead Filament Hub Assembly *1
- Spring *1
- 3g Lubricant *1
Compatibility
A2L
Filament Hub Replacement Guide for the A2L Toolhead
Toolhead Filament Hub

Applicable Printer Model
Bambu Lab A2L
When to Replace
The Filament tube connector cannot secure filament tube.
The Filament hub assembly cannot be secured.
There are visible damage on the assembly surface.
Required Tools and Materials
Tweezers / Scraper
Safety Warning
⚠️ IMPORTANT!
It's crucial to power off the printer before conducting any maintenance work, including work on the printer's electronics and tool head wires. Performing tasks with the printer on can result in a short circuit, leading to electronic damage and safety hazards.
During maintenance or troubleshooting, you may need to disassemble parts, including the hotend. This exposes wires and electrical components that could short circuit if they contact each other, other metal, or electronic components while the printer is still on. This can result in damage to the printer's electronics and additional issues.
Therefore, it's crucial to turn off the printer and disconnect it from the power source before conducting any maintenance. This prevents short circuits or damage to the printer's electronics, ensuring safe and effective maintenance.
Remove the Toolhead Filament Hub
Step 1. Pull out the Filament Tubes from the Filament Hub
Press down the circular ring on the filament tube connector of the filament hub to unlock, then gently push the filament PTFE tube slightly toward the hub and pull it upward to remove.Repeat this for each filament tube until all are removed.
If you encounter strong resistance when pulling out the filament tube, adjust the force angle and press down the connector again to unlock, ensuring the connector is fully pressed down; avoid excessive force when pulling the filament tube.
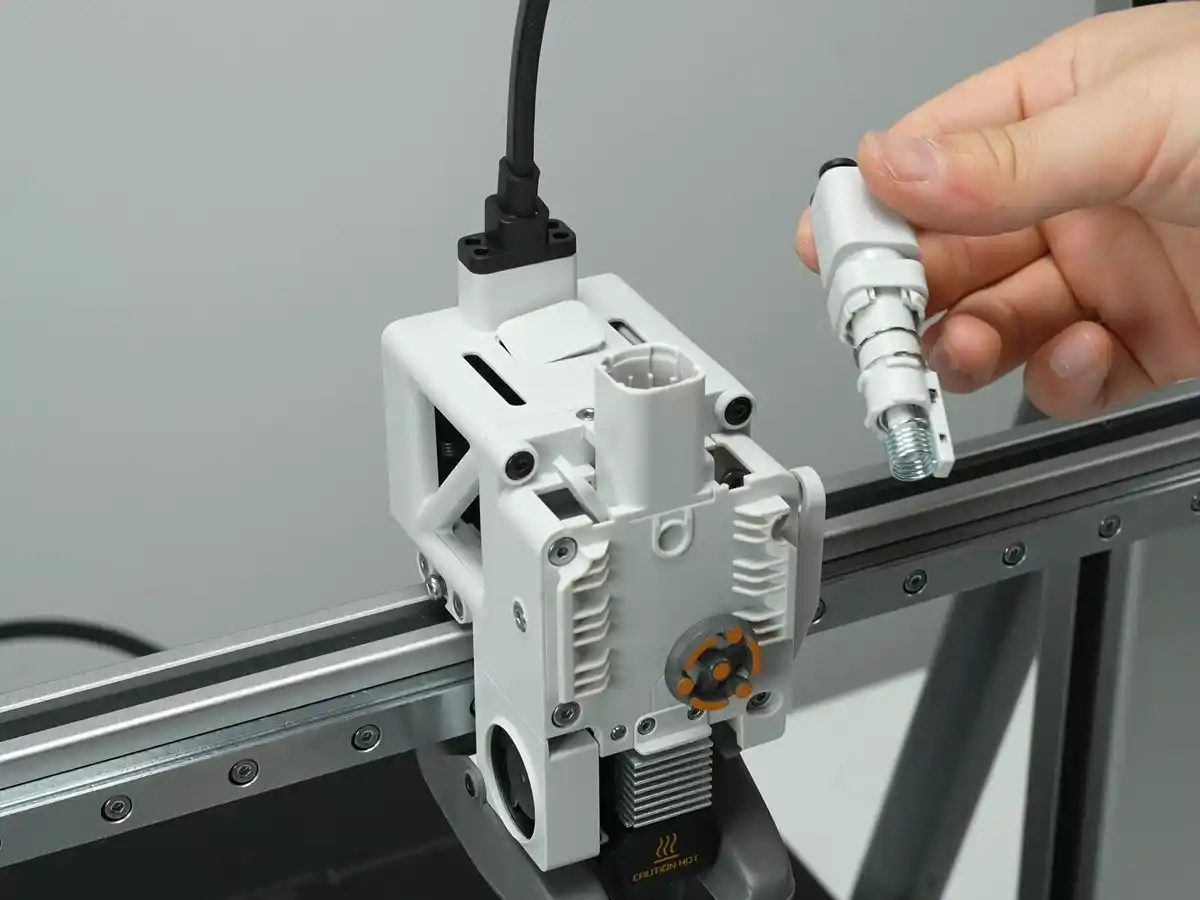
Step 2. Remove the Toolhead Filament Hub
Use a scraper, tweezers, or similar tools to gently pry open the locking tabs securing the filament hub, then remove the hub and take out the internal spring.
If the spring accidentally falls into the filament hub base housing, use tweezers to retrieve it.
Install the Toolhead Filament Hub
Step 1. Install the Spring
Properly install the spring into the new toolhead filament hub.
Step 2. Install the Toolhead Filament Hub
Place the filament hub assembly into the base housing, making sure the magnets and locking ring orientation on the assembly match the illustrations exactly.

The locking ring has a positioning notch.During installation, the notch should face either directly forward or directly backward; do not orient it in any other direction.
Align the locking ring with the locking tabs on the filament hub base housing and press down evenly and firmly until the assembly is fully snapped into place.
Step 3. Connect the Filament Tubes
Insert the filament tubes directly into the filament tube connectors, ensuring they are fully seated at the bottom.Then gently pull upward to confirm that the connector has securely locked the filament tube.

Verifying Success
✅ Gently press down and pull upward on the filament hub assembly; if it rebounds normally and remains firmly in place, the installation is successful.