


MC Board for Bambu P1 Series
Couldn't load pickup availability
Use this text to encourage communication or promote sharing on social networks.
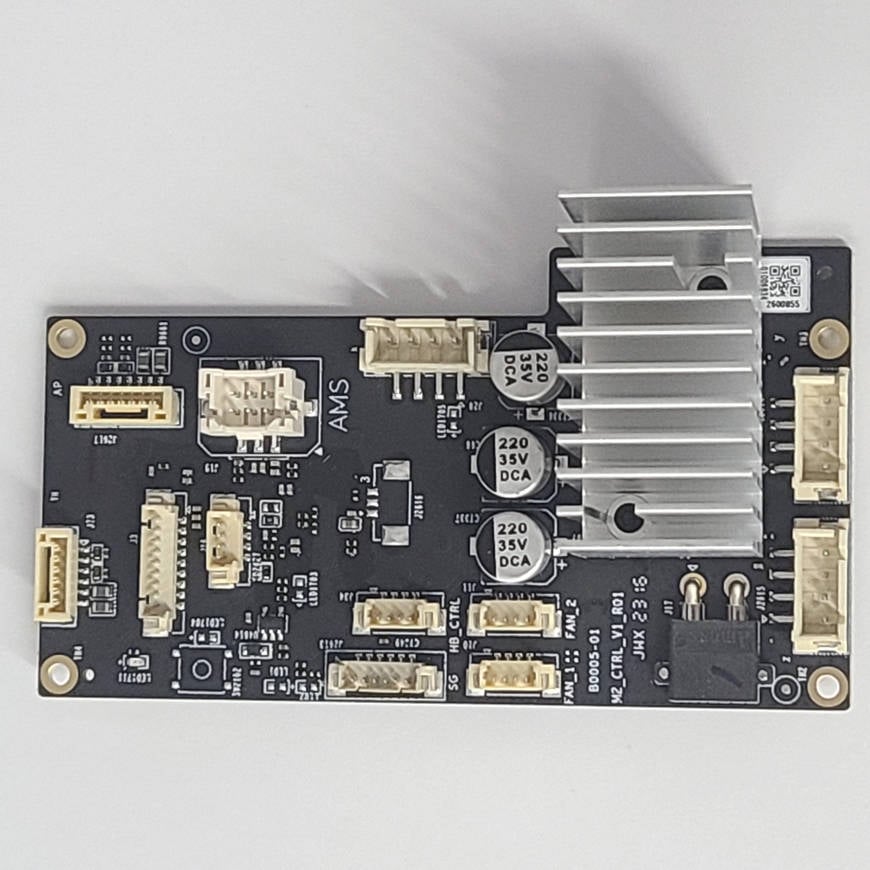
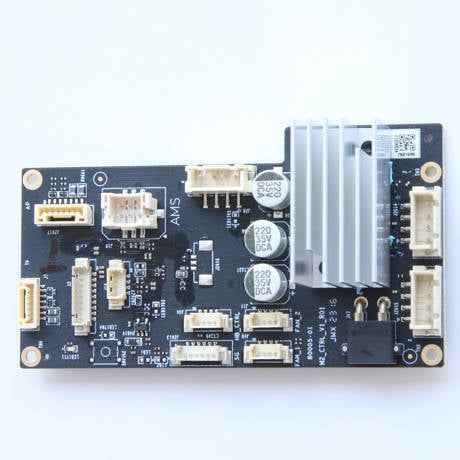
MC stands for Machine Controller, which is the unit that controls all the moving parts of the printer.
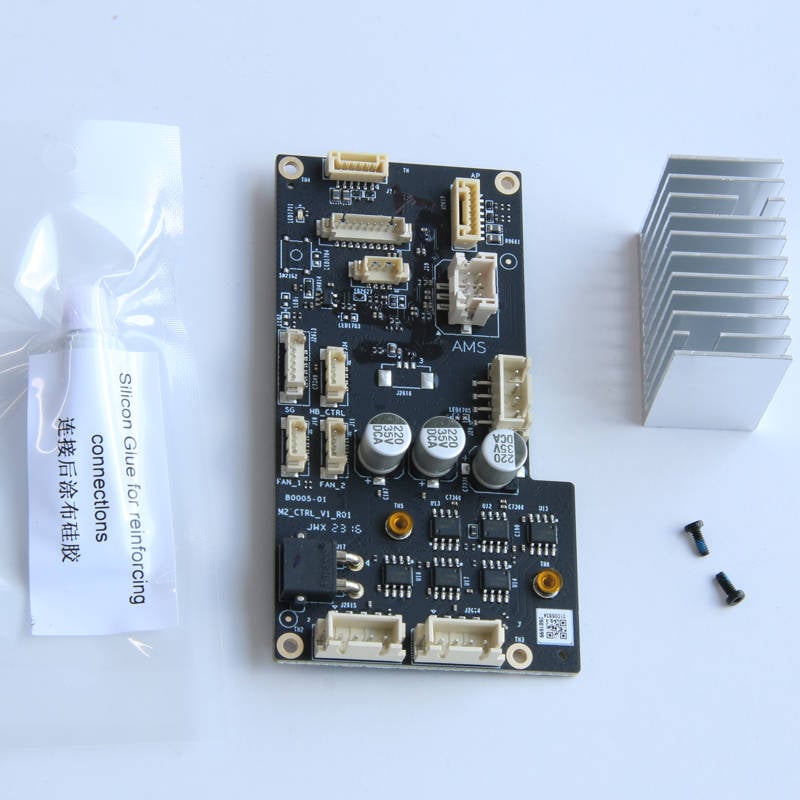
In the Box
- MC Board*1
- Glue*1
Compatibility
P1 Series Exclusive
MC board of P series
A wiki page guide you how to remove and install the MC
MC stands for Machine Controller, which is the unit that controls all the moving parts of the printer.
There are differences in the heatsink of the MC boards for P1P and P1S, but the boards are the same.
The P1P board has a vertical orientation heatsink to help with natural convection cooling when used without a fan, while the P1S heatsink has a horizontal heatsink orientation for side MC Fan cooling. Both heatsinks will perform similarly with a fan on the side.
Please note!
1. If you receive the MC board in the status as shown in the picture below (without thermal grease), please refer to the Supplement 1 of this wiki to reuse the original heat sink.
2. If you want to exchange the heat sink from the original P1S MC board for the new MC board, please refer to the Supplement 2 of this wiki to reuse the original heat sink.
Tools
H2.0/1.5 hex key
Tweezers
Silicone glue
Safety Warning
IMPORTANT!
It's crucial to power off the printer before performing any maintenance work on the printer and its electronics, including tool head wires, because leaving the printer on while conducting such tasks can cause a short circuit, which can lead to additional electronic damage and safety hazards.
When you perform maintenane or troubleshooting on the printer, you may be required to disassemble some parts, including the hotend. This process can expose wires and electrical components that could potentially short circuit if they come into contact with each other or with other metal or electronic components while the printer is still on. This can damage the electronics of the printer and cause further damage.
Therefore, it's essential to switch off the printer and disconnect it from the power source before doing any maintenance work. This will prevent any short circuits or damage to the printer's electronics. By doing so, you can avoid potential damage to the printer's electronic components and ensure that the maintenance work is performed safely and effectively.
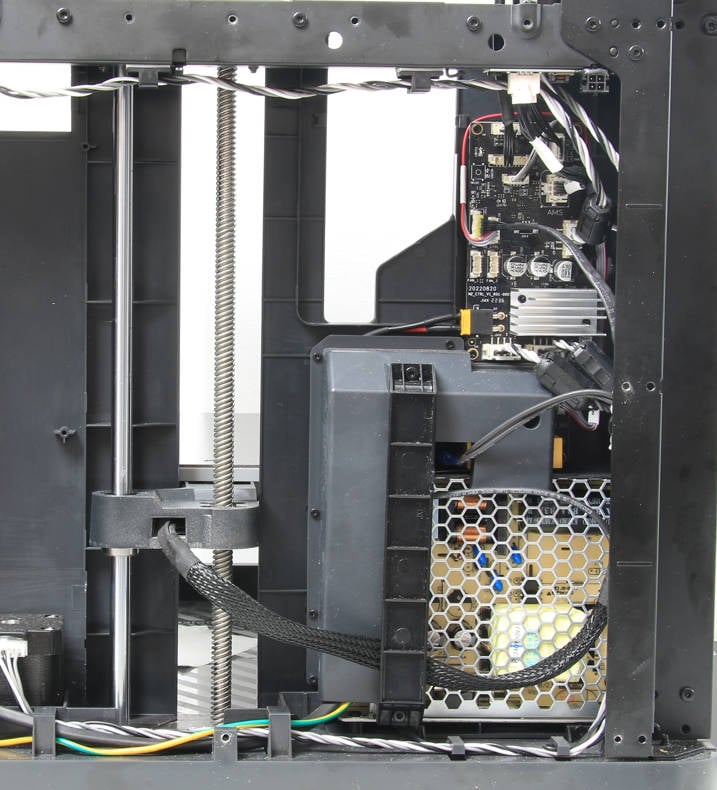
Remove the faulty MC board
Step 1 - Remove the excess chute
Step 2 - Disconnect the cables
To disconnect all the cables from the MC board, start by removing the heat bed signal cable. Keep in mind that this cable may be fixed in place with silicone glue, so it may need to be cleaned before it can be easily removed. Once the heat bed signal cable has been removed, proceed to disconnect any remaining cables from the MC board.
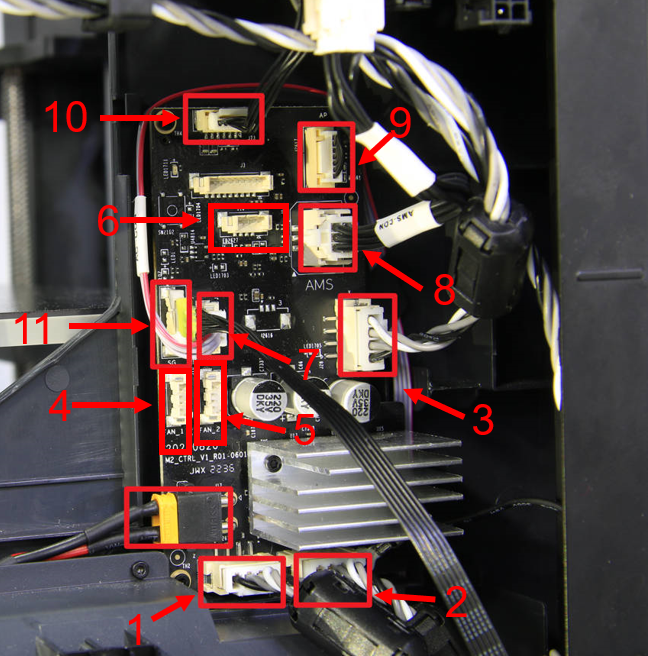

Step 3 - Remove the MC board
To remove the MC board, use an H1.5 hex key to unscrew the four screws that hold it in place. Once all the screws have been removed, the MC board can be lifted out.

Install the new MC board
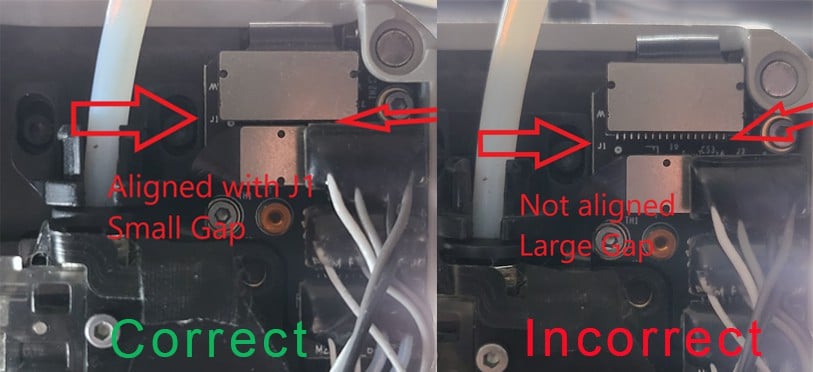
Step 1 - Install the MC board

Step 2 - Connect cables
Step 3 - Assemble the Printer

Verify the functionality
To finish the setup of the printer, connect the power cord cable. Then, turn on the printer and run the device calibration process. If the calibration is successful, the operation has been completed successfully.
Supplement 1_Reuse the heat sink of P1P
Step 1 Remove the heat sink from the faulty MC board

Step 2 Install the original heat sink to the new MC board
Tear off the sealings from the 2 studs

Apply the thermal grease to the new board if you get the thermal grease

Supplement 2_Reuse the heat sink of P1S
Step 1 Remove the heat sink from the faulty MC board

Step 2 Remove the heat sink from the new MC board

Step 3 Install the original heat sink to the new MC board

Verify the Functionality
Check the indicator lights on the control board
Normal State: the MC board flashes green once every 5 seconds
If the indicator light on the MC board is not flashing once every 5 seconds (for example, once every 30 seconds), please check whether the FPC cable is connected correctly.
We hope that the detailed guide we shared with you was helpful and informative.
We want to ensure that you can perform it safely and effectively.