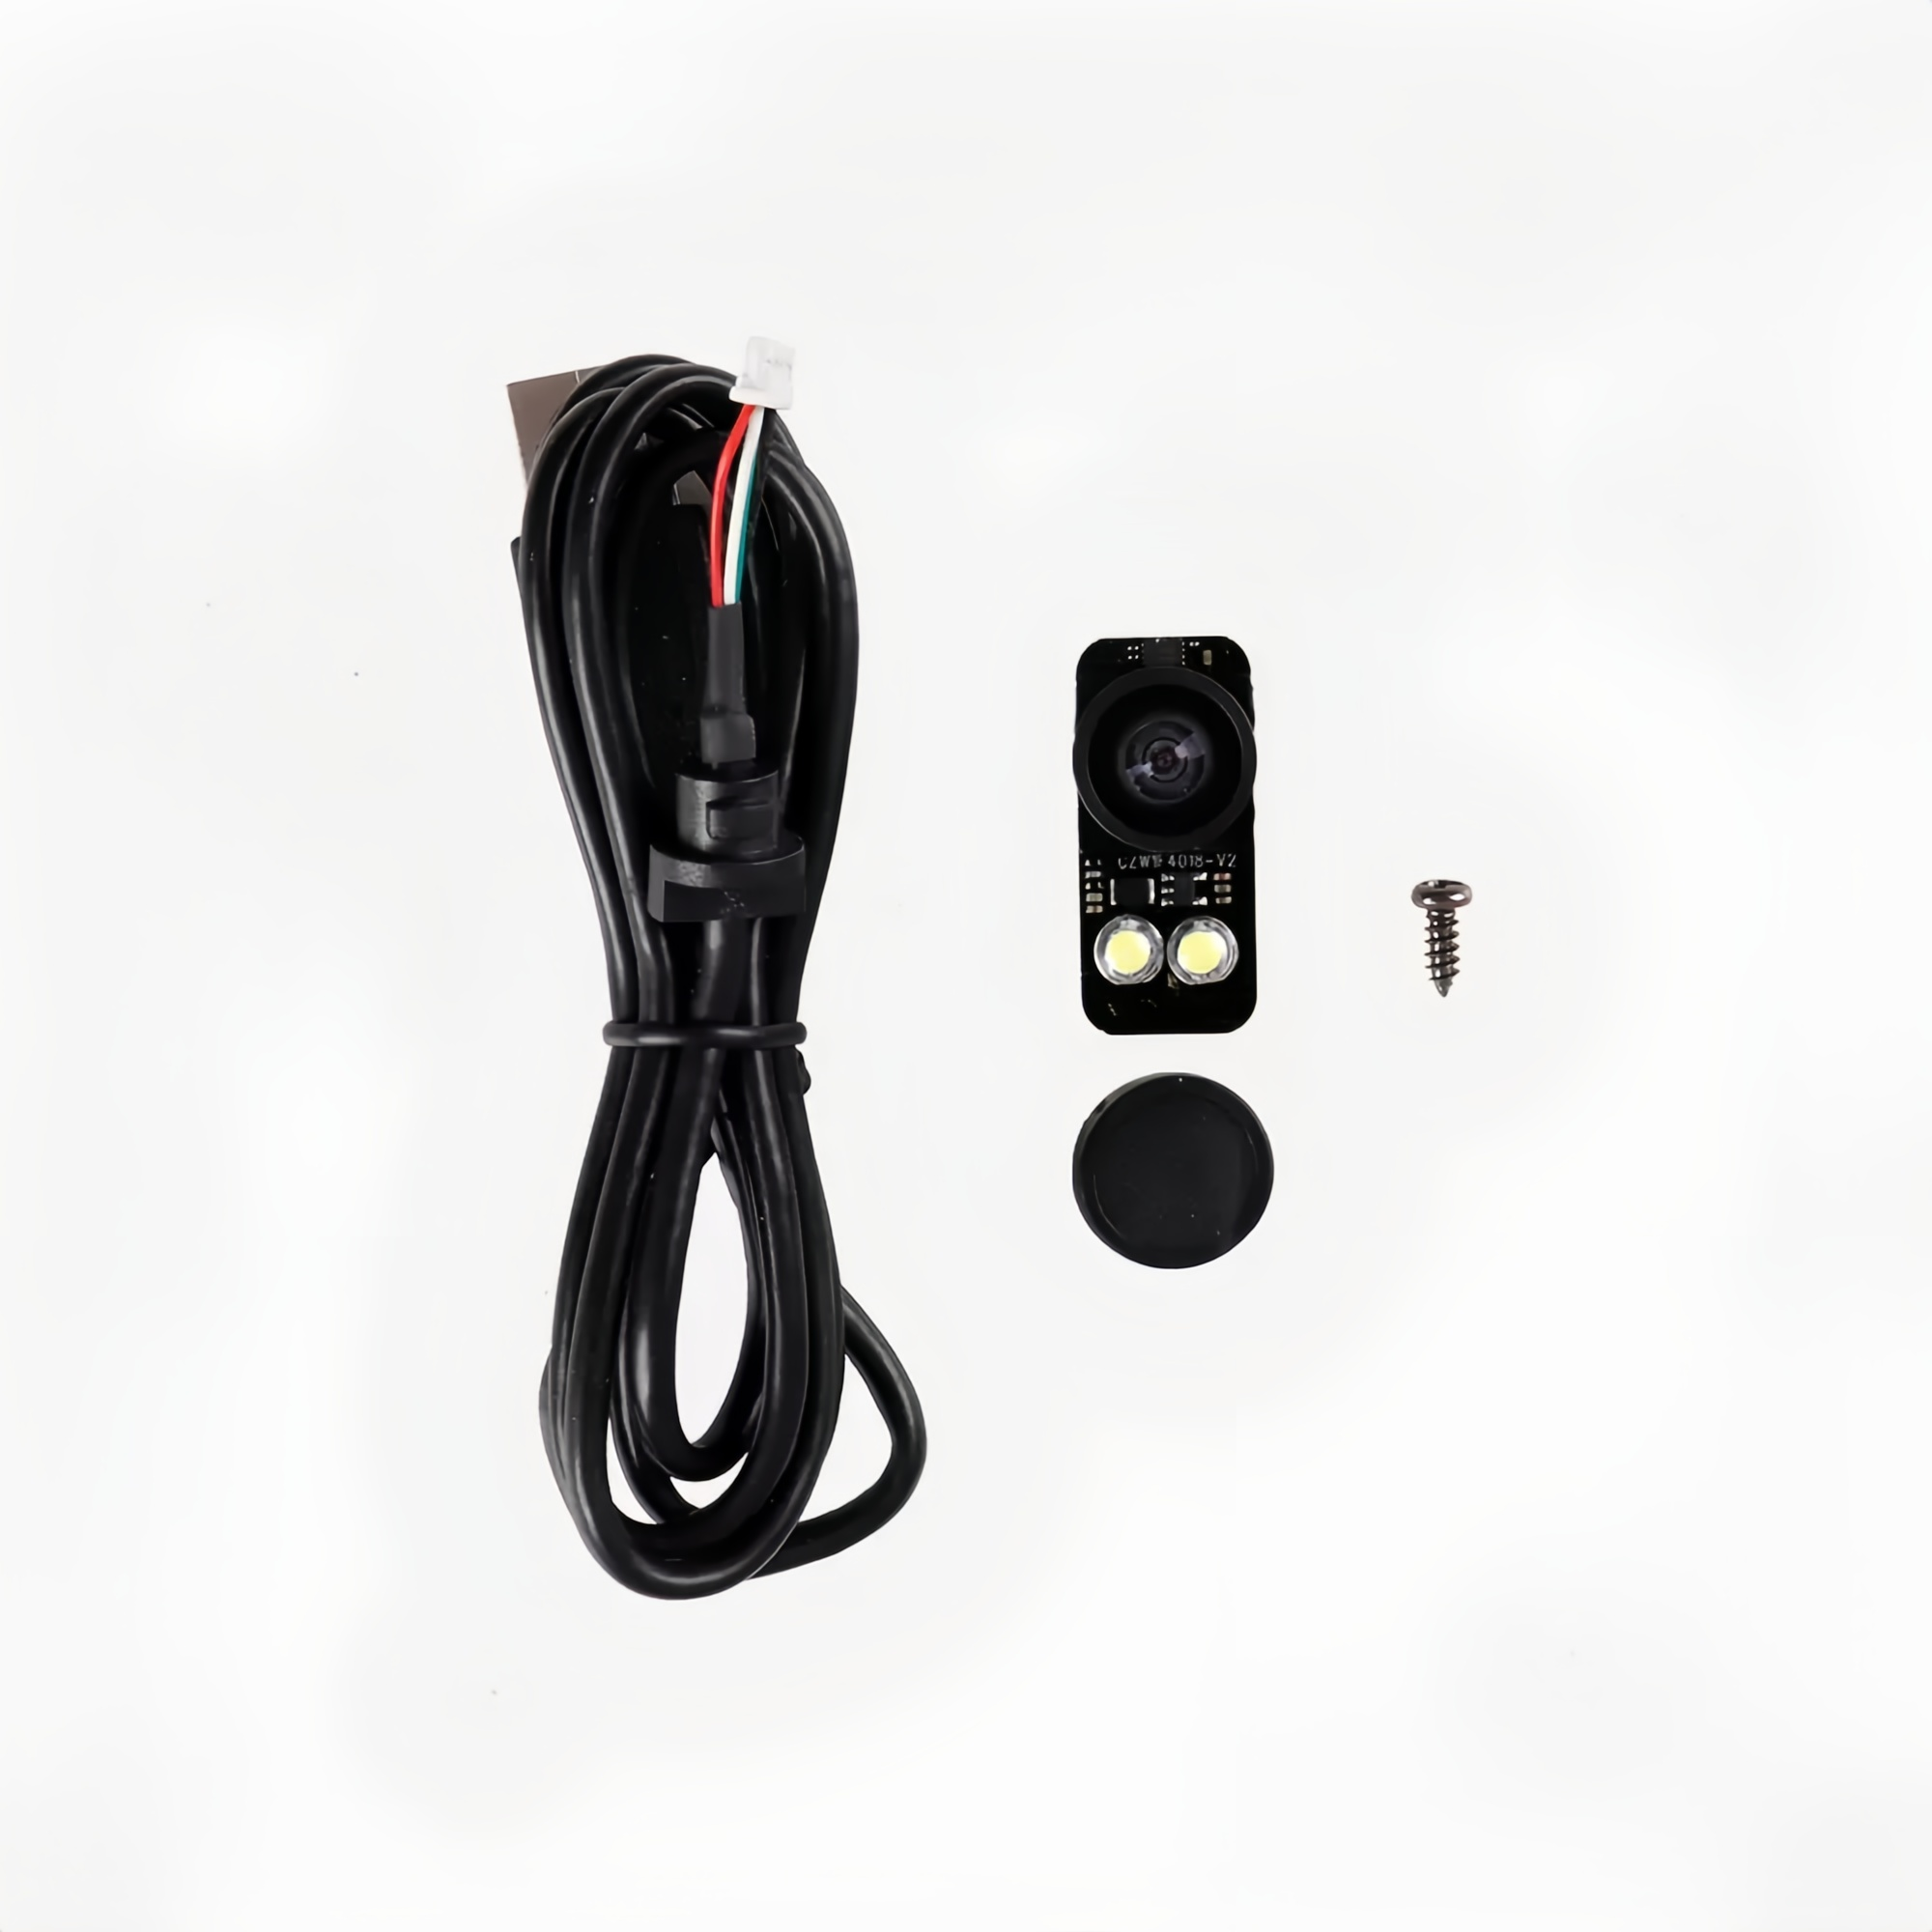
Live View Camera, Kobra 3
Couldn't load pickup availability
Use this text to encourage communication or promote sharing on social networks.
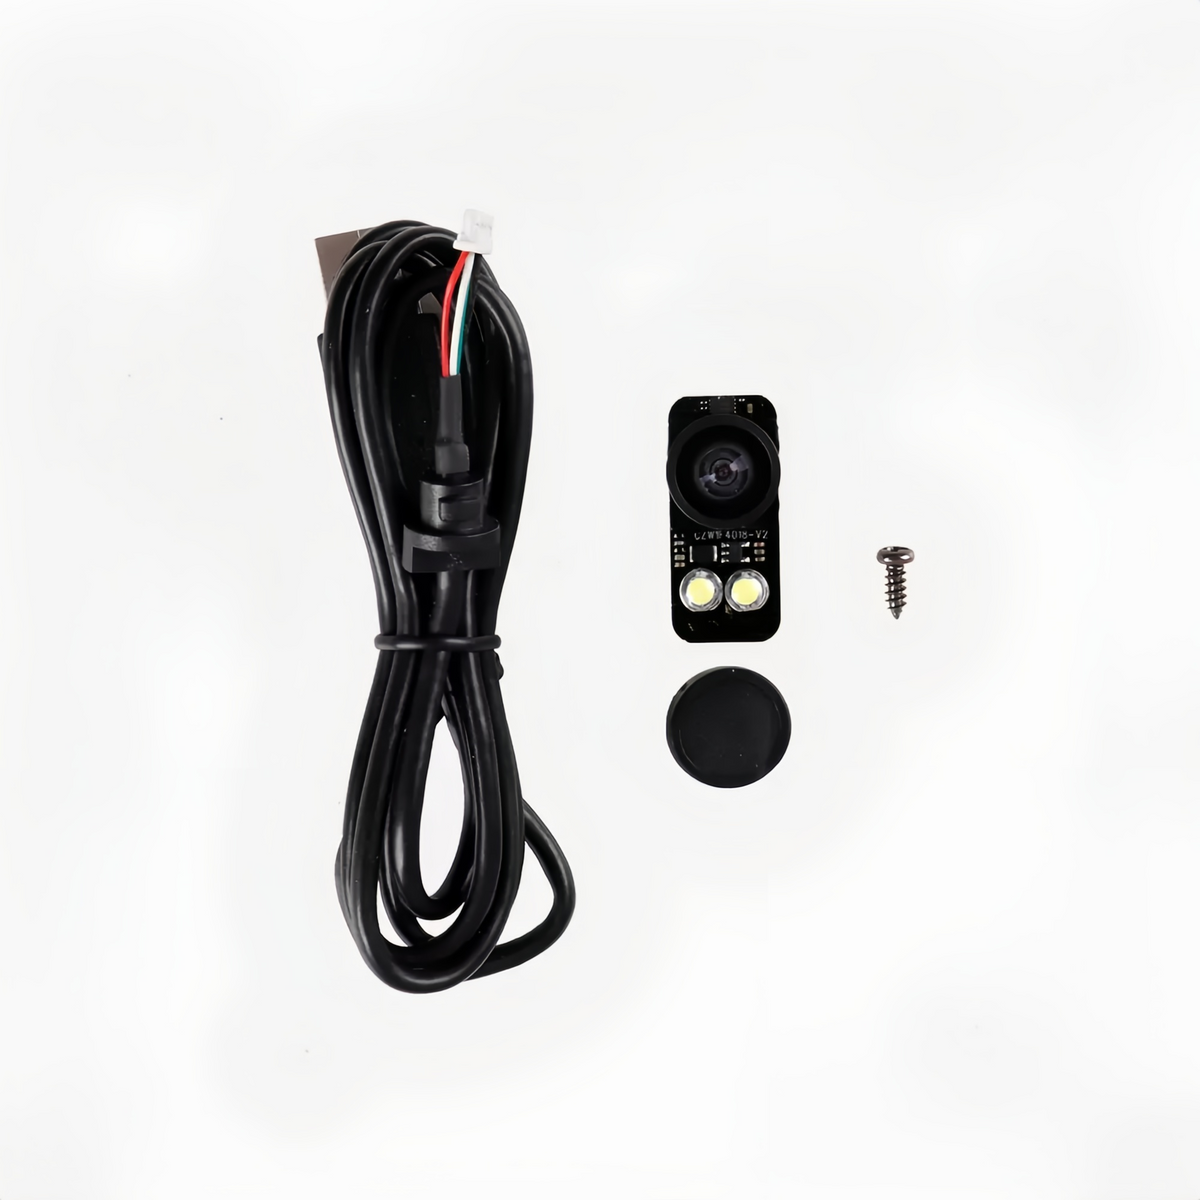
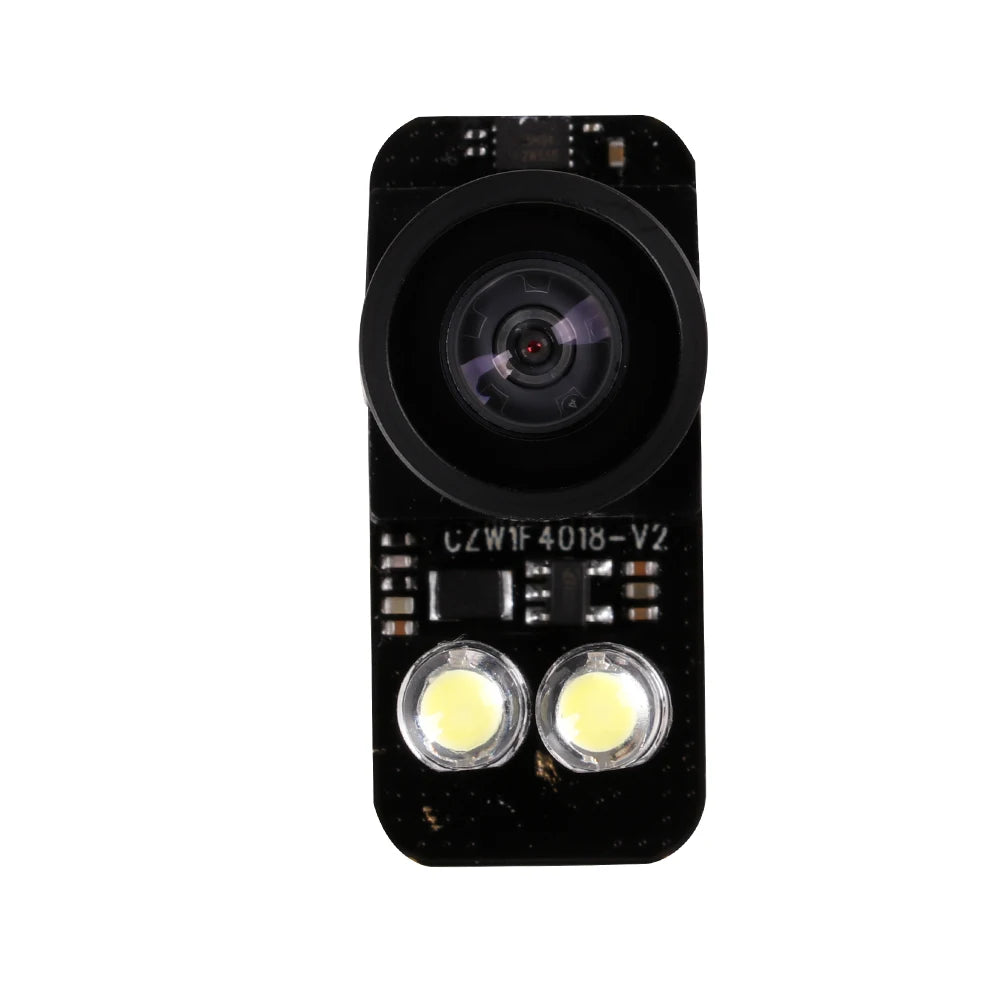
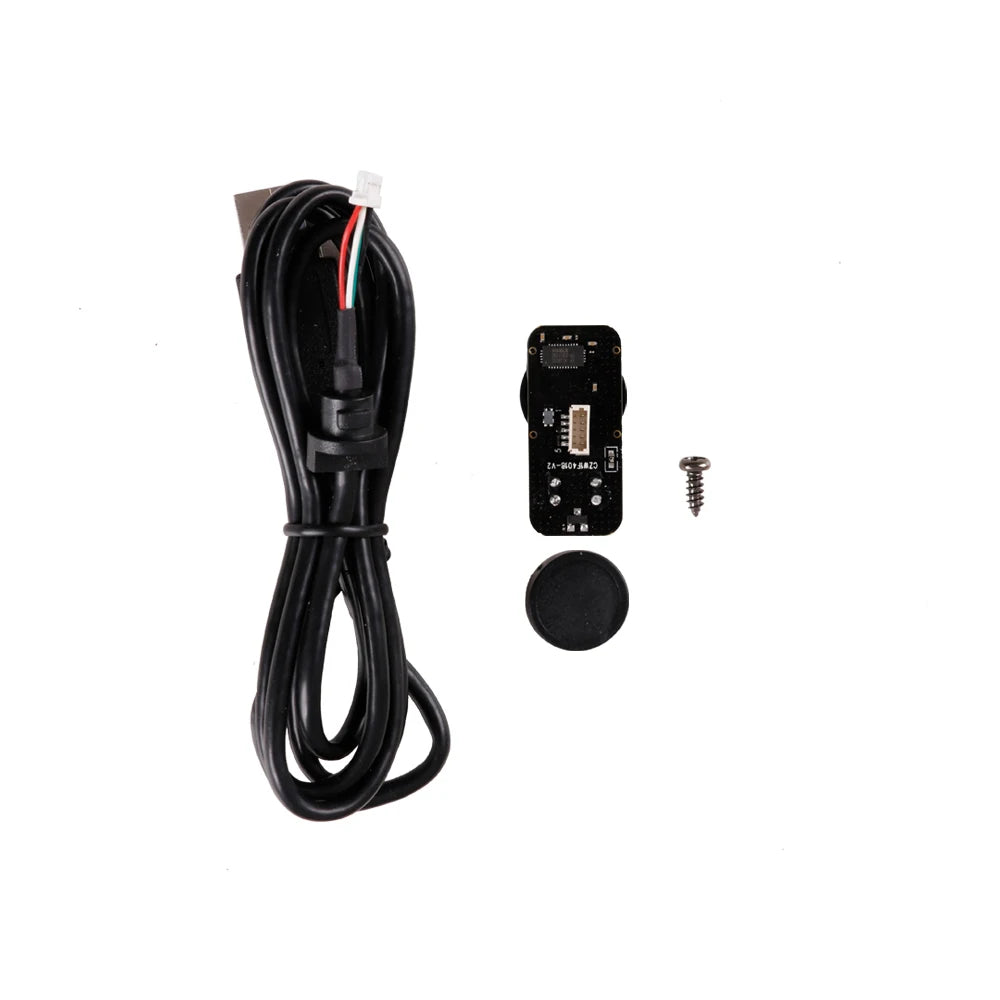
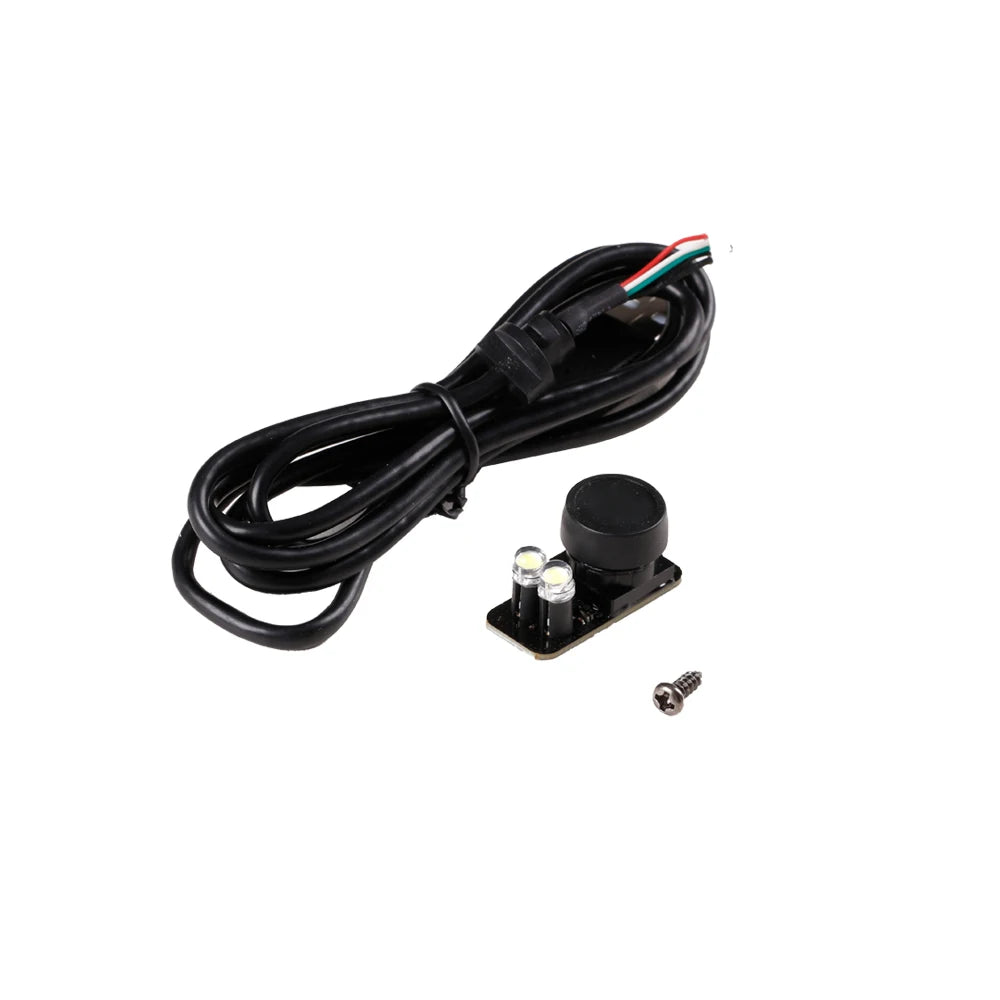
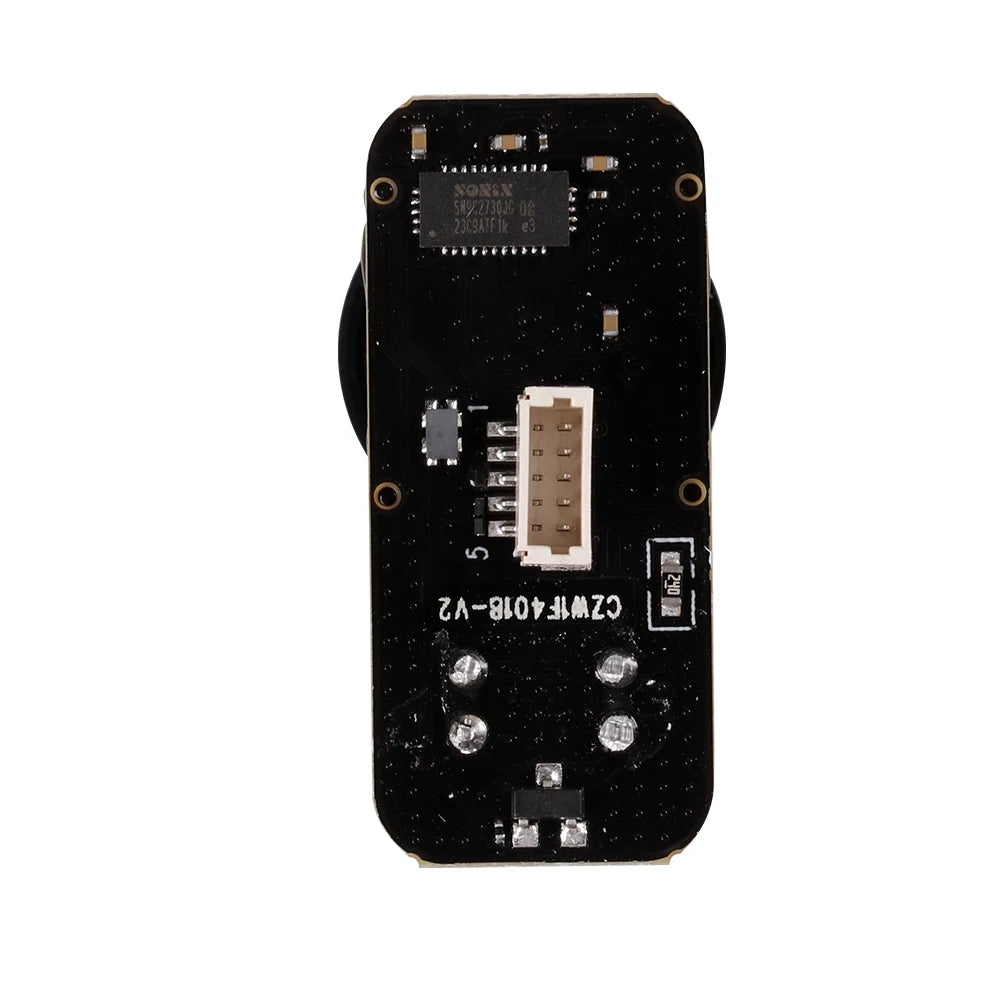
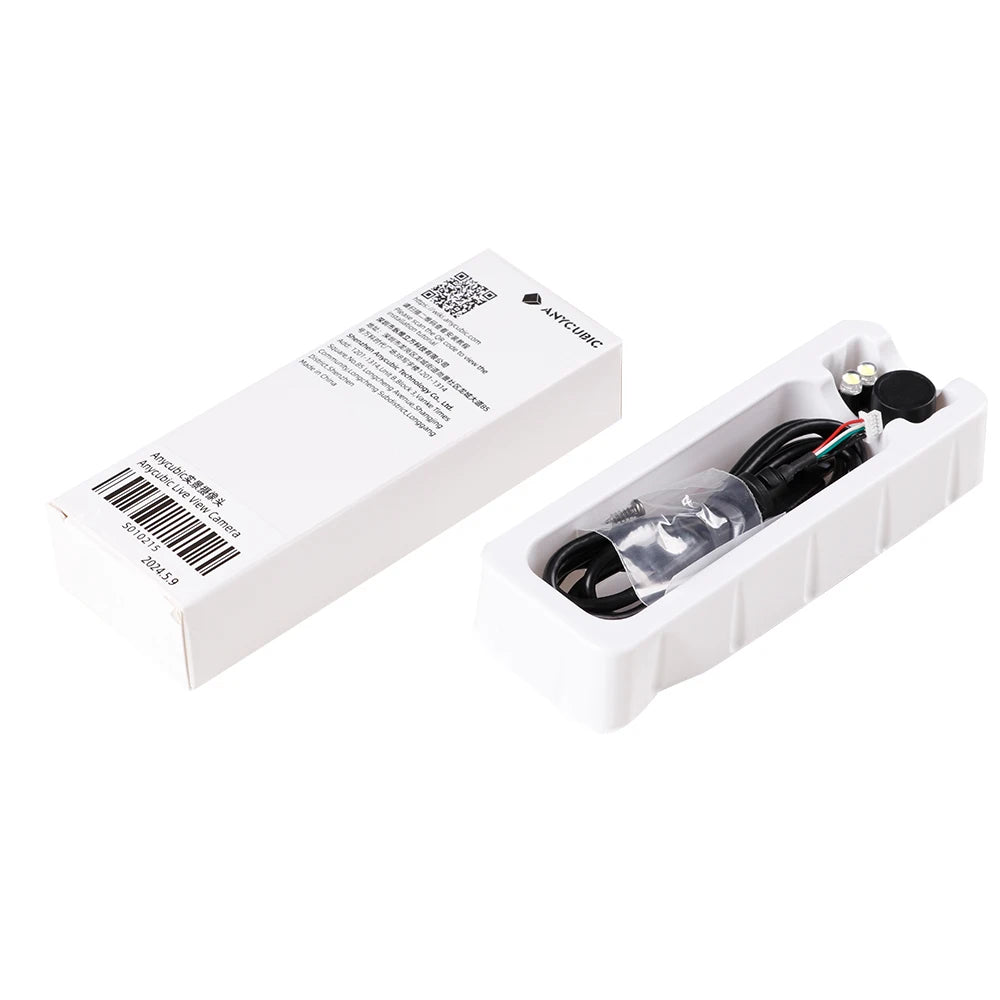
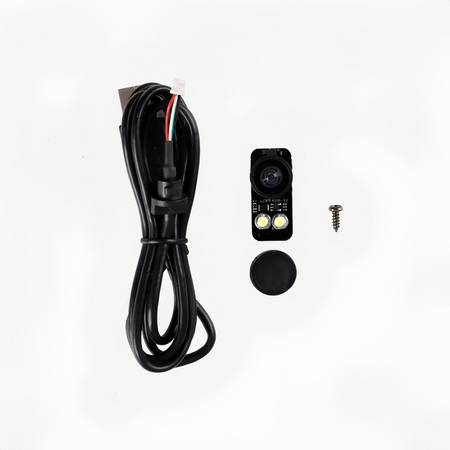
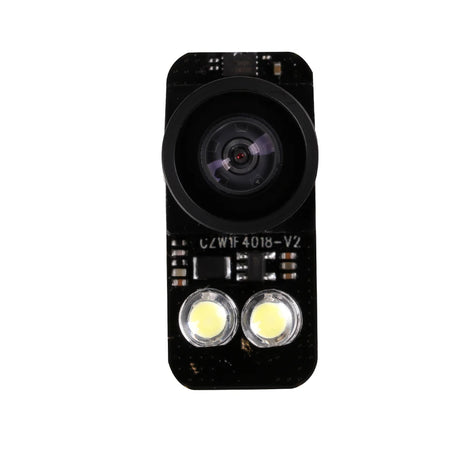
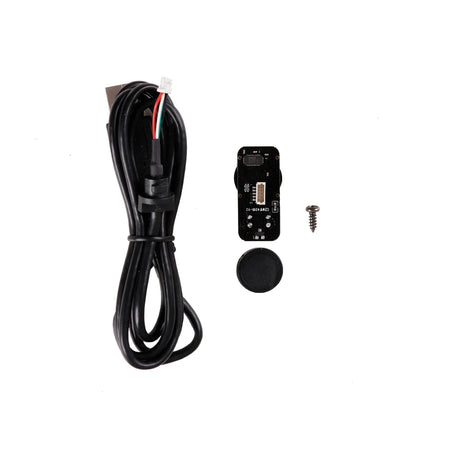
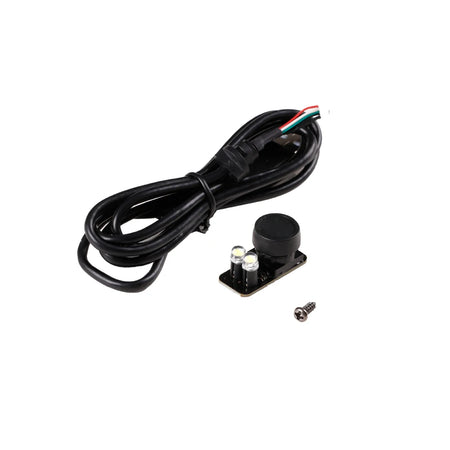
Live view camera for Kobra 3, Kobra 3 Combo 3D printers
Original Anycubic part
Kobra 3 Combo-Camera Installation Guide
1.Tools:
- Camera
- Phillips screwdriver
2. Installation Steps:
Step 1: Turn off the printer
Before installation, turn off the printer and disconnect the power to ensure safe operation.
Step 2: Print the camera bracket
The camera needs to be mounted on the bracket. You can either print the model below or design your own bracket model.

Step 3: Install the camera
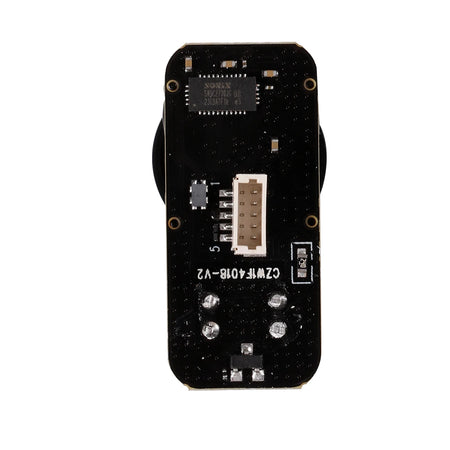
1. Remove the camera cover and install the camera.

2. Connect the camera cable and install the rear cover of the bracket.

3. Assemble the camera bracket.

Step 4: Install the camera bracket
Install the camera bracket on the X axis, align it with the screw hole, and tighten the screw securing the bracket using a Phillips screwdriver(M3x8 self-tapping screw)

Step 5: Connect the camera cable
Connect the camera to the USB port of the printer.
Note: There are two USB ports on the printer, and the camera can only be connected to the left port.

3. Check the installation effect:
After the printer is powered on, if the camera icon is displayed in the upper right corner of the page, the printer is successfully installed.


