


Induction Hotend Dock Assembly for Bambu Lab
Couldn't load pickup availability
Use this text to encourage communication or promote sharing on social networks.
Vortex Hotend Dock Assembly Replacement Guide for the H2C
The Induction Hotend Dock Assembly is the positioning detection unit for the hotend assembly. It uses magnetic adsorption to ensure stable placement of the hotend and integrates a Hall sensor and indicator light — the Hall sensor detects whether the hotend is correctly positioned, while the indicator light provides real-time feedback on the hotend’s status.
When to Use this Guide
If the induction hotend dock assembly is damaged
Replacement is recommended by Bambu Lab Technical Support
Required Tools and Materials
H2.0 screwdriver
Safety Warning
It's crucial to power off the printer before conducting any maintenance work, including work on the printer's electronics and tool head wires. Performing tasks with the printer on can result in a short circuit, leading to electronic damage and safety hazards.
During maintenance or troubleshooting, you may need to disassemble parts, including the hotend. This exposes wires and electrical components that could short circuit if they contact each other, other metal, or electronic components while the printer is still on. This can result in damage to the printer's electronics and additional issues.
Therefore, it's crucial to turn off the printer and disconnect it from the power source before conducting any maintenance. This prevents short circuits or damage to the printer's electronics, ensuring safe and effective maintenance.
Removing the Old Induction Hotend Dock Assembly
The steps below will guide you through the replacement of an induction hotend dock assembly on the H2C printer.
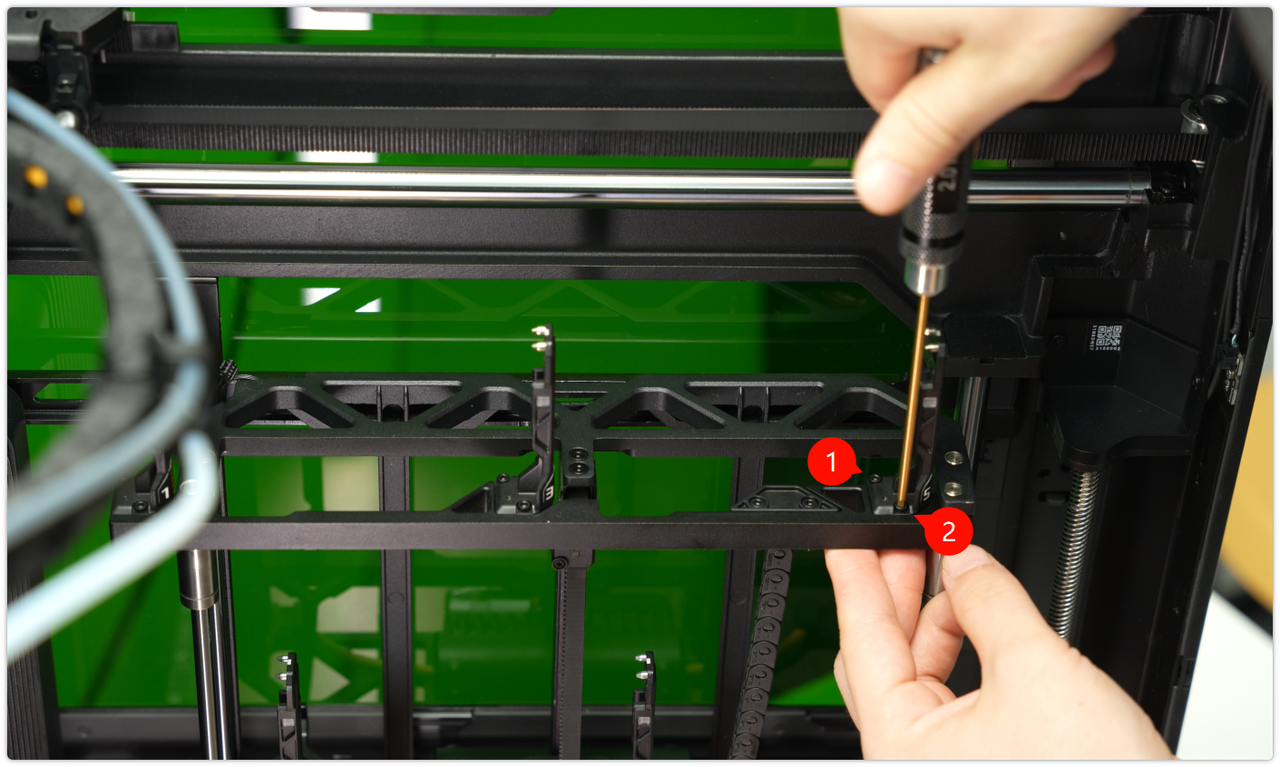
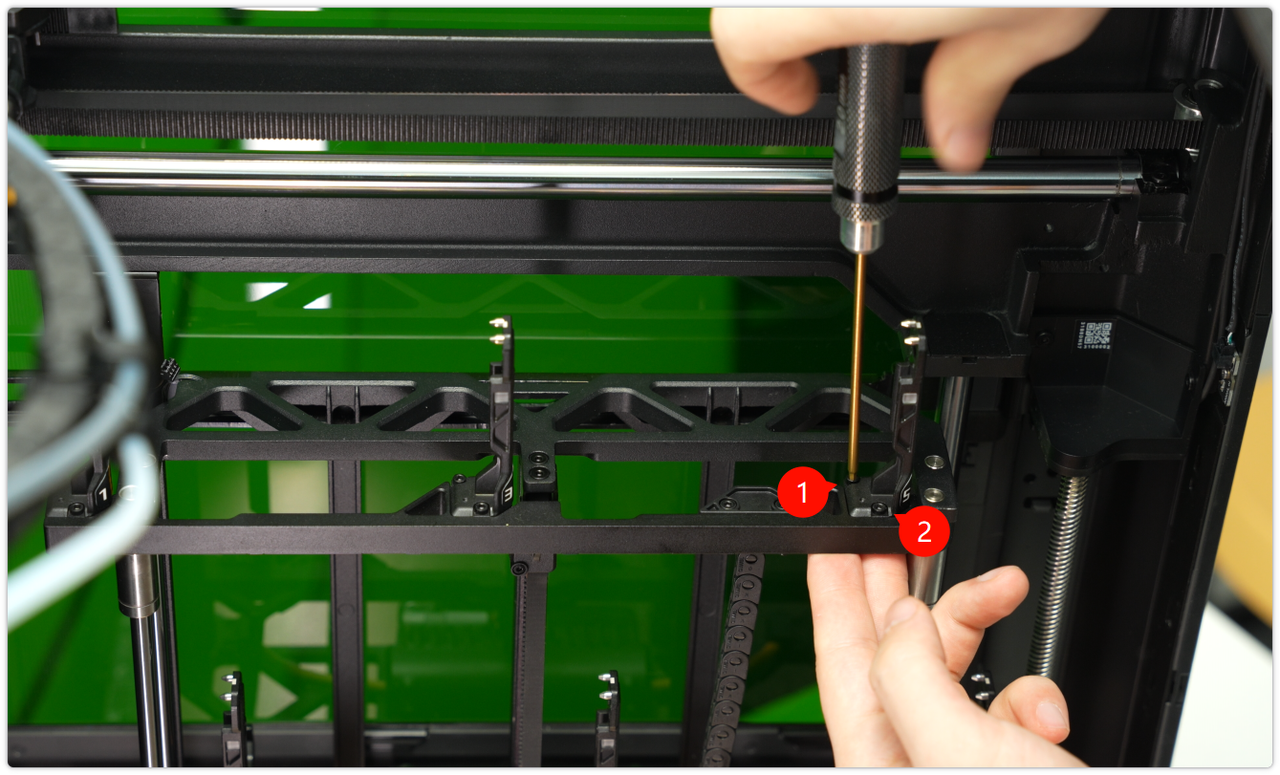
Step 1: Raise the Induction Hotend Rack that Contains the Damaged Dock and Remove the Hotend. Use an H2.0 screwdriver to Remove the Two Fixing Screws
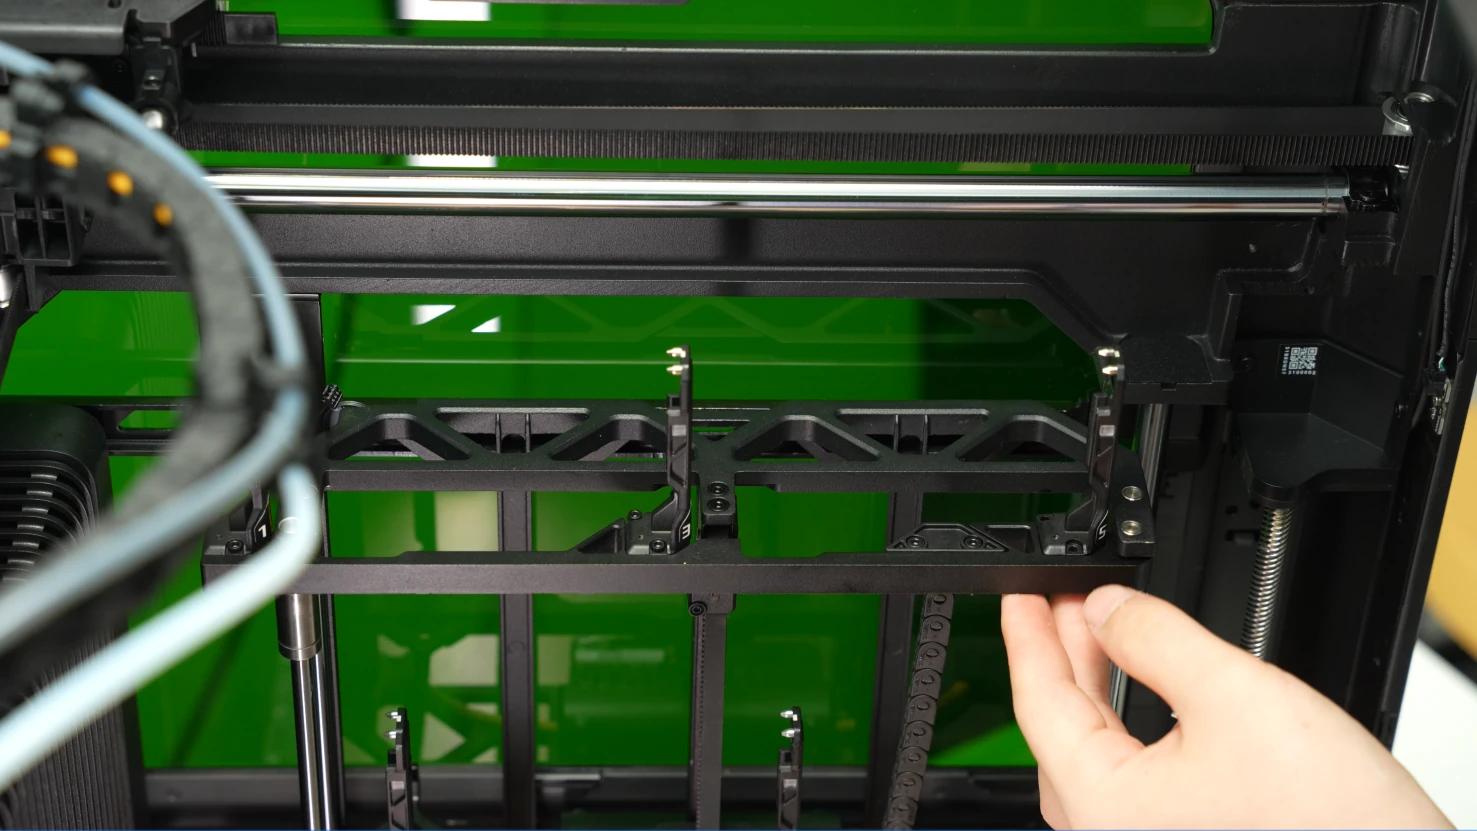
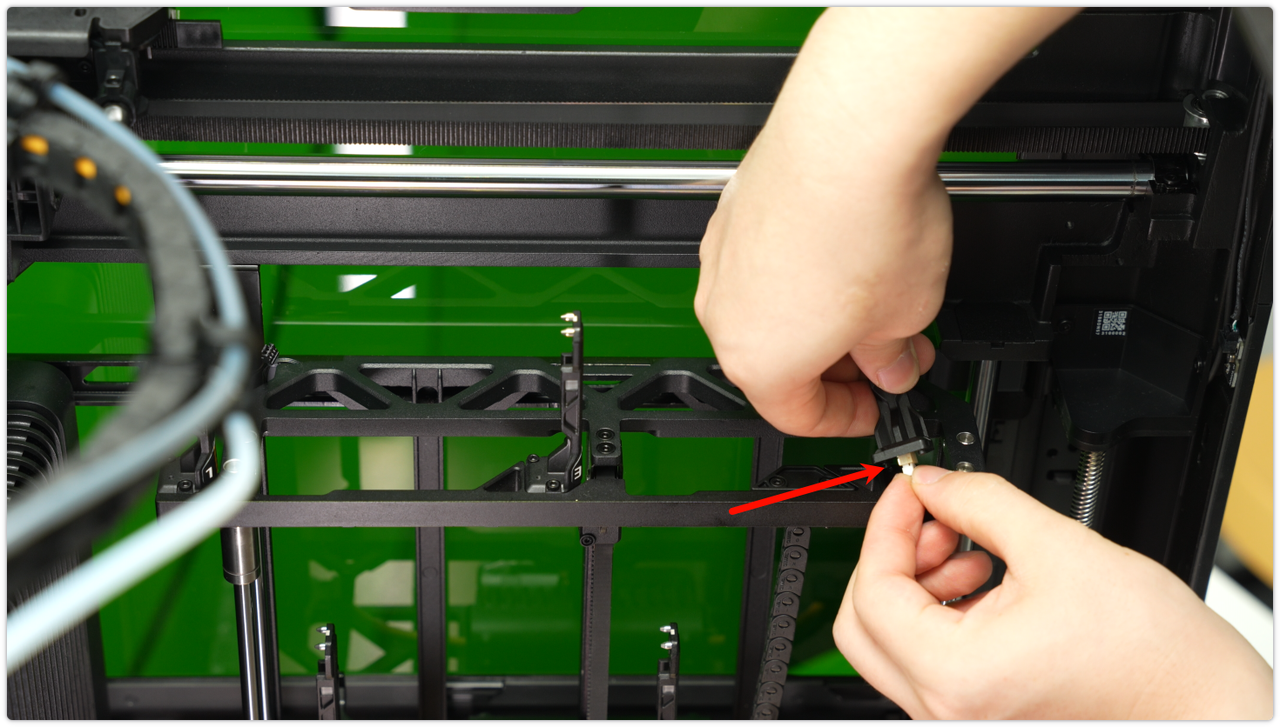
Step 2: Lift the Dock Assembly, Gently Disconnect the Wire, and Remove it From the Rack
Installing a New Induction Hotend Dock Assembly
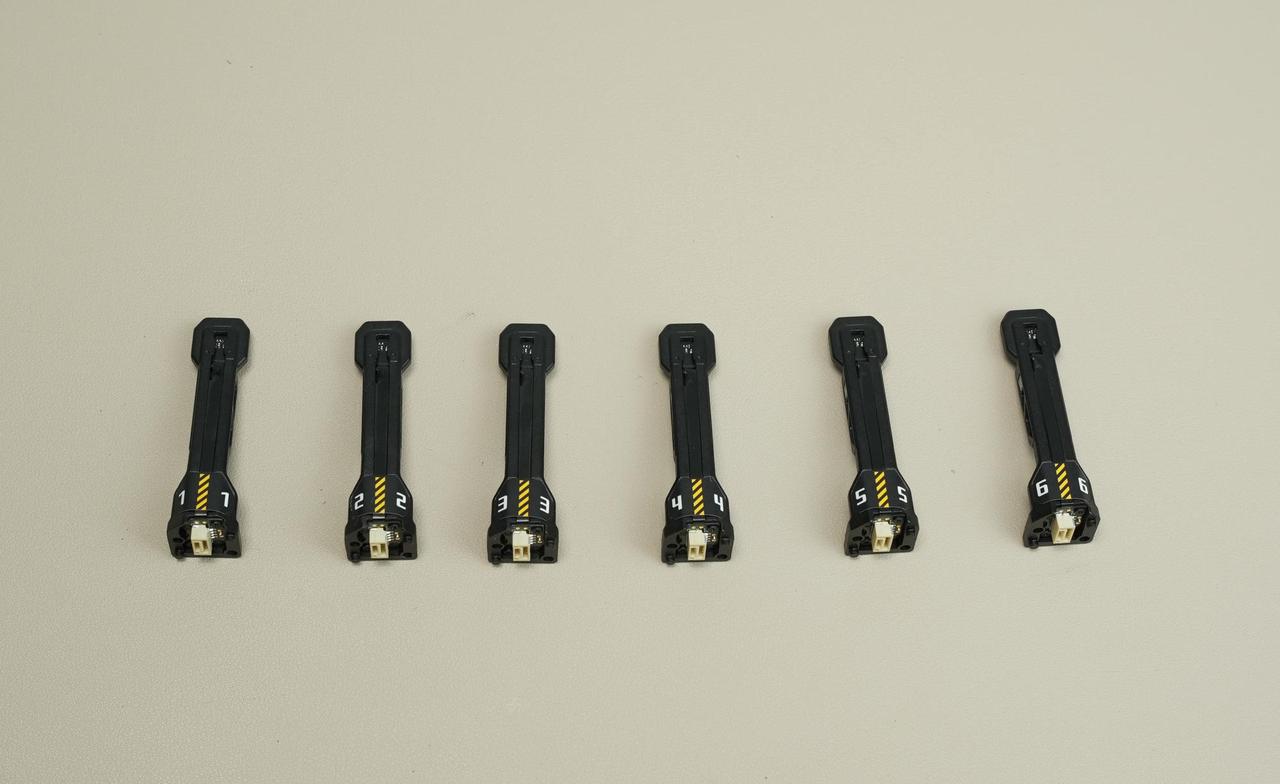
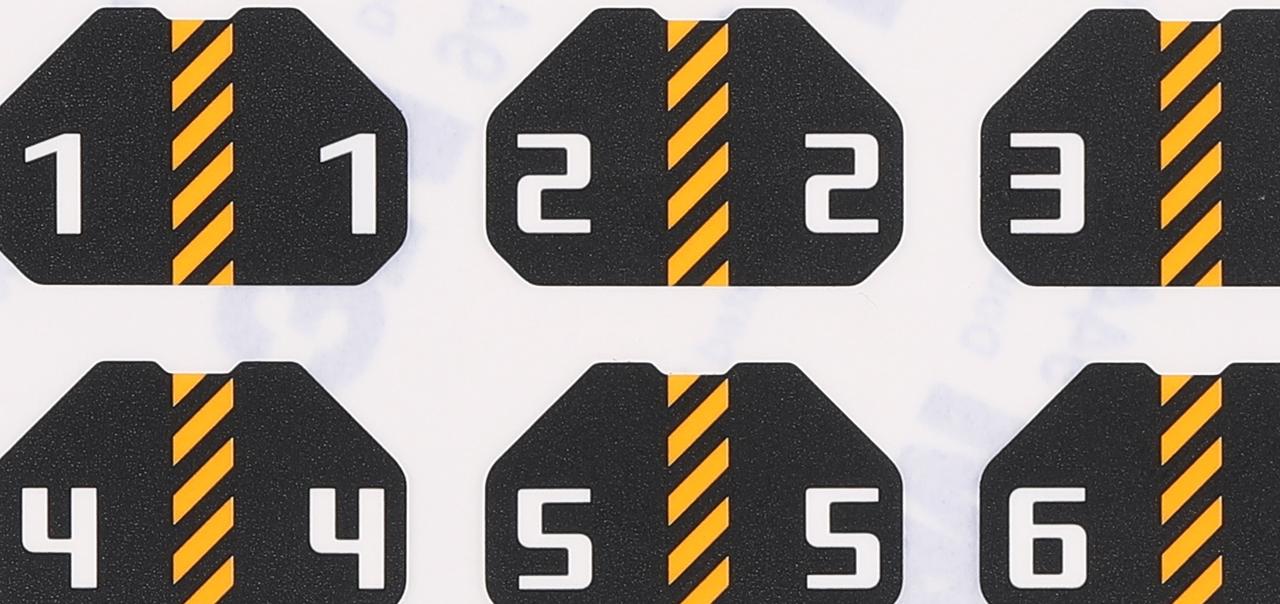
Step 1: Fix the Appropriate Sticker to the New Dock Assembly
The induction hotend docks do not come with number stickers from the factory. A set of stickers numbered 1-6 is included in the package. Please affix the appropriate number to the new dock assembly.
Step 2: Insert the Connecting Wire Into the New Dock Assembly and Neatly Arrange the Cable in the Cable Tray
Step 3: Use an H2.0 Screwdriver to Tighten the Two Screws and Secure the New Dock Assembly to the Rack
Verifying Functionality
Connect the power supply and turn on the printer to verify that the induction hotend assembly can be properly lifted and placed, and that its information can be read correctly.