


for Bambu Extruder Gear Assembly - A2L
Couldn't load pickup availability
Use this text to encourage communication or promote sharing on social networks.
The Extruder Gear Assembly precisely drives and controls filament movement, ensuring smooth printing performance and supporting filament changes when needed.
In the Box
- Extruder Gear Assembly (Drive Gear) *1
- Extruder Gear Assembly (Driven Gear) *1
- Spring *1
- Bearing *2
- Spring Pressure Washer *1
- M3x11 Screw *1
- 2g Lubricant *1
Compatibility
A2L
Extruder Gear Assembly Replacement Guide for the A2L
In this wiki, you will learn how to replace the extruder gear assembly on the A2L.
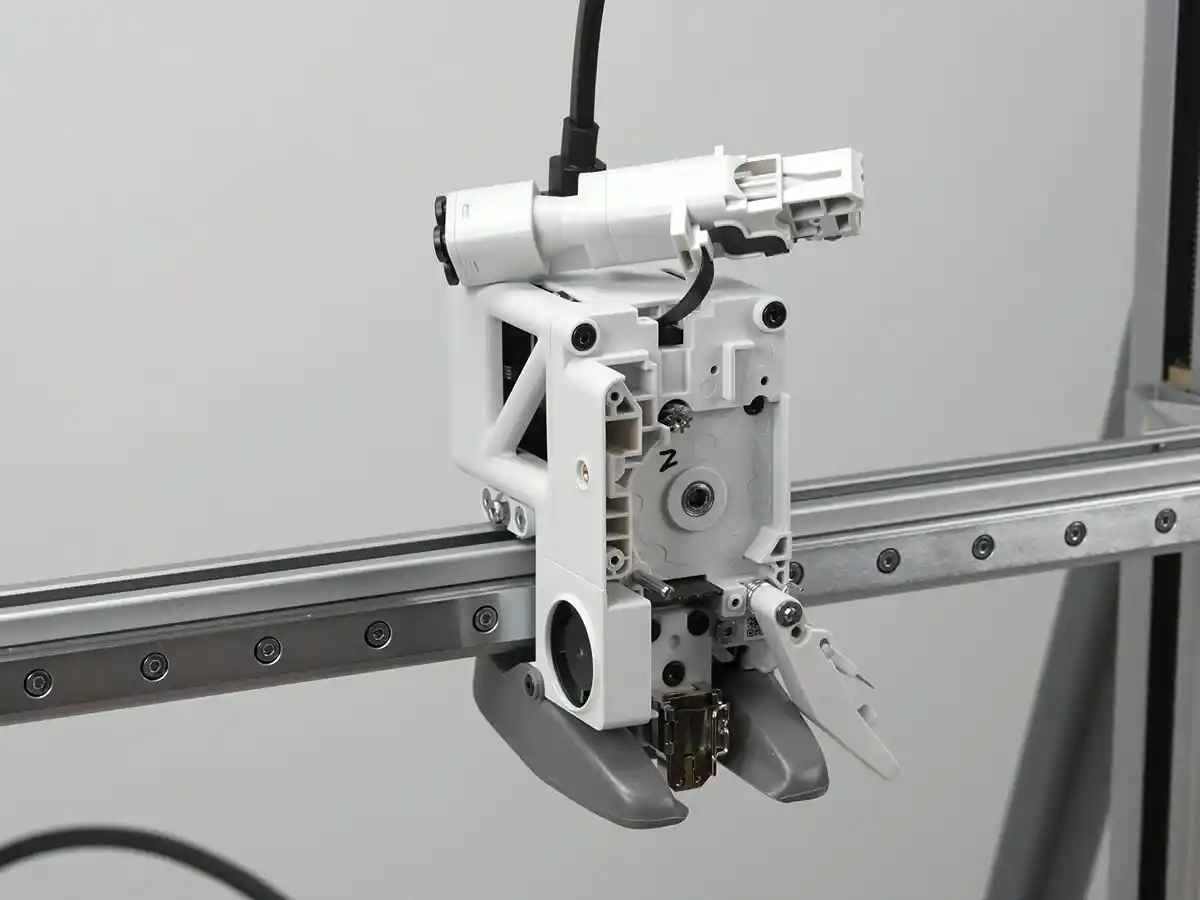
Extruder Gear Assembly
Find the A2L Extruder gear assembly in the Bambu Lab store.

The extruder gear assembly consists of a drive gear and a driven gear; please replace the corresponding parts as needed.
When to Replace
The extruder gear shows signs of wear.
Replacement recommended by Bambu Lab technical support.
Required Tools and Materials
A2L extruder gear assembly
H2.0 allen key
Safety Warning
⚠️ IMPORTANT!
It's crucial to power off the printer before conducting any maintenance work, including work on the printer's electronics and tool head wires. Performing tasks with the printer on can result in a short circuit, leading to electronic damage and safety hazards.
During maintenance or troubleshooting, you may need to disassemble parts, including the hotend. This exposes wires and electrical components that could short circuit if they contact each other, other metal, or electronic components while the printer is still on. This can result in damage to the printer's electronics and additional issues.
Therefore, it's crucial to turn off the printer and disconnect it from the power source before conducting any maintenance. This prevents short circuits or damage to the printer's electronics, ensuring safe and effective maintenance.
Remove the Extruder Gear Assembly
Step 1. Remove the Extruder Unit Front Cover
Remove the Hotend silicone sock, hotend, and extruder unit front cover following this wiki: Extruder unit front cover replacement Guide for the A2L.
Step 2. Remove the Toolhead Filament Inlet
Use an H2.0 hex screwdriver to unscrew the two screws shown, remove the toolhead filament inlet, and place it on top of the toolhead bracket.

Be careful not to pull excessively on the filament inlet connector cables, as this may cause damage.
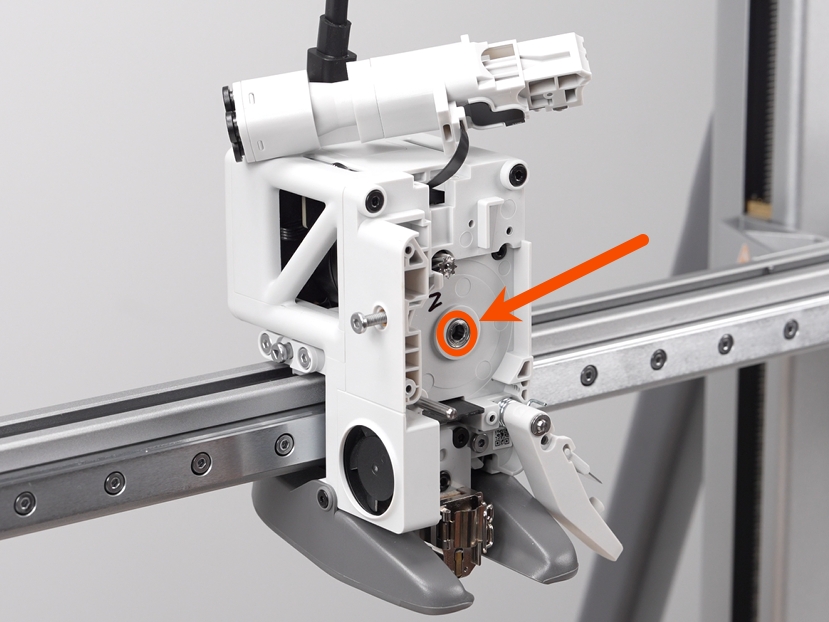
Step 3. Remove the Extruder Gear
Use an H2.0 hex screwdriver to loosen the extruder tension screw.

Remove the driven gear and drive gear. Be sure to keep the extruder spring and top cap.

Install the Extruder Gear Assembly
Step 1. Install the Extruder Gear
Check whether the extruder bearing is properly seated. If the bearing fell off during disassembly, reinstall it correctly.
Install the drive gear first, followed by the driven gear.
Insert the extruder spring and top cap, then tighten the extruder tension screw.

Pay attention to the installation order and orientation of the washer and spring, ensuring they match the demonstration.
Step 2. Install the Toolhead Filament Inlet
Insert the toolhead filament inlet into the extruder, being careful not to pinch the wiring; use an H2.0 hex screwdriver to secure the two screws.

Step 3. Install the Extruder Unit Front Cover
Verifying Success
✅ Turn on the printer power and turn on the printer. Operate the printer to load the filament. If the filament feeds smoothly without jamming, the replacement is successful.