


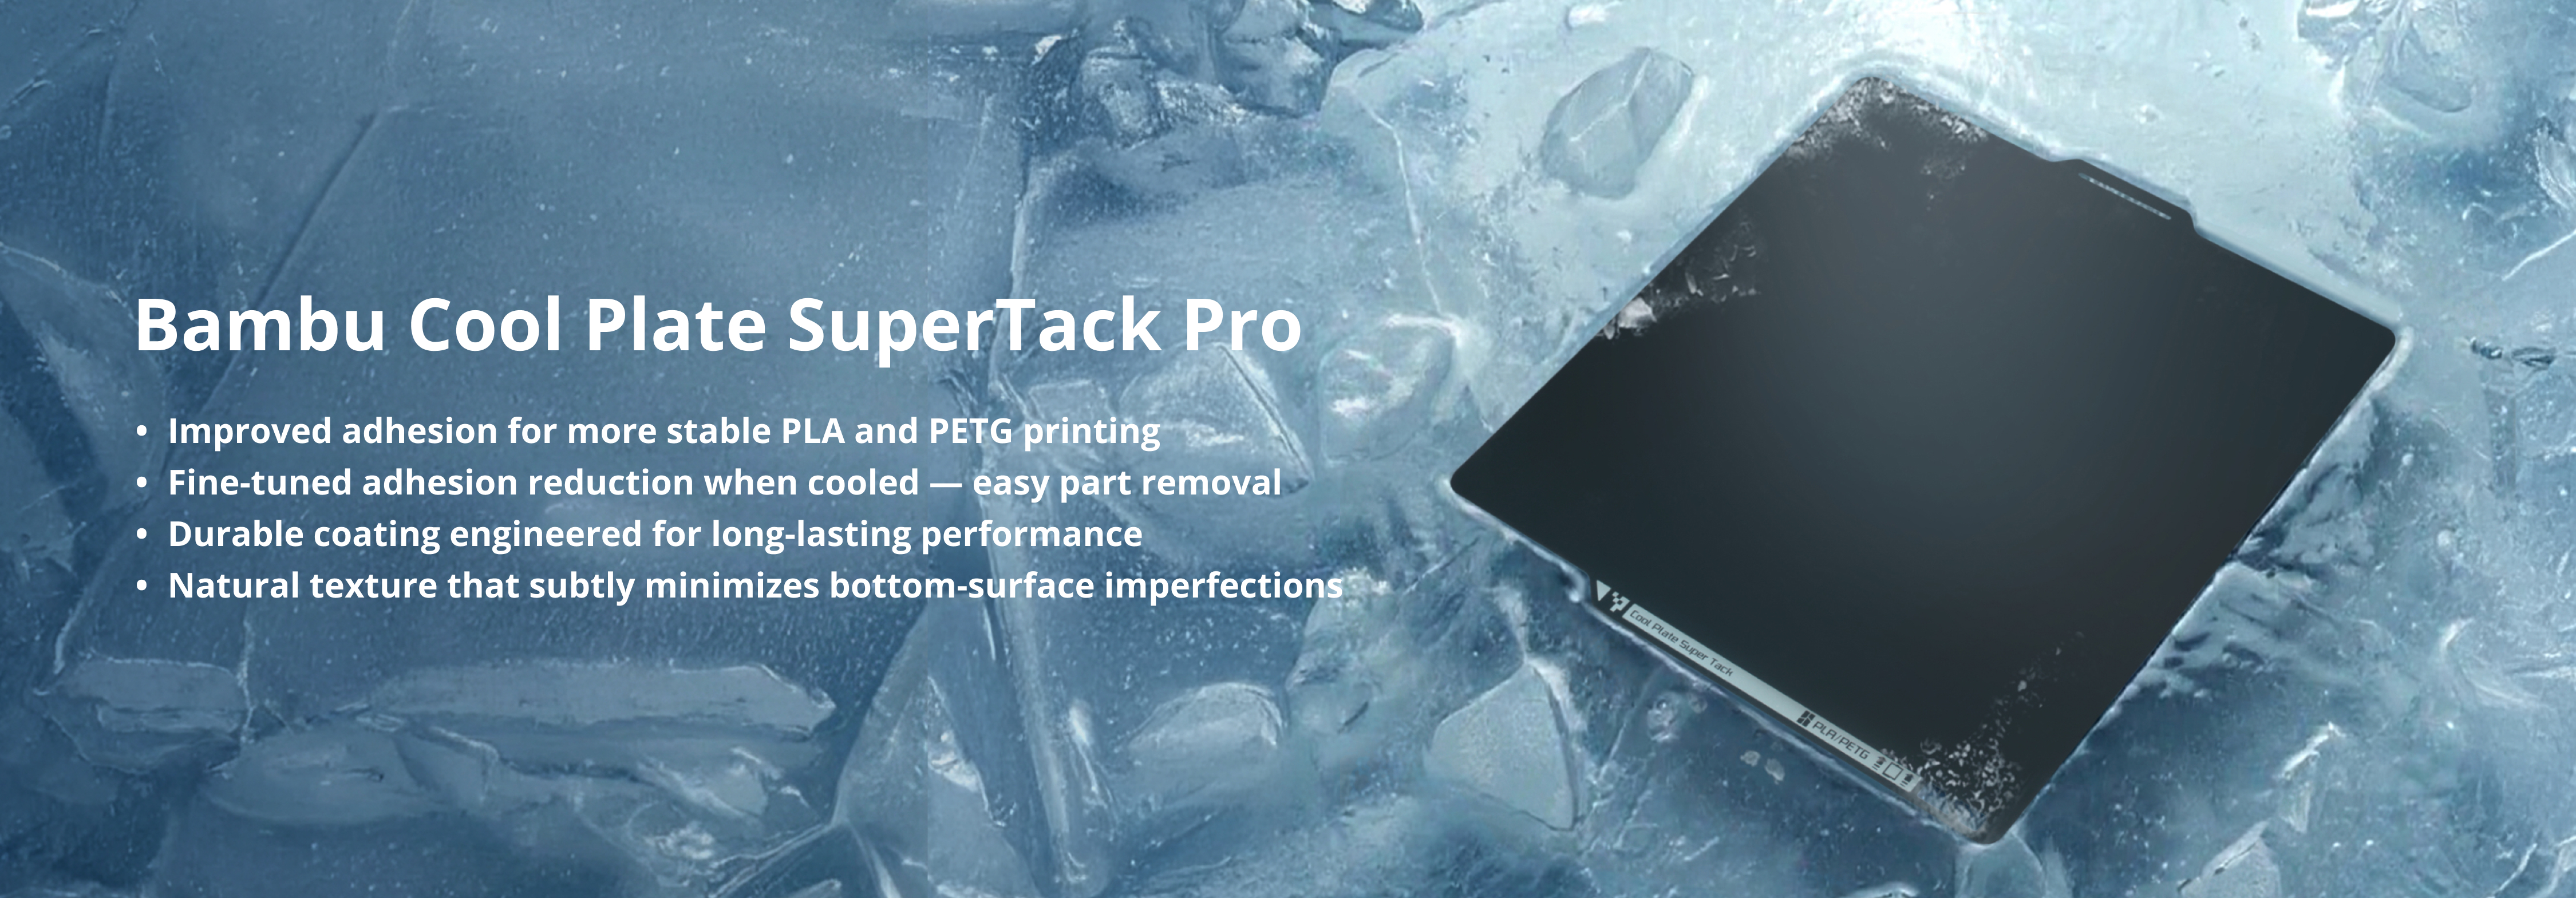
Cool Plate PEI SuperTack Pro for Bambu Lab
Couldn't load pickup availability
Use this text to encourage communication or promote sharing on social networks.
What Makes it Pro?
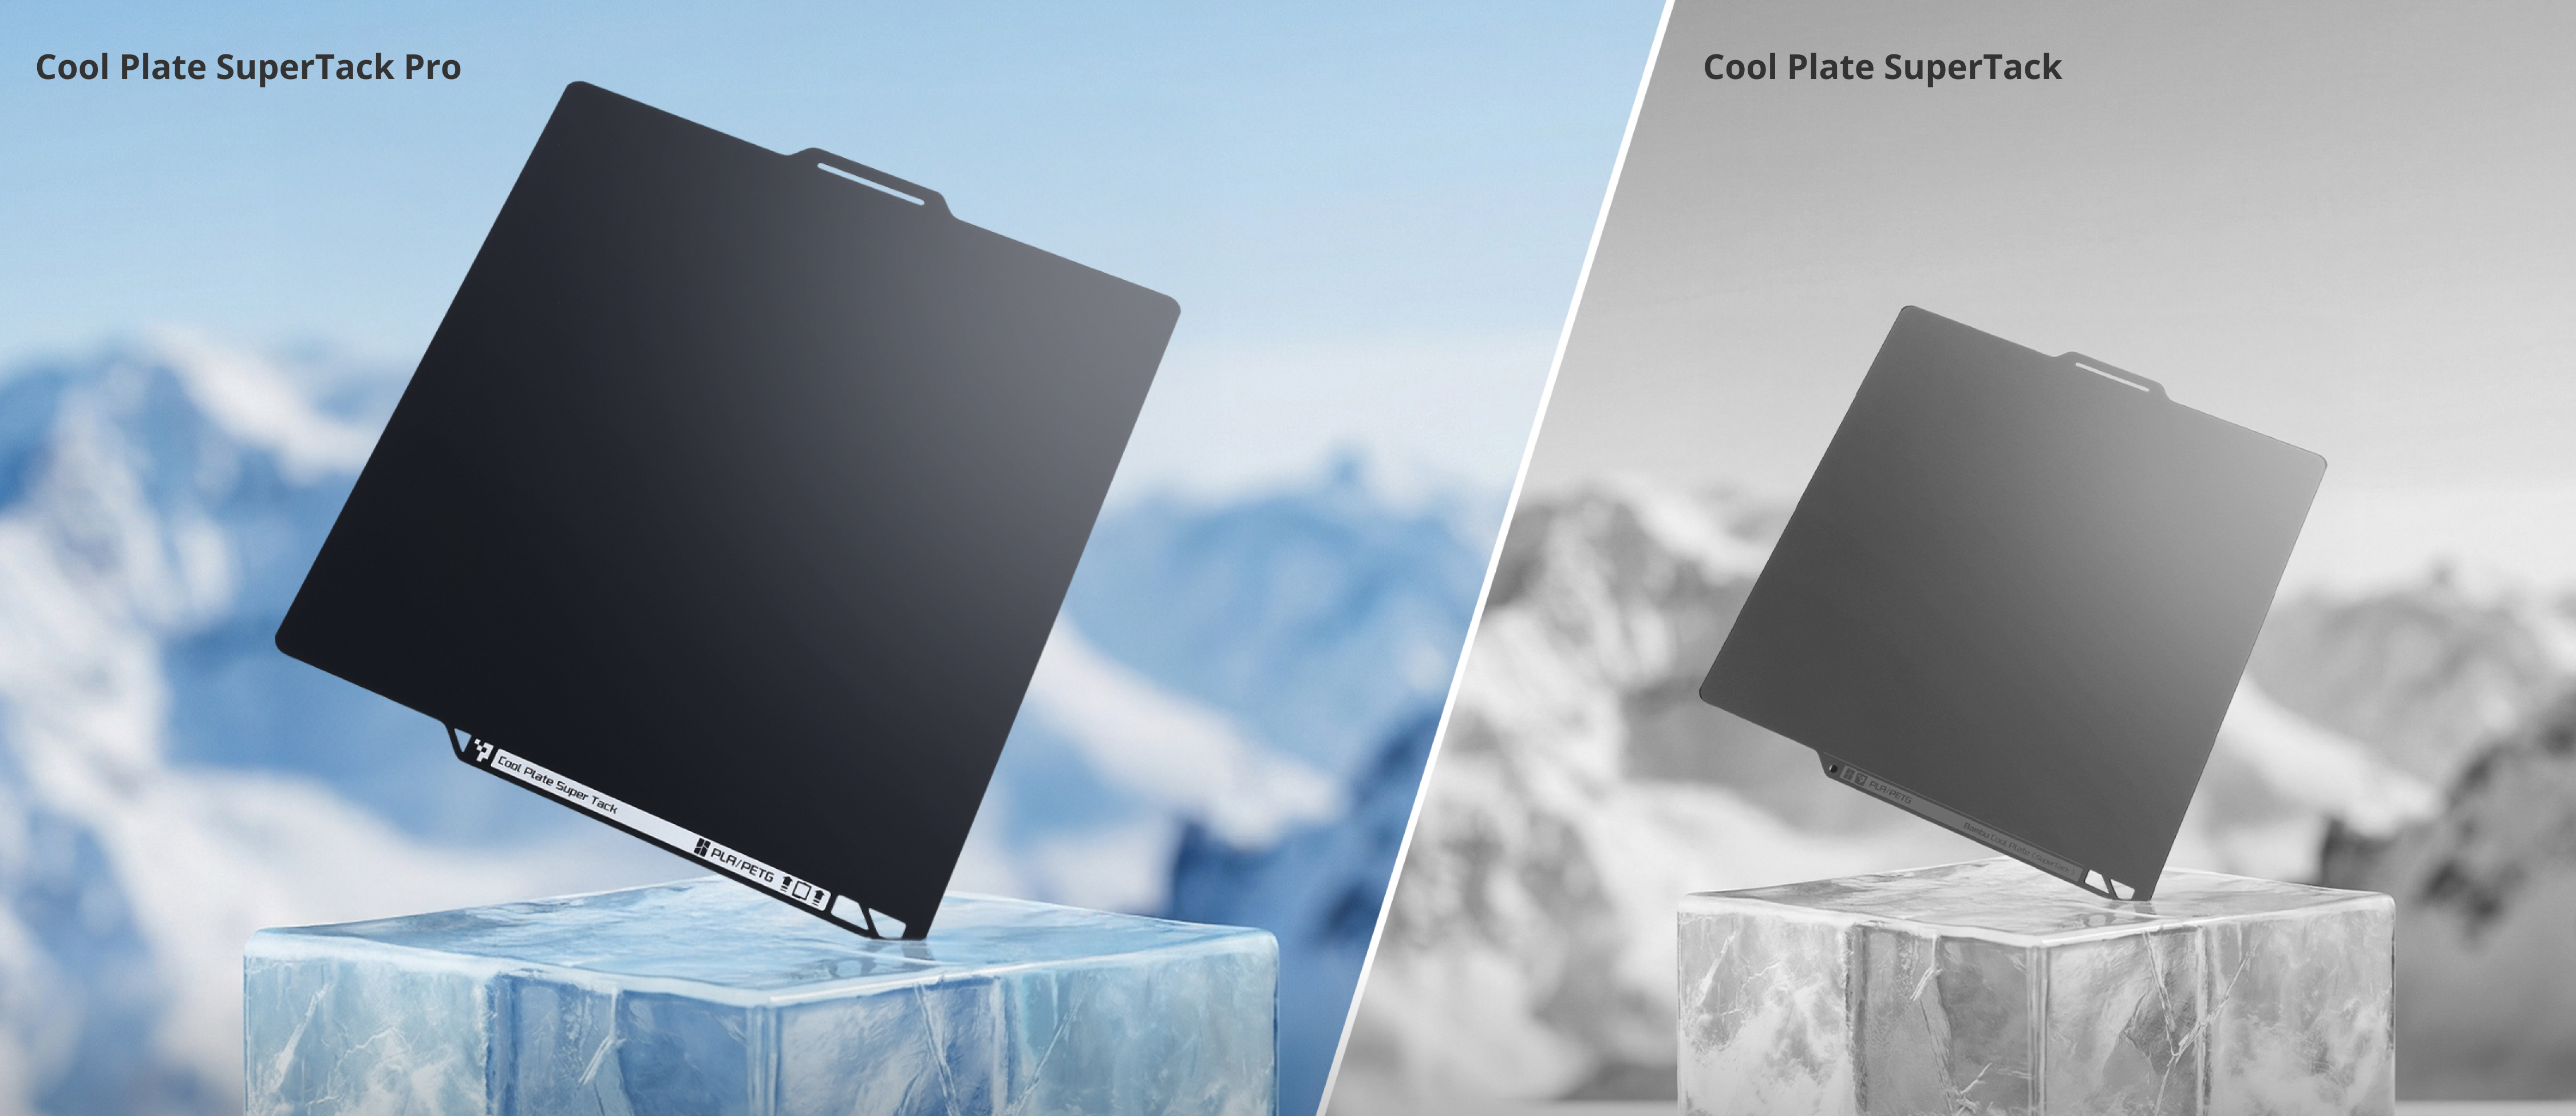
25% Longer Lifespan
10% Lower Operating Temperature
Better Scratch Resistance
Say Goodbye to Print Failures
SuperTack Pro coating provides ultra-strong adhesion to PLA and PETG filaments, even at lower heatbed temperatures. It enhances printing success by eliminating adhesion issues, reduces warping when printing large objects and works well with bad shape surface.
Eliminating Adhesion Issues

Reduces Warping when Printing Large Objects
The Surface is in Bad Shape? No Problem!

Long Lasting Performance
The SuperTack Pro coating is durable, retaining its sticky properties even after extensive use. This results in a longer lifespan for the printing plate, reducing printing costs (less than 15% adhesion loss after 300 prints) and lowering carbon emissions.

*The test data was produced using PLA Basic filament and completed on the A1 3D Printer.
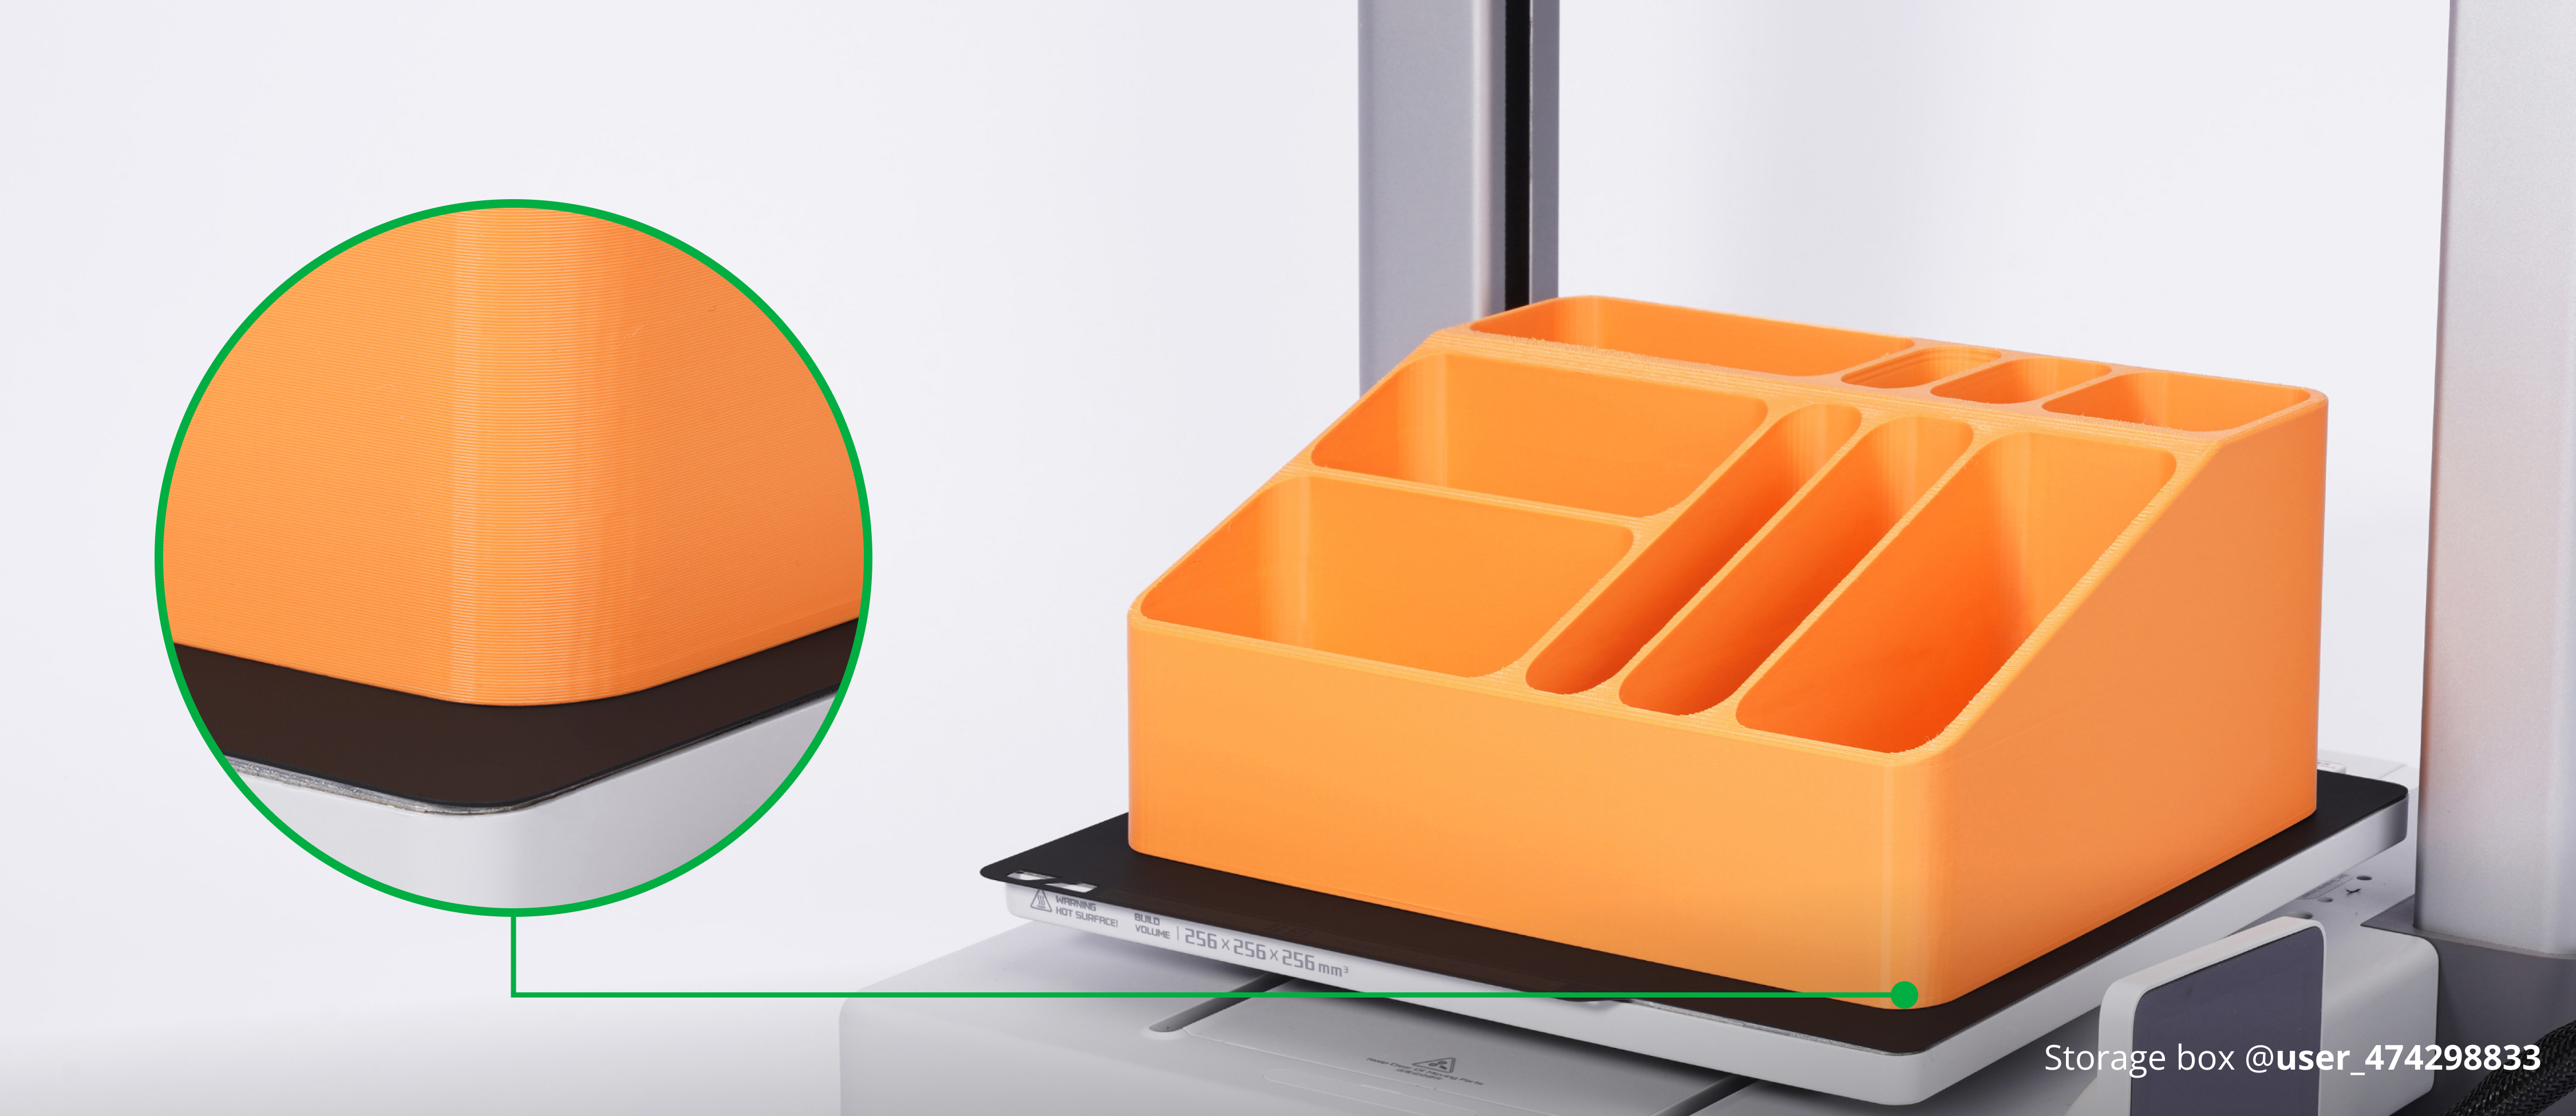
Smooth & Natural Surface Finish
The SuperTack Pro coating can impart a smooth and matte texture to the bottom surface of the printed object, better blend-in with other surfaces.

Energy Saving
The SuperTack Pro coating requires only an extremely low heatbed temperature to ensure that printed objects adhere securely. This means you can save a significant amount of energy during heating, leading to lower power bills and, more importantly, helping to protect our planet.

Comparison of Heatbed Temperatures

How to remove prints from SuperTack Pro
(The instruction below shows you how to remove the prints without damaging the coating)
Use the scraper included with your printer to gently lift the print, then pry it off carefully. If the print is sticking too tightly, heat the plate on the heatbed to 50°C to assist with removal.

Considerations
Use the scraper included with your printer to gently lift the print, then pry it off carefully. If the print is sticking too tightly, heat the plate on the heatbed to 50°C to assist with removal. The surface is soft. Be careful when using a scraper to remove printed parts.
Because the Vortek hotend rack occupies additional space, the H2C print bed is slightly smaller than the H2D. Therefore, The H2C and H2D build plates differ in size. Please ensure you select the correct model when purchasing.
Do NOT print with TPU filament, as it will damage the build plate.
Increasing heatbed temperature enhances adhesion. Users need to adjust the temperature of the heatbed based on their specific requirements in order to achieve the most suitable level of adhesion.
For X1 series, P1 series, and A1 printers, before auto-leveling, it is necessary to repeatedly rub the nozzle in the special wiping area of the build plate to completely remove any residual material at the tip of the nozzle. The coating in the special-designed wiping area will gradually become worn over time. This is normal and does not affect print quality or nozzle lifetime, so there is no need to worry about any quality issues.
Bambu Cool Plate SuperTack Pro is considered a consumable part, which will degrade over time. The warranty will only cover manufacturing defects, not cosmetic damage like scratches, dents, or cracks. Defective sheets upon arrival are the only ones covered by the warranty.
SuperTack Pro provides good adhesion without adhesive or frequent cleaning. You can clean the surface with water and dish soap if heavy dirt appears. Do NOT use organic solvents (especially acetone) to clean the build plate, as it will damage the SuperTack Pro surface.
Bambu PLA Silk+ is supported on the Cool Plate SuperTack Pro thanks to its improved layer adhesion. But other PLA Silk material exhibits strong adhesion on the SuperTack Pro build plate, which may damage printed models. Therefore, we do not recommend printing other PLA Silk material on the SuperTack Pro except Bambu PLA Silk+. For users printing with third-party PLA Silk materials, please select the Generic PLA Silk preset in Bambu Studio and evaluate material compatibility based on the specific conditions.
Installation Steps for X1 Series/P1 Series/A1

Installation Steps for H2 Series

Product Specifications
