
What is Z-axis Wobble?
If your print has noticeable lines from bottom to top that can be felt with the fingers, your printer may have issue of Z-axis wobble or Z-banding. Z-wobble or Z banding typically shows a regular pattern in the z-direction. Wet filament can caused the issue. The irregular layers prompt a check for potential issues like wobbliness, loose components such as the bed, belts, gantry, and print head. Despite a thorough check, all components are found to be tight and moving smoothly without play.
The potential causes for the issue of inconsistent layer heights in the printing process could be:
1. Z-Axis Smoothness
The inconsistent layer heights may result from an issue with the z-axis not smoothly running. This could be due to rollers being either too tight or too loose.
2. PID Tuning
A potential issue with fluctuating nozzle temperature may also be the reason of Z axis wobble. Even slight changes between layers can result in filament expansion and wider layers when the temperature increases. It is essential for both Marlin and Klipper printers to run PID calibration for both the nozzle and print bed. This calibration ensures a constant temperature throughout the printing process. The importance of PID tuning in maintaining temperature stability is highlighted as a crucial step in troubleshooting potential print quality issues.

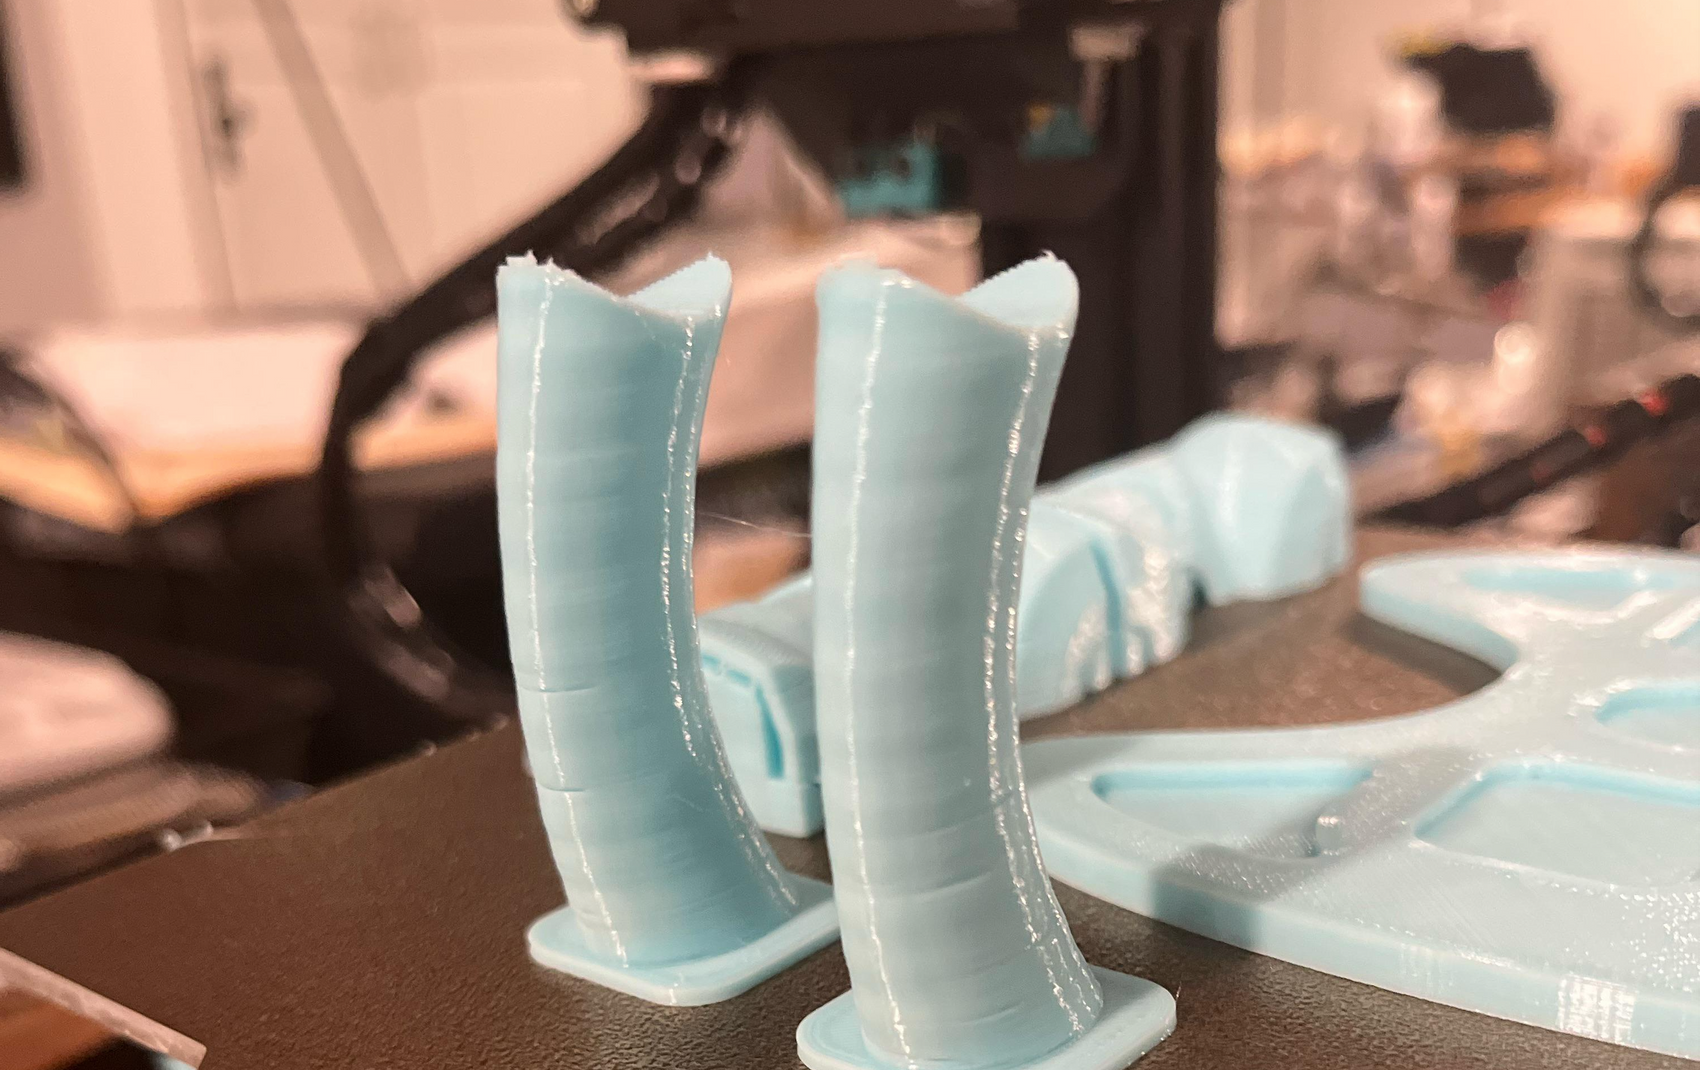
The speaker considers the possibility of a failing thermistor, the temperature sensor, which may display a constant temperature even if it is inaccurate. To rule out a faulty sensor, the speaker compares two flawed parts, noting that when placed side by side, the line patterns are identical. This suggests that the temperature is not the root cause of the issue, leading the speaker to explore other potential factors impacting the print quality. The method of comparing the line patterns on two identical flawed parts is presented as a means to eliminate the thermistor as the source of the problem.
The speaker becomes convinced that the issue is related to the Z-rods, especially as it was observed on the Ender 3 S1 Pro. Acknowledging that the rods hadn't been lubricated for a while, the speaker takes corrective action by cleaning the rods, applying lithium grease lubrication, and moving the gantry up and down several times. Subsequently, the same model is printed for the third time to assess whether these adjustments resolve the observed print quality problems related to the Z-rods. The focus is on maintenance and lubrication to address potential issues in the Z-axis system.
The speaker resolves the issue using a single tool, specifically an Allen key that comes with the printer. Observing that the Lead Screw Nuts were a bit tight on both rods, the speaker notes that they were initially quite loose when the printer was first used. The solution involves loosening the bolts of the Lead Screw Nuts, allowing them to move sideways more freely. This simple adjustment proves effective in addressing the problem. The speaker clarifies that the issue was not precisely Z-Wobble but rather Z-Binding, indicating that the problem was related to the binding of components in the Z-axis system. The use of a common tool and a straightforward adjustment highlights the accessibility of the solution.
3. Grub-Screws on Belt Pulleys
Loose components in the belt pulleys over time, leading to play between the shaft of the stepper motors and pulleys. This can result in artifacts on prints, such as layers being slightly shifted.
4. Hotend Wobbling
Another consideration is a hotend that wobbles around, either due to loose bolts or an untightened nozzle. The speaker checks both aspects on the machine, confirming that everything is properly tightened.