
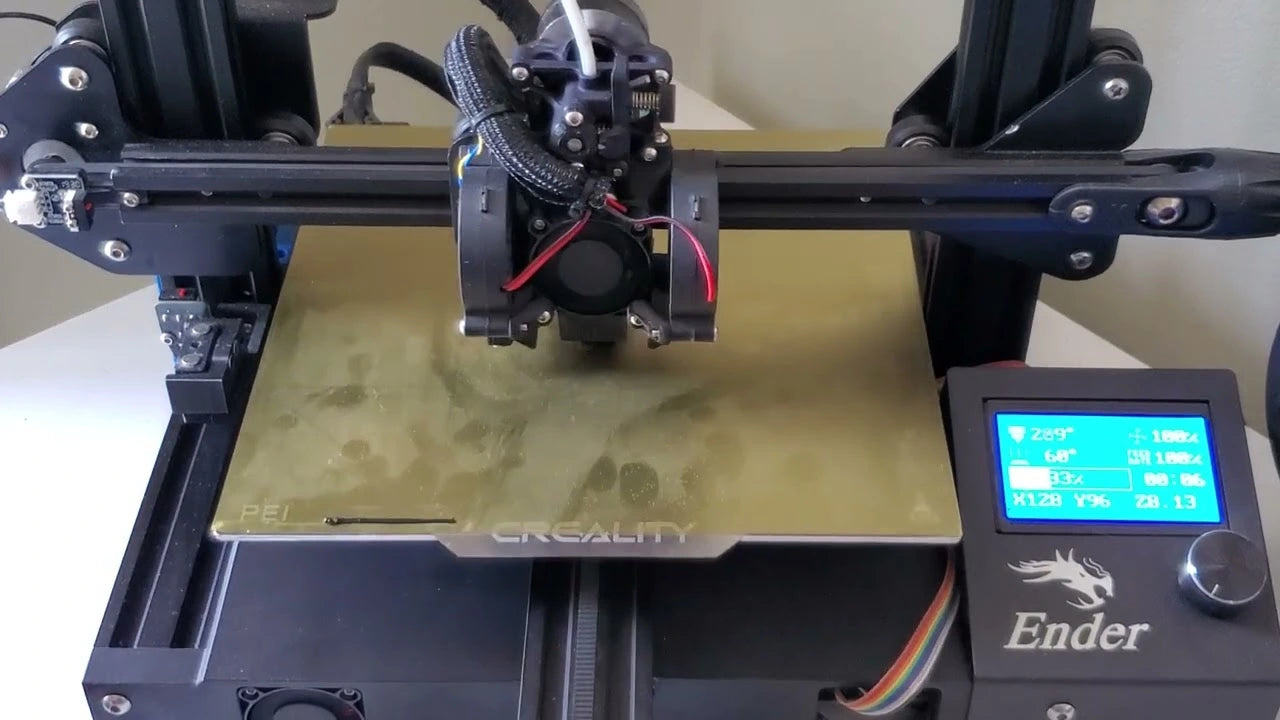
Klipper is a high-performance firmware that utilizes a Raspberry Pi and the standard microcontroller of the printer to enhance its capabilities. We'll introduce the whole Klipper firmware installation process on different control boards of Creality Ender 3 3D printer, including the Creality V1.1.3 board, BigTree Tech SKR mini E3 V2, and the Creality Ender 3 Neo v4.2.2 board.
We'll cover various steps, starting from installing Klipper on a Raspberry Pi, connecting the Pi to your control board, flashing Klipper onto the control board, finding a config file to configure Klipper, resolving common configuration issues, and providing additional tips and tricks.
Klipper offers features like powerful macros, input shaper tuning, and web interface options such as Mainsail and Fluidd. Its configuration is relatively easy, using human-readable language without the need for extensive reflashing. While there are some downsides to using Klipper, such as the cost of a single board computer and initial setup time, we'll offer some potential solutions for these issues.
Before you begin with the upgrade process, it's recommended to check the list of things you might need in advance.
Things You'll Need:
- Desktop or laptop computer
- Single board computer (SBC) such as Raspberry pi
- Micro SD card for SBC, 16GB or more recommended
- Power supply for the SBC
- USB cable or wires to connect SBC to printer control board
Things You MIGHT Need:
- SD Card Reader
- Make and model of your 3D printer
- Make and model of your control board
- Knowledge of any modifications to your 3D printer
- WinSCP software
- Notepad++ software
- Advanced IP Scanner software
Step 1 - Install Klipper, Moonraker & UI on a Raspberry Pi
Firstly, we need to install Klipper, Moonraker, and a UI interface on a Raspberry Pi or SBC (Single Board Computer). There are two methods to accomplish this. The first method is using the Mainsail image, which is an all-in-one package. The second method is using KIAUH, a Klipper installation and update helper. Both methods have their advantages, and they can also used combined.
For the first method, start by downloading and installing Raspberry Pi Imager.
Raspberry Pi Imager (OS): https://www.raspberrypi.com/software/
After the installation the software, open the advanced options to enable SSH and set up your Wi-Fi network. Flash Mainsail OS to a micro SD card using the imager. This process takes about 15 to 20 minutes. Once done, safely remove the SD card and insert it into the Raspberry Pi. Connect to the network and find the IP address of your Pi. Access the IP address through a web browser to verify the connection. Run updates using the Mainsail interface.

For the second method, follow the same initial steps as the first method. Flash Raspberry Pi OS to the SD card using the imager. Safely remove the SD card and acquire the IP address of your Pi. Connect to the Pi via SSH using the SSH command. Update the operating system and install Git if necessary. Clone the Kiura repository using the Git clone command. Launch the Kiura shell script. From the main menu, you can navigate various installation options. Install Clipper and Moonraker. Choose a web interface, such as Mainsail or Fluidd. Follow the installation prompts.
Regardless of the method used, you will encounter an error message indicating that the printer.cfg file is missing or unable to open. This is expected because the configuration file needs to be created. Configuring the printer.cfg file can seem daunting, but there are pre-made examples available to simplify the process.
Step 2 - Getting Started with Printer.cfg configuration file
The printer.cfg file is a text file that consists of sections or segments, each containing a type and sometimes a name. These sections are followed by parameters, and each parameter has an associated variable. These parameters, variables, and sections are what ultimately configure your 3D printer.
One important section is the "include" section, where you can reference additional files to your printer configuration. To find a configuration file to get started, you'll need to know the make and model of your 3D printer, as well as the make and model of the control board you're using.
You can look for configuration files in the "config" folder of the Clipper GitHub, organized by printer or control board. Another option is to check the website or GitHub page of your control board manufacturer, as they may have pre-made configurations specifically for your 3D printer.
Let's go through the steps for different control boards:
1. Creality V 1.1.3 board:
- Find the "creality-Ender3-2018.cfg" file in the configuration folder of the Clipper GitHub.
- Save the file without the .txt extension, ending in .cfg.
- Optionally, make a copy of the file and rename it to "printer.cfg".
- Upload the printer.cfg file to your printer using the web interface.
- Open the file and add a new section with the name [include fluid.cfg].
- Save and restart your printer.
2. Creality 4.2.2 board:
- Start with the Ender 3v2 configuration file since it uses the same control board.
- Save the file as "printer.cfg".
- Upload the printer.cfg file to your printer.
- Open the file and add the line [include mainsail.cfg].
- Save and restart your printer.
3. Big Tree Tech SKR mini E3 V2 board:
- Use the generic control board configuration file for the SKR mini E3 V2.
- Save the file as "printer.cfg".
- Upload the printer.cfg file to your printer.
- Open the file and add the line [include fluid.cfg].
- Save and restart your printer.
Once you have successfully uploaded and configured the printer.cfg file, you can proceed to connect the Raspberry Pi (single-board computer) to your chosen control board using wires and within the software.
Step 3 - Pi to control board connection: Hardware and software.
To connect your Raspberry Pi to the control board, you have several options depending on the specific board you have. I'll explain the process for different control boards.
1. For Creality V1.1.3 board:
- Connect the board to the Raspberry Pi using a USB cable.
- Start an SSH session to the Raspberry Pi.
- Launch Klipper by running the command "klipper" or "su pi -c 'klipper'".
- Navigate to the advanced settings by typing '4' and press Enter.
- Go to the build and Flash menu by typing '4' again and press Enter.
- Use the arrow keys to navigate and make changes.
- Change the processor model to "atmega1284p".
- Save and exit by pressing Esc, then Y to confirm.
- Flash the firmware by typing '1' for the regular flashing method, then '1' for USB mode.
- Select the correct MCU number (usually 1) and press Y to confirm.
- Wait for the firmware to be created and flashed.
- Retrieve the MCU ID by typing '5' for the MCU ID, then '1' to select the USB interface.
- Copy the MCU ID.
On the Raspberry Pi:
- Open the web interface of the Raspberry Pi.
- Go to the configuration section and open the "printer.cfg" file.
- Find the MCU section and change the serial parameter to "Dev serial by ID".
- Paste the MCU ID after the forward slash.
- Save the file and restart.
2. For Creality V4.2.2 board:
- Connect the board to the Raspberry Pi using a micro USB cable.
- Start an SSH session to the Raspberry Pi.
- Change the directory to the Klipper directory by using the command "cd /home/pi/klipper/".
- Run the command "make menuconfig" to start the configuration options for the firmware.
- Enable the extra low-level configuration options.
- Change the microcontroller architecture to "stm32".
- Set the required parameters such as bootload offset and communication interface.
- Save and exit the configuration.
- Run the command "make" to create the firmware.
- Use WinSCP to transfer the "clipper.bin" firmware file to your local machine.
- Move the firmware file to the micro SD card.
- Insert the SD card back into the control board and reboot.
- Start an SSH session and retrieve the MCU ID.
- Open the web interface, find the MCU section in the "printer.cfg" file, and paste the MCU ID.
- Save and restart the control board.
3. For BigTree Tech SKR board:
- Connect the Pi to the control board using a USB cable.
- Start an SSH session to the Raspberry Pi.
- Launch Klipper by running the command "klipper" or "su pi -c 'klipper'".
- Navigate to the advanced settings and then the build and Flash menu.
- Enable the extra low-level configuration options.
- Change the microcontroller architecture to "stm32".
- Set the required parameters such as processor model, bootload offset, and gpio startup pin.
- Save and exit the configuration.
- Choose the update method as SD card or USB.
- Select the correct MCU and confirm the flashing process.
- Retrieve the MCU ID and copy it.
- Open the web interface, find the MCU section in the "printer.cfg" file, and paste the MCU ID.
- Save and restart the Pi and control board.
After completing the above steps, your Raspberry Pi should be running Klipper firmware and connected to your 3D printer's control board. Keep in mind that further configuration may be required based on your specific printer's features, such as LCD screen, touch sensors, etc.
Step 4 - Completing and troubleshooting printer.cfg configuration
For the Creality version 1.1.3 board:
We have encountered an issue with Moonraker, which is the API for fluid. It seems that Moonraker expects a different G-Code path than what has been provided. Fortunately, the solution is provided.
To fix this issue, follow these steps:
1. Highlight and copy the new G-Code path that needs to be used.
2. Go to the configuration section and open fluid.cfg in the virtual SD card.
3. Paste the new path over the old one.
4. Save and restart the printer.
5. After restarting, the error may appear temporarily, but once the printer connects, it should disappear. You can then access the dashboard, where you'll find temperature controls, movement controls, console access, and other features.
For the Creality version 4.2.2 board:
The board controlling the Ender 3 Neo, we have a few more things to solve before having a fully working printer. These include making the screen work, configuring the Z probe (CR Touch or BL Touch), and enabling mesh bed leveling.
To configure these features:
1. For the screen, go to the Clipper GitHub repository and find the sample LCD configurations in the config section.
2. Look for the configuration for the stock Creality display and copy it to the printer.cfg file. However, note that it uses pin aliases instead of true PIN numbers.
3. To obtain the correct PIN numbers for the version 4.2 board, refer to the Clipper GitHub and find the board pins aliases for version 4.2. Copy and paste these PIN numbers into the printer.cfg file.
4. Additionally, add the display status section in the printer.cfg file to enable the use of m117 commands.
5. Save and restart the printer. The screen should now work properly.
Regarding the Z probe (CR Touch or BL Touch):
1. Go to the Clipper GitHub repository and find the Ender 3s1 configuration in the config section. This configuration includes sections for the BL Touch bed mesh and safe Z home.
2. Copy these sections into the printer.cfg file.
3. Adjust the X and Y offset values to match the position of the probe relative to the nozzle.
4. Copy the board pin aliases for the probe in and probe out to the corresponding sensor pin and control pin.
5. Change pb0 to out and pb1 to in to correct their orientation.
6. Change the stepper Z end stop pin to probe Z virtual end stop to utilize the probe rather than a Z end stop.
7. Comment out position_end_stop, as there is no end stop position anymore.
8. Add position_min to the stepper Z section to ensure the Z probe hits the bed correctly during Z home.
9. Set the mesh min and mesh max values to appropriate corners of the bed grid to enable bed mesh leveling.
10. Save and restart the printer. Test each axis separately at slow speeds to ensure correct movement and end stop response.
For the BigTreeTech SKR Mini E3 board:
1. If you have already fixed the Moonraker issue following the previous instructions, move on to the printer configuration.
2. Download the configuration file for the Ender 3 2018 from the Clipper GitHub repository.
3. Compare the printer configuration to the board configuration and transfer any relevant values, such as axis size, steps per millimeter, heater parameters, thermistor parameters, and extruder parameters.
4. Finally, add the display configuration by copying the stock Creality display section from the sample LCD config file into the printer.cfg file.
5. Save and restart the printer.
It's important to test each configuration step by step and ensure proper functioning, especially for the Z probe and bed mesh features. Always exercise caution and keep safety measures in mind.
Step 5 provides some tips and tricks for Klipper, Fluidd, and Mainsail.
If your motors are rotating in the wrong direction, you can make changes in the "openprinter.cfg" file. Scroll to the stepper motor segment and add an exclamation mark in front of the direction pin. When shutting down your printer, it is recommended to use the control in the top right corner before turning off the power button.
To display the Raspberry Pi core temperature and MCU temperature on the main dashboard, you can add two sections to your printer.cfg file. This allows you to use them as sensors for controlling things like fans. In the settings menu, you can customize your printer's name and access presets for preheating specific materials.
If you want to home faster, you can add a second homing speed. Set the primary speed to be increased and the second one to be slow. This allows for faster homing with the first speed and more accurate probing with the second speed. If needed, you can increase the max Z velocity.
Additionally, there are other features like input shaping and pressure advanced that can improve print speed and quality. It is recommended to explore these options. Lastly, updating the software is important over time. If using Klipper, you can go to the update menu in Kyua and select "A" to update all. If not using Klipper, you can go to the configuration or machine page on the web interface and press the refresh button.
Step 6: How to update Klipper
To update Klipper, follow these steps:
1. Check for new updates.
2. Press the "Update all components" button.
3. The time it takes to perform the update will depend on the number and size of the updates to download.
4. Occasionally, when Klipper goes up a significant version, communication between the Raspberry Pi and your control board may be lost.
5. Don't worry! To resolve this issue, create a new firmware on the Raspberry Pi and flash it to the control board, similar to what was covered in Step 3.
6. Note that you won't need to repeat the MCU ID setup.
7. Updating Klipper won't affect your printer.cfg file, but it's recommended to make a backup before updating, just in case.
8. Don't forget to check for any additional instructions or recommendations specific to your setup or printer.